
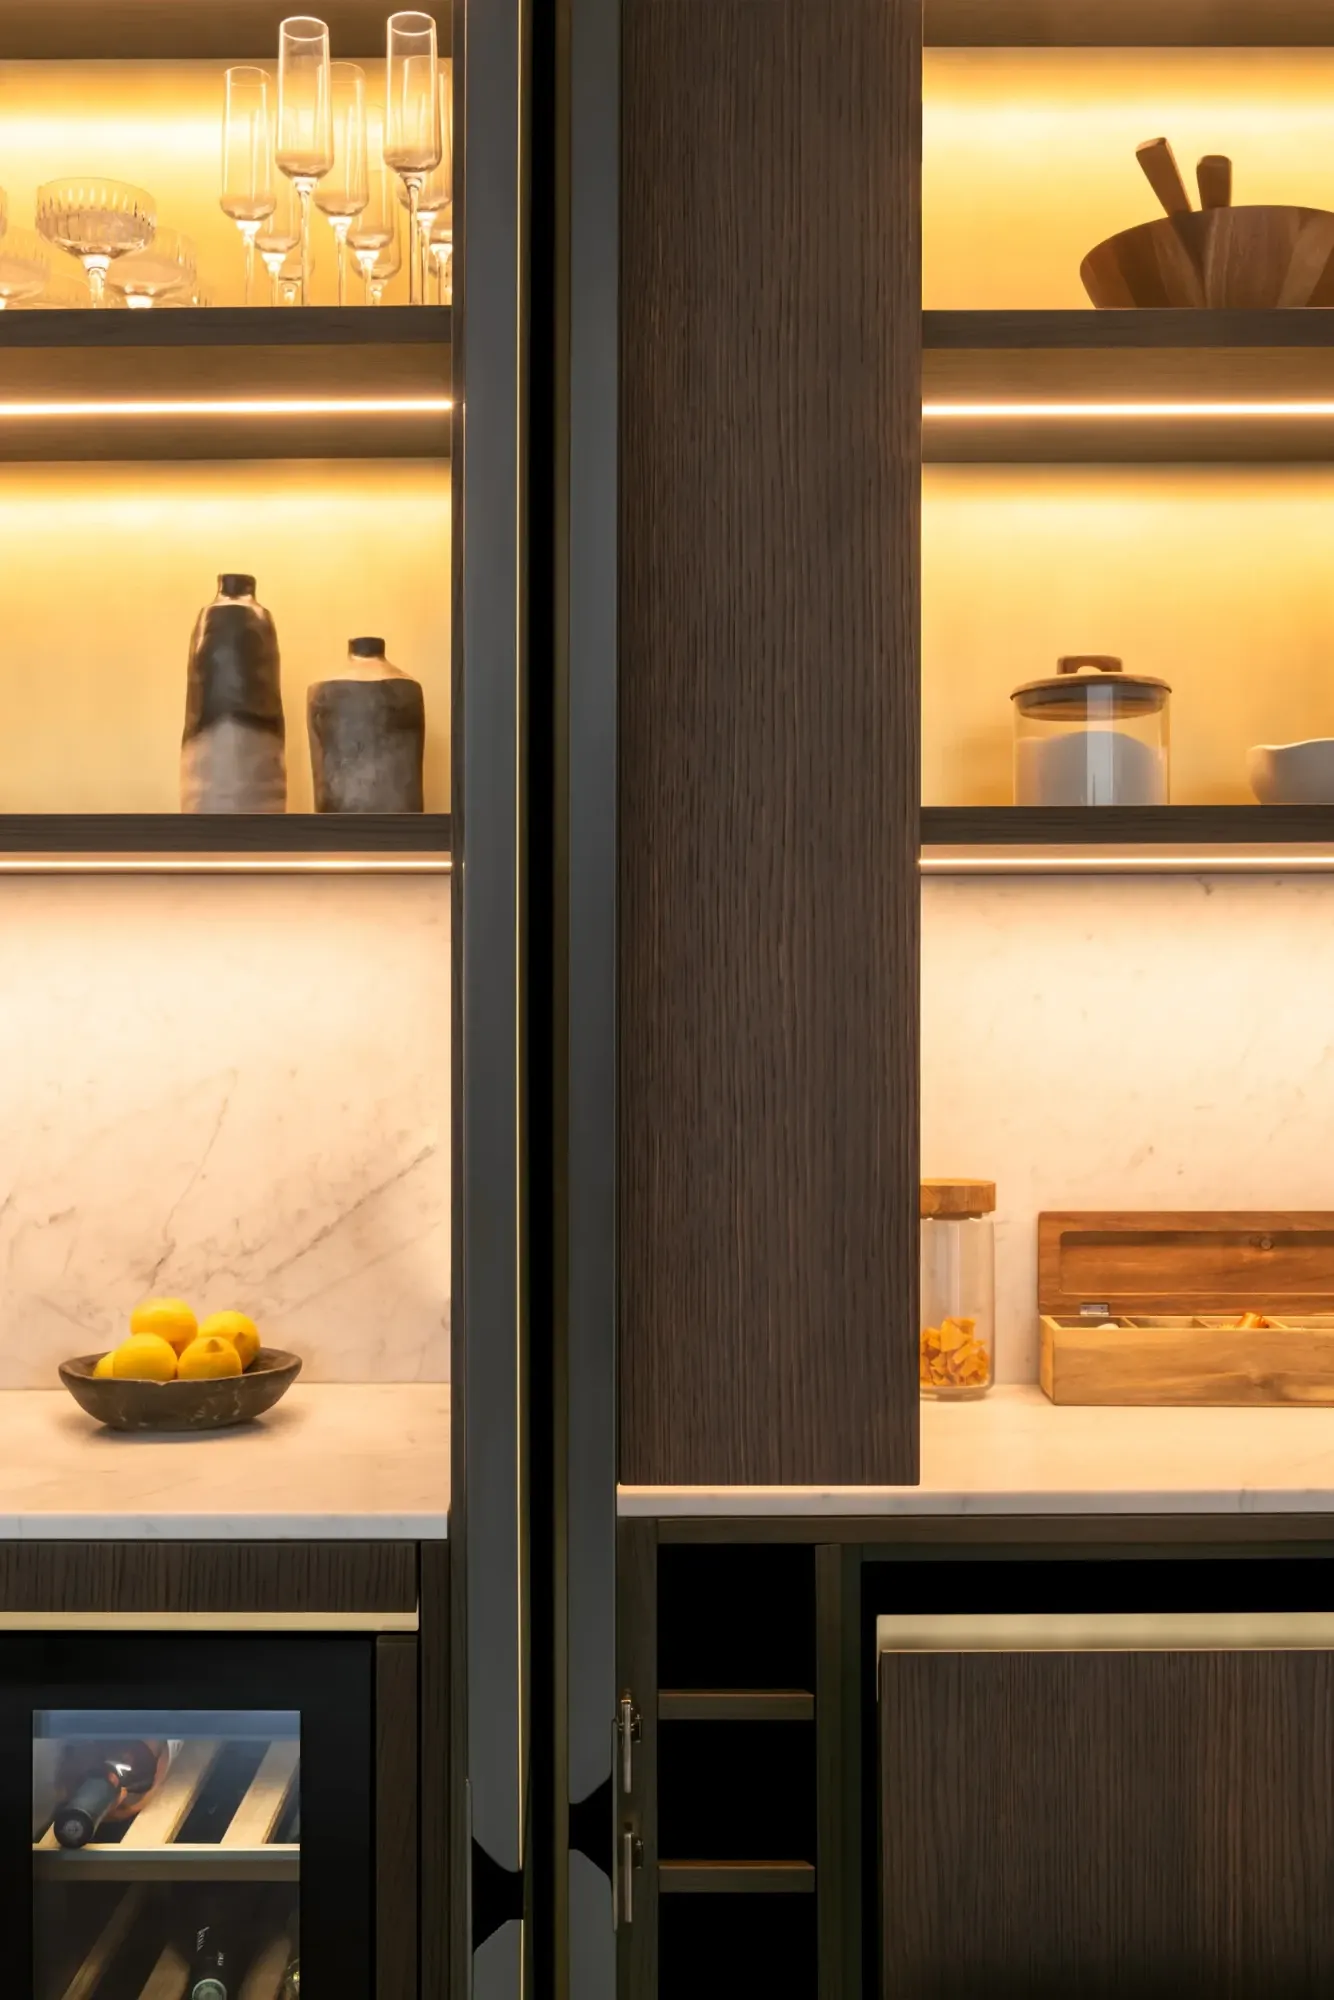

A galley kitchen succeeds when every run of cabinetry earns its place. In a narrow London room, plan the route between sink, hob and fridge before choosing finishes. Then check the space people need to pass, open appliances and prepare food. The drawings should show these everyday movements, not only closed cabinet fronts.
Key takeaways
- Choose a single or double run from measured room width, doors, windows and the way people move through the home.
- Use the illustrated 1200 mm central walkway as a planning target, then verify the clear width on the actual drawings.
- Place sink, hob and fridge in a practical sequence with usable preparation space between tasks.
- Draw oven doors, fridge doors and opposing drawers fully open before approving the cabinet plan.
- Use full height storage, layered lighting and a coordinated ventilation strategy to make the room work throughout the day.
Discuss a galley kitchen brief with Nura
Start with the measured room, not a standard layout
Record finished wall-to-wall dimensions, ceiling height, windows, doors, radiators, pipework and the direction in which people enter. Older London homes can have uneven walls or unexpected service routes, so an initial sketch needs a measured survey before cabinetry is ordered. Mark any passage to a garden, utility area or dining room: the kitchen may be a route through the home as well as a place to cook.
List who cooks, whether two people often work together, what must be stored and which appliances are essential. A generous-looking drawing may still feel tight if a tall fridge door blocks the passage or if someone must step around an open dishwasher to reach the sink. Test the plan against a normal breakfast and evening meal, not just a tidy photograph.
Choose a single run or two facing runs
A single-run arrangement puts the main cabinets and appliances on one side. It can preserve a clearer route, daylight from an opposite window and room for a modest dining or utility function. Its main constraint is the length of usable worktop: a sequence of tall units can leave too little landing and preparation space. Put frequently used functions in an order that avoids carrying wet or hot items across the room.
Two facing runs offer more worktop and storage. They also create more opportunities for open doors and drawers to meet in the middle. Decide what belongs on each side by drawing appliance openings and the person standing at each task. Where one run is shorter, the remaining space might accommodate a tall storage unit without closing off a window or a doorway. The better option follows the real brief and the room, rather than a preference for visual symmetry.
Read the 1200 mm walkway as a planning target
The blueprint below illustrates 1200 mm between opposing cabinet fronts. It is a useful starting point for discussing a central walkway, not a universal legal minimum or a guarantee that every appliance can operate at once. Check the finished clear dimension after handles, projecting worktops and any other obstructions are allowed for. Test the resulting passage against the number of users and the route through the room.
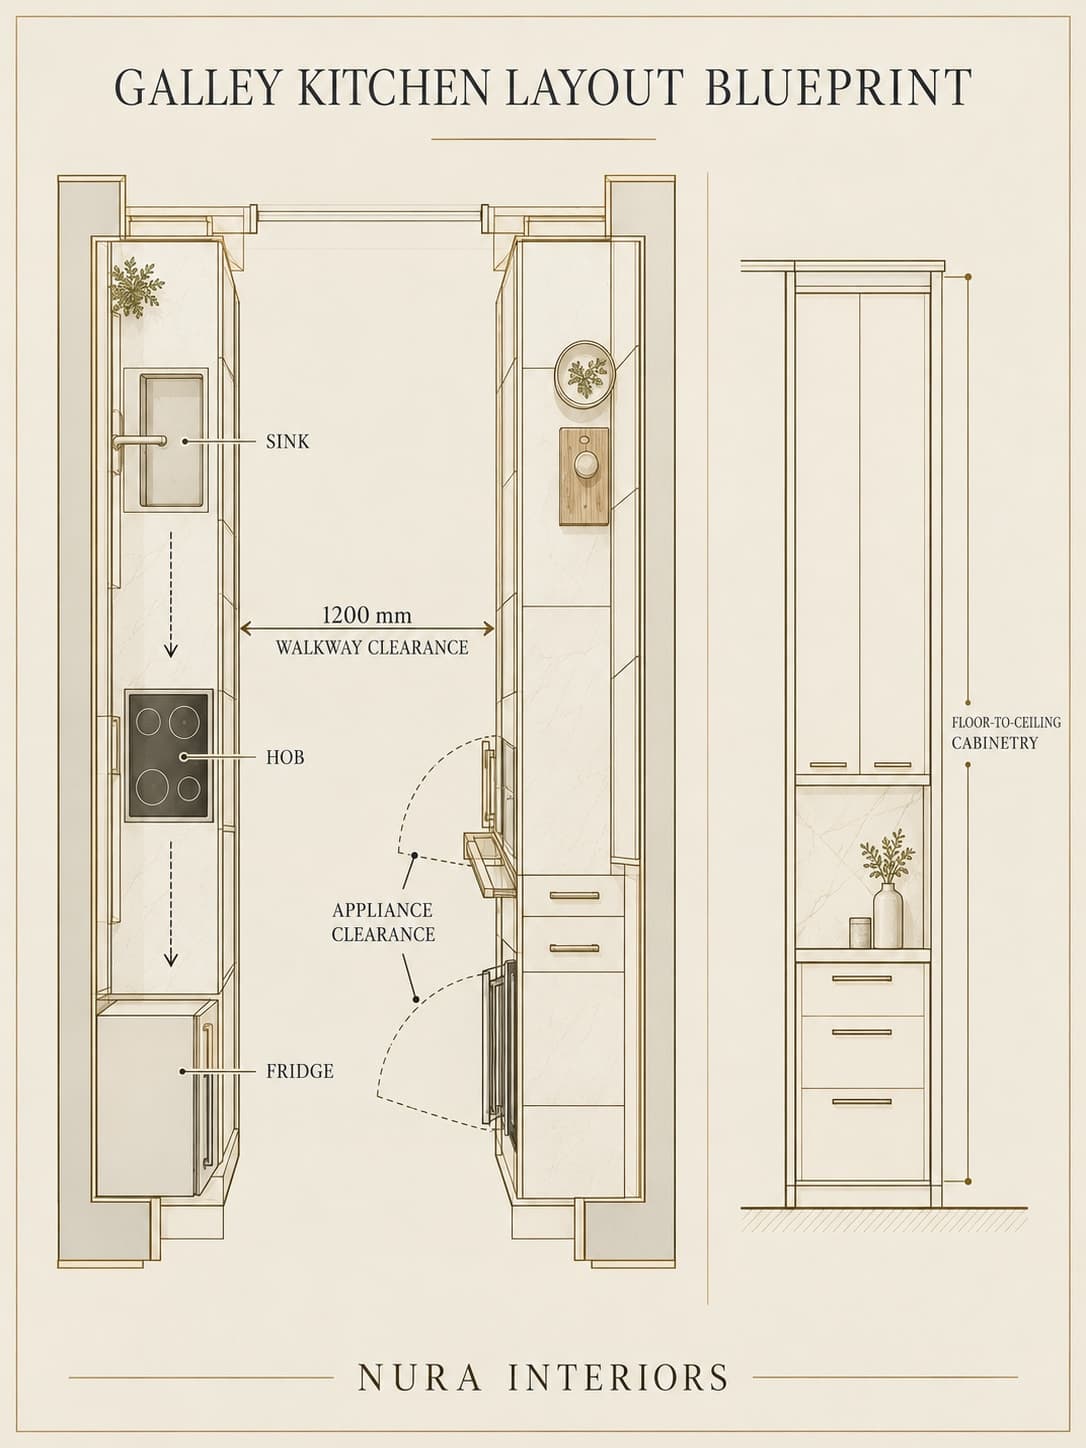
A dimension between closed cabinets does not describe what happens when a door is open. On the detailed plan, mark the depth and swing of each selected oven, fridge and dishwasher, together with the extension of drawers opposite. Allow room for a person to stand at the appliance and for another person to pass if the household needs it. Manufacturer drawings and the final installation specification should settle these checks.
Arrange sink, hob and fridge around real tasks
The familiar kitchen work triangle is a prompt to think about movement, not a rigid geometry for a narrow room. In a galley, sink, hob and fridge may form a compact sequence along one run or alternate across the passage. Consider where groceries land, where food is washed, where preparation happens and where hot pans are set down. Keep the sequence legible and avoid sending someone through an open appliance door to complete a routine task.
Give preparation a usable stretch of surface and check the relationship between water, heat and electrical fittings with the project designer and installers. A sink below a window may feel natural, but the location of drainage and ventilation can change what is practical. Do not assume that moving a service is simple until the site and construction have been assessed.
Make full height storage easy to use
Floor-to-ceiling cabinetry can make a narrow footprint work harder by using height for pantry goods, small appliances and less frequently used items. Put everyday items within comfortable reach. Deep drawers can bring pans and provisions forward without forcing someone to search at the back of a base cabinet. Discuss load ratings, shelf adjustment, door swing and the exact contents of each tall unit before treating its volume as useful storage.
Tall units also affect how light travels down the room. Grouping them at one end can preserve a more open working stretch, although the best position depends on the windows and the appliance plan. Use material samples in the room, with the proposed lighting, to judge whether a continuous cabinet elevation feels calm or too heavy.
Plan daylight and layered lighting together
Many London terraces and flats have daylight concentrated at one end of a narrow room. Keep the window and sightline in the plan from the start. A light-reflecting finish can help distribute available daylight, but it will not replace task lighting where someone prepares food. Show under-cabinet, ceiling and any decorative lighting on the same drawing as the cabinets, then check shadows cast by people and open doors.
Specify how lighting will be switched, dimmed and maintained before manufacture. Cabinet-integrated fittings need cable routes, access and agreement about which trade supplies and installs them. The plan should remain comfortable on a winter evening as well as in the midday photograph.
Coordinate extraction and fresh air
Cooking in a narrow room can make poor extraction particularly noticeable. Discuss the hob, extractor position, duct route, make-up air and available window ventilation with the responsible designer and installer. A recirculating system and an externally ducted system have different constraints; the right choice depends on the property and the approved design. Confirm the selected product performance and installation requirements rather than assuming a visible hood alone solves the problem.
If the kitchen sits within a flat or a protected building, proposed penetrations and changes to ventilation may need further checks. Keep these decisions in the project scope early enough to avoid designing cabinetry around an unverified route.
Use completed work as a conversation starter
The Westover Road project shows Nura’s approach to cabinetry and interior detail in a completed home. It is a useful reference for discussing proportions, finishes and junctions; it should not be read as a template or as evidence that the project uses the galley layout shown here. Bring photographs of details you like alongside your measured plan so the studio can assess what belongs in your own room.
For the broader sequence from initial brief to materials, quotation and installation, read the bespoke kitchen planning guide. It gives the galley decisions a place within the full kitchen project.
Bring the right information to a consultation
Share room dimensions or existing drawings, photographs of each wall, an appliance wish list and notes about how many people use the kitchen. Mark what must stay, what might move and any known building constraints. The studio can then discuss a single-run or two-run direction, identify what needs surveying and explain the next design step. An enquiry begins that conversation; it does not confirm a booking, final layout, price or programme.