
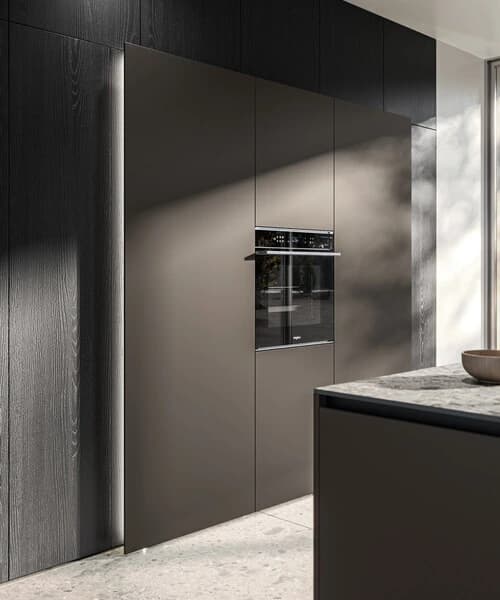

Floor-to-ceiling kitchen joinery is one of the most architecturally satisfying things a fitted kitchen can achieve, and one of the most technically demanding to execute well. When cabinetry runs from plinth to cornice without interruption, every millimetre of tolerance becomes visible, every ceiling irregularity becomes a design decision, and every service penetration needs a considered solution. Getting it right requires careful measurement, honest conversation about buildable tolerances, and a clear understanding of how the room will actually be used.
Measuring the Finished Ceiling, Not the Structural One
The first discipline of floor-to-ceiling joinery is measuring the right thing. Structural ceiling heights and finished ceiling heights are rarely identical, and in older London properties the difference can be significant, a plastered ceiling over a lath substrate, or a new plasterboard ceiling dropped to conceal services, will both reduce the usable height. Always measure to the finished, decorated surface, and measure in multiple locations. Ceilings that appear level may vary across a run of cabinetry, and that variation must be absorbed somewhere in the design.
How Tolerance Gets Built Into the Design
Installation clearance needs to be resolved with the proposed cabinet construction and access route. A large assembled unit may need room to be manoeuvred, while a system assembled in position has different requirements. The top junction might use a scribed panel, a separate closure or an intentionally recessed detail. Show the solution on the drawing and agree how real ceiling variation will be accommodated. Bespoke dimensions do not remove the need for tolerances; they allow those tolerances to be considered as part of the finished composition.
Plinths: Toe Comfort, Visual Weight and Storage
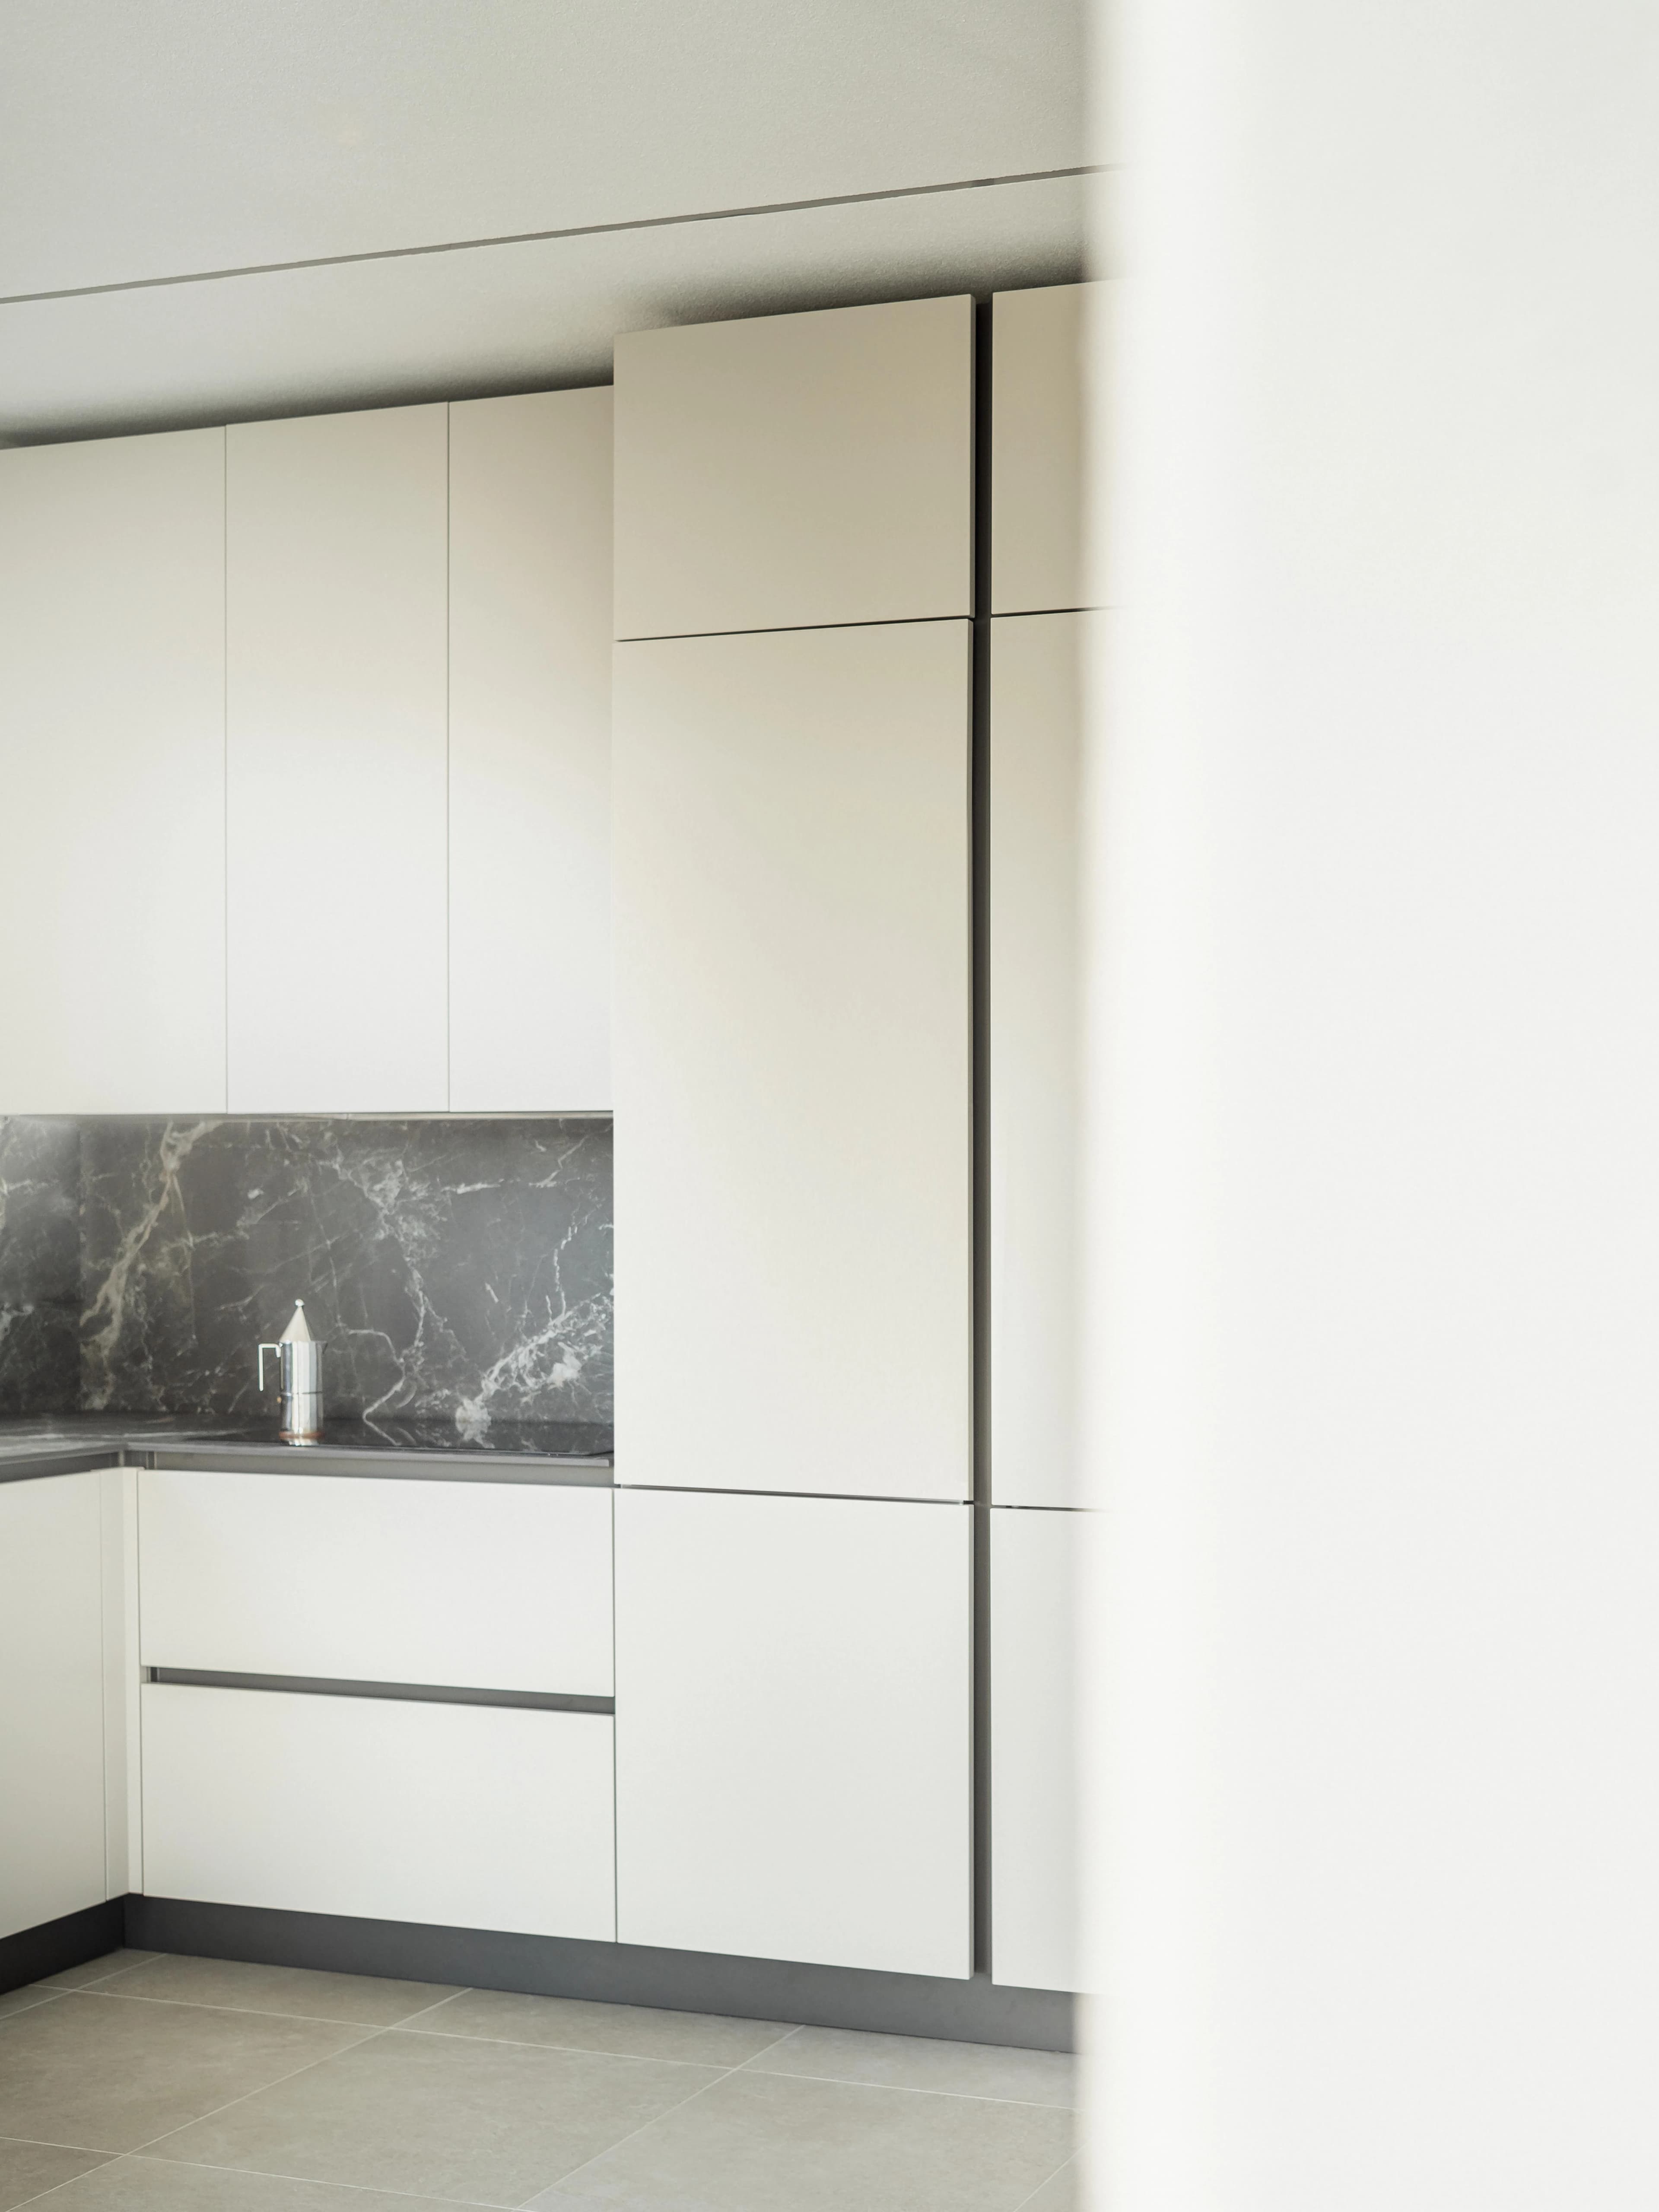
The plinth, the recessed base that runs beneath the cabinet line, does more work than it appears to. Its depth determines how close you can stand to the worktop comfortably; a shallower plinth reduces toe space and should be considered carefully in kitchens where the worktop is used intensively. Its height affects the visual weight of the run: a taller plinth lifts the cabinetry and can make a low-ceilinged room feel more generous. At Nura, a 30 mm plinth is available as an option where the installation allows for it, creating a near-flush base detail that reads as particularly architectural. Whether this is feasible depends on floor flatness and the specific cabinet configuration, it is worth discussing at the design stage rather than assuming it will work universally.
Shadow Gaps: Where Architecture Meets Joinery
A shadow gap is a deliberate reveal, typically between the top of the cabinetry and the ceiling, or between adjacent panels, that replaces a traditional cornice or cover moulding with a clean recessed line. It is a detail borrowed from contemporary architecture and works particularly well in kitchens where the joinery is intended to read as furniture rather than fitted units. The practical challenge is that a shadow gap makes ceiling irregularity more visible, not less: the eye is drawn to the gap, and any variation in its depth reads as a fault. Shadow gaps require a flatter, more consistent ceiling than a scribed cornice, and this should be confirmed before the detail is committed to.
Service Access and Removable Panels
Floor-to-ceiling joinery that conceals services, boilers, meters, isolation valves, or electrical consumer units, must include a means of access that does not require dismantling the kitchen. This is not merely a convenience; in many cases it is a regulatory requirement. Removable panels can be designed to be virtually invisible when closed, using push-to-open mechanisms or flush magnetic catches, but they must be identified on the drawings and their opening geometry confirmed before installation. A panel that cannot be removed without fouling an adjacent cabinet or appliance is a problem that is expensive to fix retrospectively.
Appliance Ventilation Within Tall Joinery
Built-in appliances, ovens, warming drawers, wine coolers, generate heat that must escape. In a standard run of base units this is relatively straightforward, but in floor-to-ceiling joinery where appliances are surrounded on all sides by cabinet panels, ventilation paths must be designed deliberately. Manufacturers publish ventilation requirements for their appliances, and these should be checked against the proposed cabinet configuration before production begins. A gap at the top of a tall oven housing, concealed behind a grille panel or a shadow gap detail, is a common and effective solution, but it must be planned, not improvised on site.
Lighting at the Joinery Junction
The junction between floor-to-ceiling cabinetry and the ceiling is a natural location for integrated lighting, whether a recessed LED channel that washes the ceiling, or a downlight positioned to graze the cabinet face. The decision about lighting type and position affects the cabinet design: a recessed channel requires a specific reveal depth at the top of the cabinet, and a downlight requires a clear zone free of scribing material. Coordinate lighting design with cabinet design early, and confirm the ceiling construction can accept the proposed fitting. For a broader view of how Nura approaches bespoke kitchen design from the outset, the consultation page and the bespoke kitchens guide are useful starting points.
Getting the Sequence Right on Site
Floor-to-ceiling joinery is sensitive to installation sequence. Cabinets should be installed and confirmed level before any scribing is cut; scribing should be completed before any shadow gap detail is assessed; and ceiling decoration, if it is to be touched up around the joinery, should follow installation rather than precede it. Attempting to install cabinetry into a freshly painted room without a clear plan for making good is a common source of frustration. A fitter experienced in architectural joinery will expect to work alongside a decorator at the end of the process, not before it. If you are planning a kitchen with this level of detail, an early conversation with a specialist is worthwhile, get in touch to arrange a consultation.
Planning your next step
Use this guide as a starting point for your own brief. Compare the room, materials and practical requirements with the way you want the space to work.
Read the bespoke kitchen planning guide or explore Nura bespoke kitchen services before discussing your project.
Ready to discuss the brief? Contact the Nura studio to share your plans, questions and priorities.