
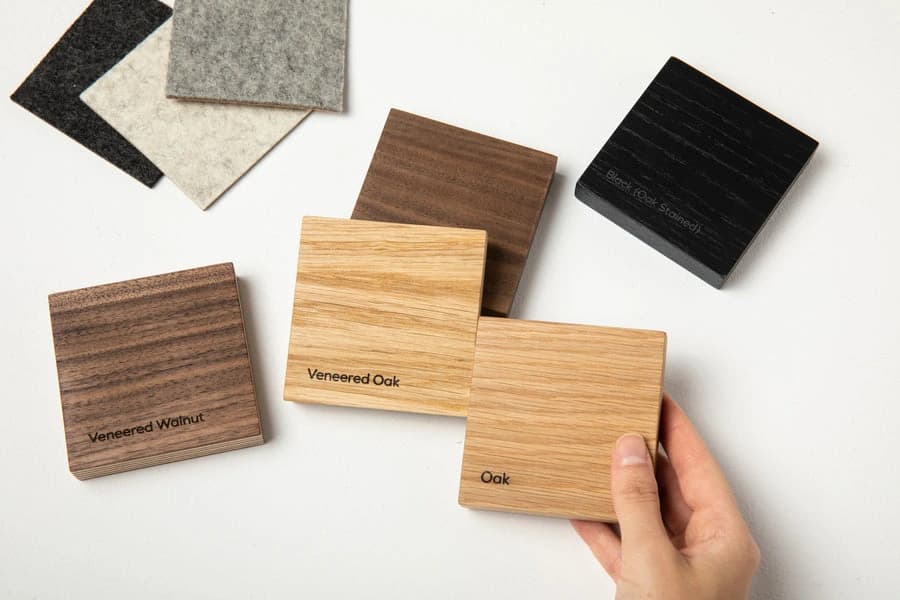

Two oak kitchens can feel completely different. One may have a pale, quiet grain that sits gently beside limestone; another may use a deeper stain and a more expressive figure to give the room weight. The species is only the beginning of the specification.
For a custom-stained walnut or oak kitchen, the cut, arrangement of veneer, surface preparation and final coating all matter. The aim is to describe the result clearly enough that the sample, drawings and finished cabinetry belong to the same design.
Decide what you like about the timber
Start with the quality you want to see: a calm linear rhythm, a more varied natural pattern or a rich colour that remains recognisably wood. Reference images can help, but identify what is important in them. A dark photograph might appeal because of the lighting rather than the stain.
Oak and walnut both vary. Do not expect a species name to define every leaf of veneer. Ask to see representative material and discuss which variations are welcome. A preference for a more consistent appearance should become part of the brief, rather than an assumption made after production.
Separate the wood face from its supporting panel
Natural veneer is a thin layer of real timber bonded to a substrate. It is different from a printed wood-effect surface, and neither label by itself describes the whole door. Ask about the supporting board, edge construction and coating as well as the visible wood.
Our solid wood or veneer guide explains the construction choices. For a stained veneer kitchen, the next question is how the selected timber will be arranged across the room.
Choose a matching method deliberately
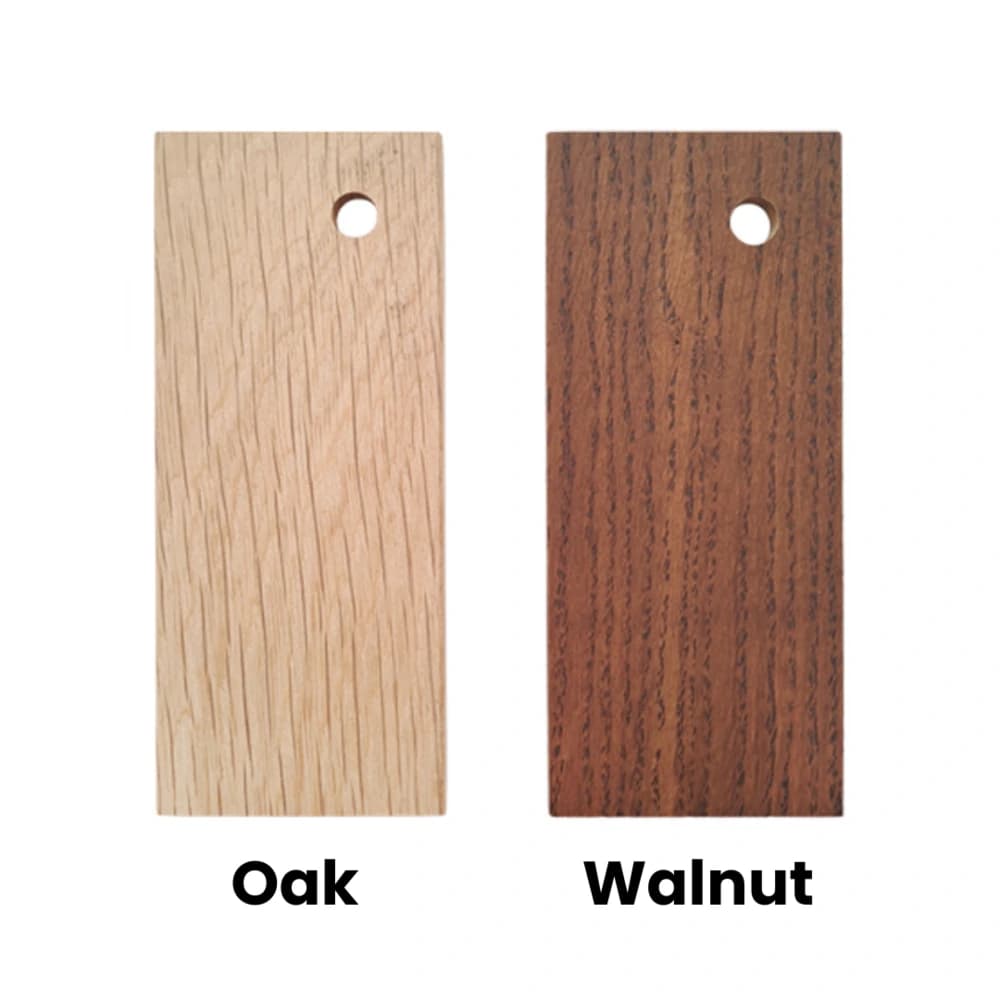
Book matching places alternate veneer leaves in a mirrored arrangement. Slip matching places consecutive leaves side by side with the same face showing. Random matching creates a less repetitive composition. UV Group's veneer matching guide illustrates these approaches.
None is automatically more luxurious. A highly symmetrical grain can make a broad island face a focal point; a quieter repeat may better suit a long elevation. Ask to see the intended pattern at a useful scale. A small sample shows colour and texture, but it cannot fully explain a wall of tall doors.
Stain changes colour without removing character
A transparent stain works with the wood beneath it. Natural differences remain part of the finished appearance, and the same stain can read differently on different material. If you want an opaque, uniform colour, that is a different finish brief.
Discuss the undertone as well as the depth. The requirement might be to soften a yellow cast, bring warmth to a neutral room or relate the cabinetry to an existing table. It is more helpful to describe that relationship than to ask for an exact duplicate of a photograph.
Review the complete coated sample
Ask for the proposed stain and topcoat on representative veneer. View it next to the stone, floor and metal finishes in the room's light. A sheen that looks restrained in a workshop can become more noticeable beside a large window.
Consider this hypothetical example: a client wants walnut cabinetry to sit beside an existing oak dining table. Matching the two woods perfectly may make both feel less convincing. A complementary stain, with a similar warmth but a clear difference in depth, can give the room a more intentional balance. The sample is where that judgement becomes tangible.
Draw the grain across the elevation
Decide whether the grain runs vertically or horizontally, where it continues across drawer fronts and where a change is intentional. Identify the relationship between doors, end panels and the reverse of an island. These are drawing decisions as much as material choices.
If continuity is important, ask how the maker will sequence the material and record the intended layout. Also discuss future replacement. A new panel supplied years later may not replicate the original wood's grain or ageing exactly, even when the same species and finish are used.
Understand the price and care requirements
Ask which species, selection, matching and sampling are included in the quotation. A bespoke stain does not describe the cost of every possible veneer or matching arrangement. Establish the approved scope before manufacture, including the treatment of visible edges and less prominent surfaces.
Keep the finish schedule and follow the care guidance for the coating supplied. Do not assume a veneered door can be sanded like solid timber: the available wood thickness and finish determine what repair is possible.
Make the material part of the wider design
Nura works with homeowners and design professionals to consider cabinetry within the interior as a whole. Bring your reference sample and the materials it needs to sit beside.
Discuss a stained veneer kitchen with the studio. Together, we can define the grain, colour and sample approvals that turn a broad preference for oak or walnut into a considered specification.
Planning your next step
Use this guide as a starting point for your own brief. Compare the room, materials and practical requirements with the way you want the space to work.
Read the bespoke kitchen planning guide or explore Nura bespoke kitchen services before discussing your project.
Ready to discuss the brief? Contact the Nura studio to share your plans, questions and priorities.