
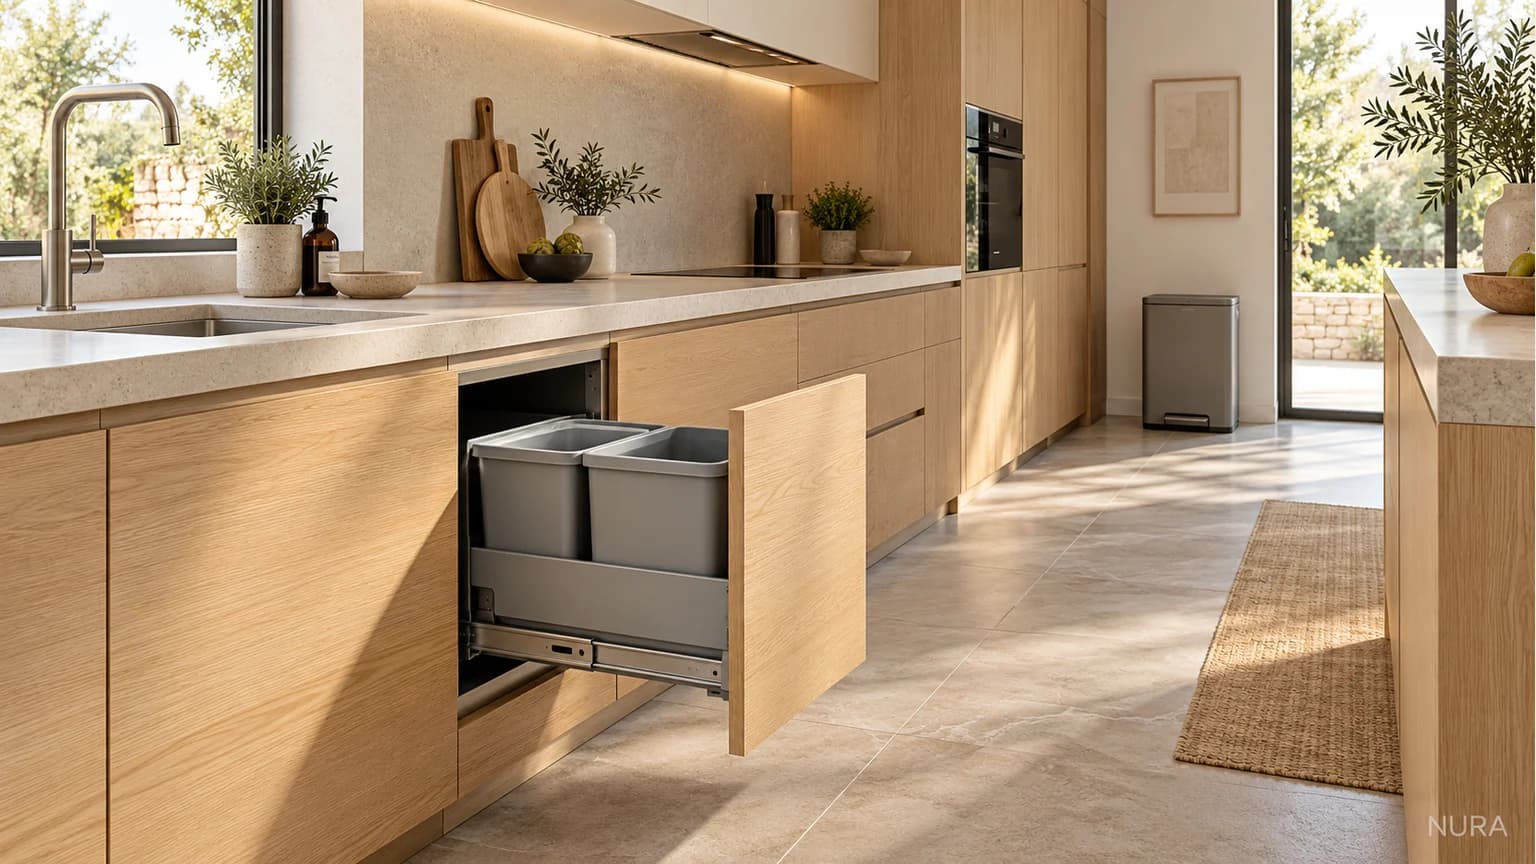

Put the kitchen bin where you can use it from the preparation area, open nearby appliances and remove the waste without blocking the room. Beside the sink can be a useful starting point, but it is not the right answer for every layout. Compare possible positions through these five checks before choosing a freestanding bin or an integrated system.
1. Follow your preparation route
Think through preparing a normal meal: unpacking food, trimming ingredients and clearing the worktop. Identify where the waste actually arises. On a printed plan, mark that work area and two possible bin positions. Compare the route between them, including the space occupied by other people. A bin hidden at the far end of the room may look tidy on an elevation yet be awkward to use from the chopping board.
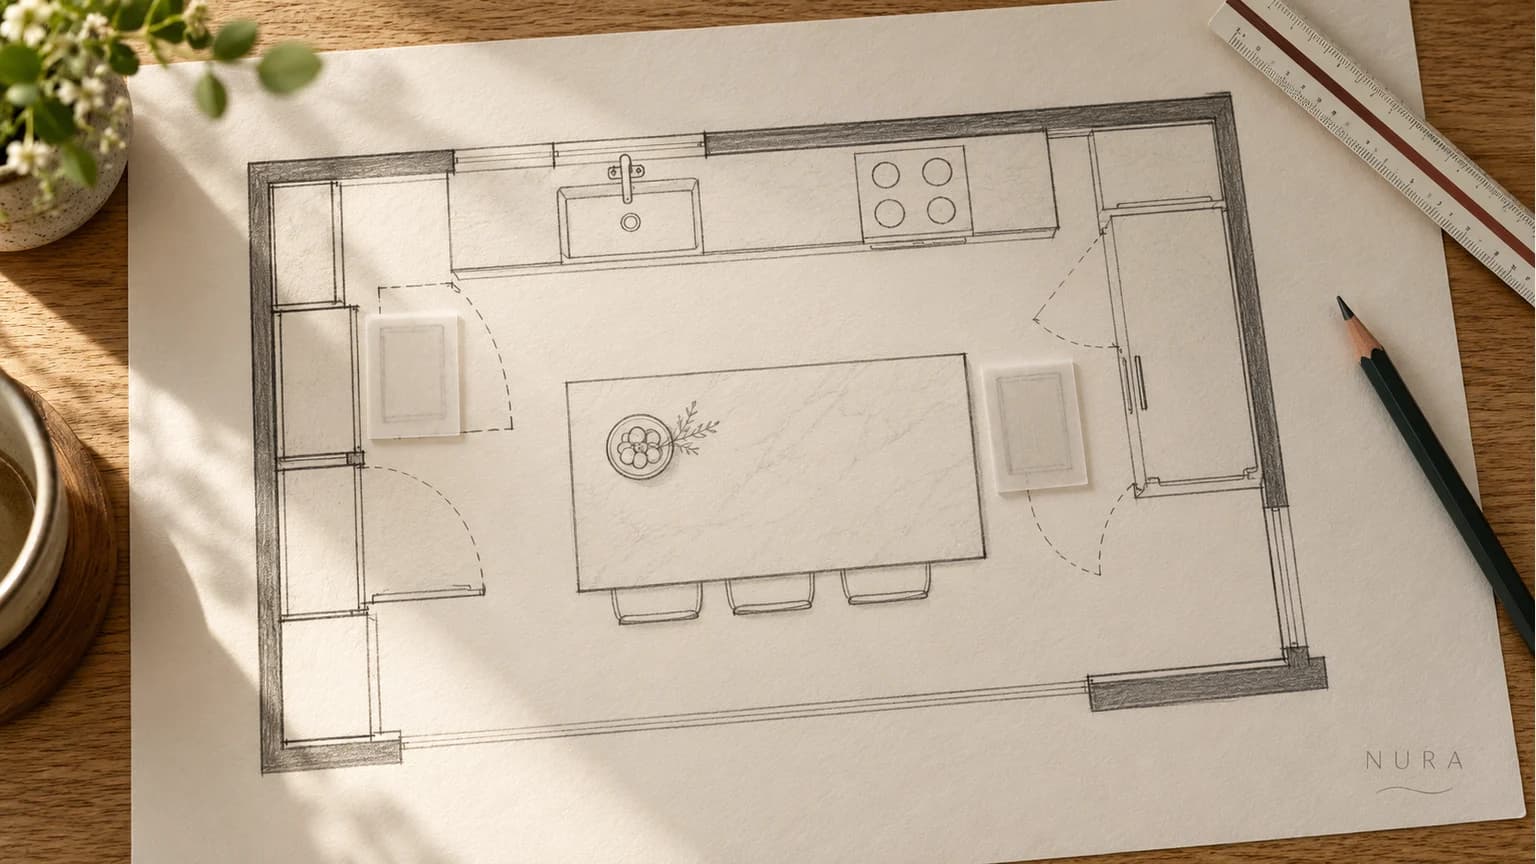
2. Check doors, lids and the standing space
Consider each bin in its open as well as closed position. Check the product drawing for pull-out travel or lid movement, then compare it with the actual dishwasher, fridge and cupboard openings. Can someone use the bin while another person clears the dishwasher? A slim body alone does not establish that the arrangement works. Avoid positions that block a doorway, walkway or access to an appliance.
3. Plan for the waste you actually separate
List the waste streams your household separates and check the current collection guidance for your own council. Do not assume that every borough accepts the same items or liners. Notice which container fills first during normal use and how often you take it out. Several compartments are only useful when their accessible capacity suits that routine; a large combined litre figure does not tell you how the space is divided.
4. Rehearse emptying and cleaning
Look beyond dropping something into the bin. Check how its bucket or liner is removed, where the lid goes and whether the container is comfortable for you to carry. In a showroom demonstration, ask to see the complete removal sequence. Confirm the actual product care instructions. For an integrated system, check access above and around the containers rather than assuming that a bucket fitting inside a cabinet can also be lifted out easily.
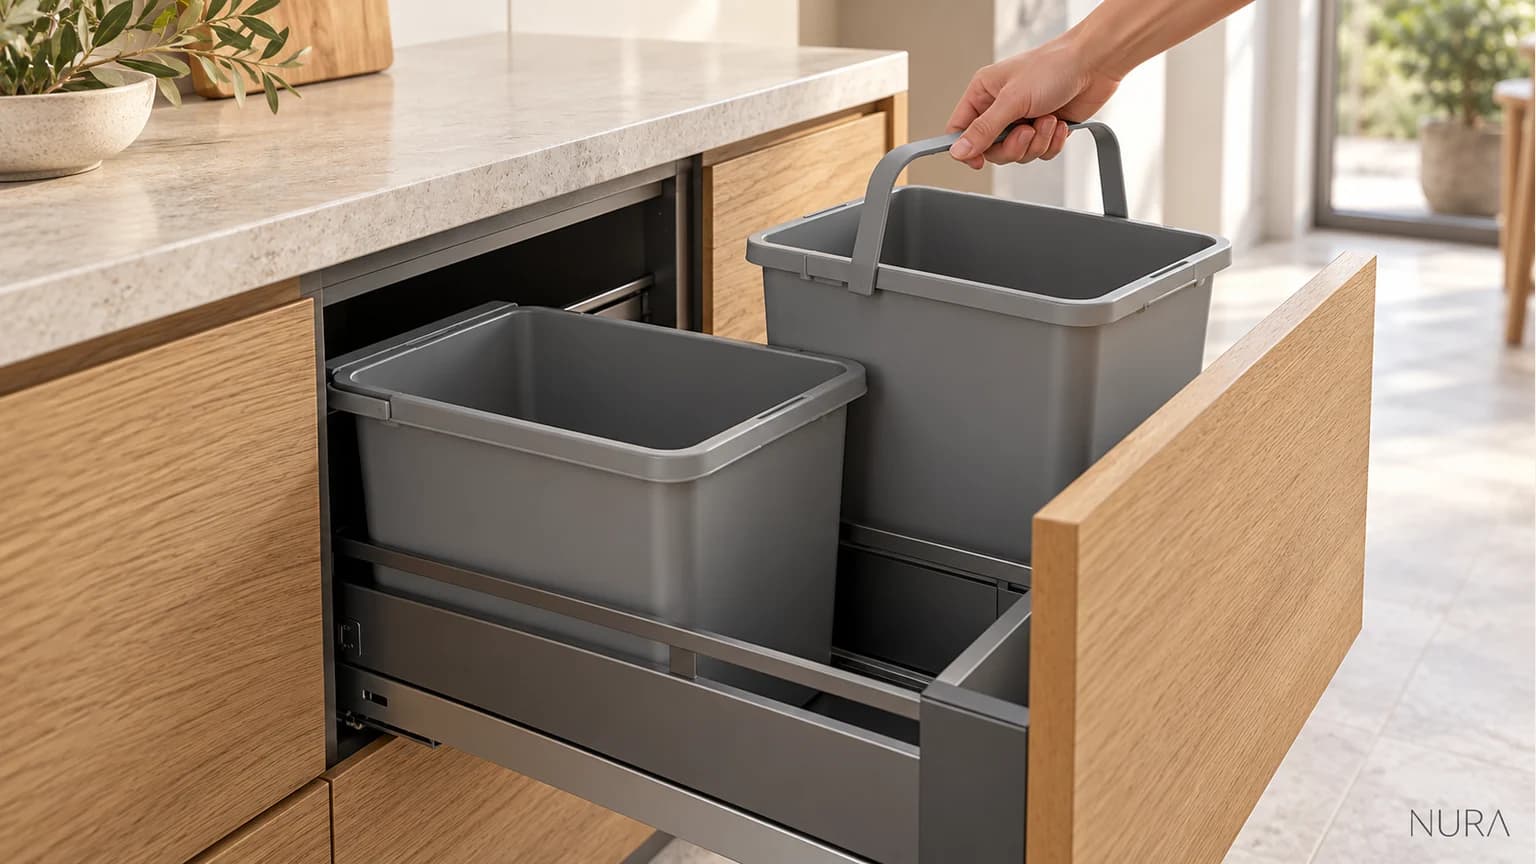
5. Compare floor space with cupboard space
A freestanding bin can be repositioned, but its body, lid or pedal still needs room. An integrated bin uses cabinetry and must be compatible with the specific unit and hardware. Under-sink space may already be needed for plumbing, equipment and servicing. Do not move connections or squeeze a bin around them to make a drawing appear to work. Compare another cabinet location with the designer and installer.
Make the trade-off visible
For a hypothetical kitchen, one option places recycling beneath the preparation worktop; another puts a freestanding bin at the end of the run. The first uses a cabinet that might otherwise store cookware. The second keeps that cabinet but needs a clear floor position and usable lid opening. Neither option wins until the door, access and emptying checks are complete.
| Check | Record for each option |
|---|---|
| Daily route | Where waste arises and who else uses the area |
| Open position | Lid or pull-out movement and neighbouring doors |
| Sorting and emptying | Usable compartments, removal and collection routine |
Bring the bin into the kitchen brief
The IKEA UK waste-sorting guide illustrates different storage approaches. Use the current dimensions and instructions for the product you choose. For the under-sink trade-off, read our sink-cabinet planning guide. These images are illustrations, not Nura project photographs or measured tests.
Explore Nura bespoke kitchen services and bring your two-position plan, waste-sorting needs and questions to a design consultation before the cabinetry brief is finalised.