
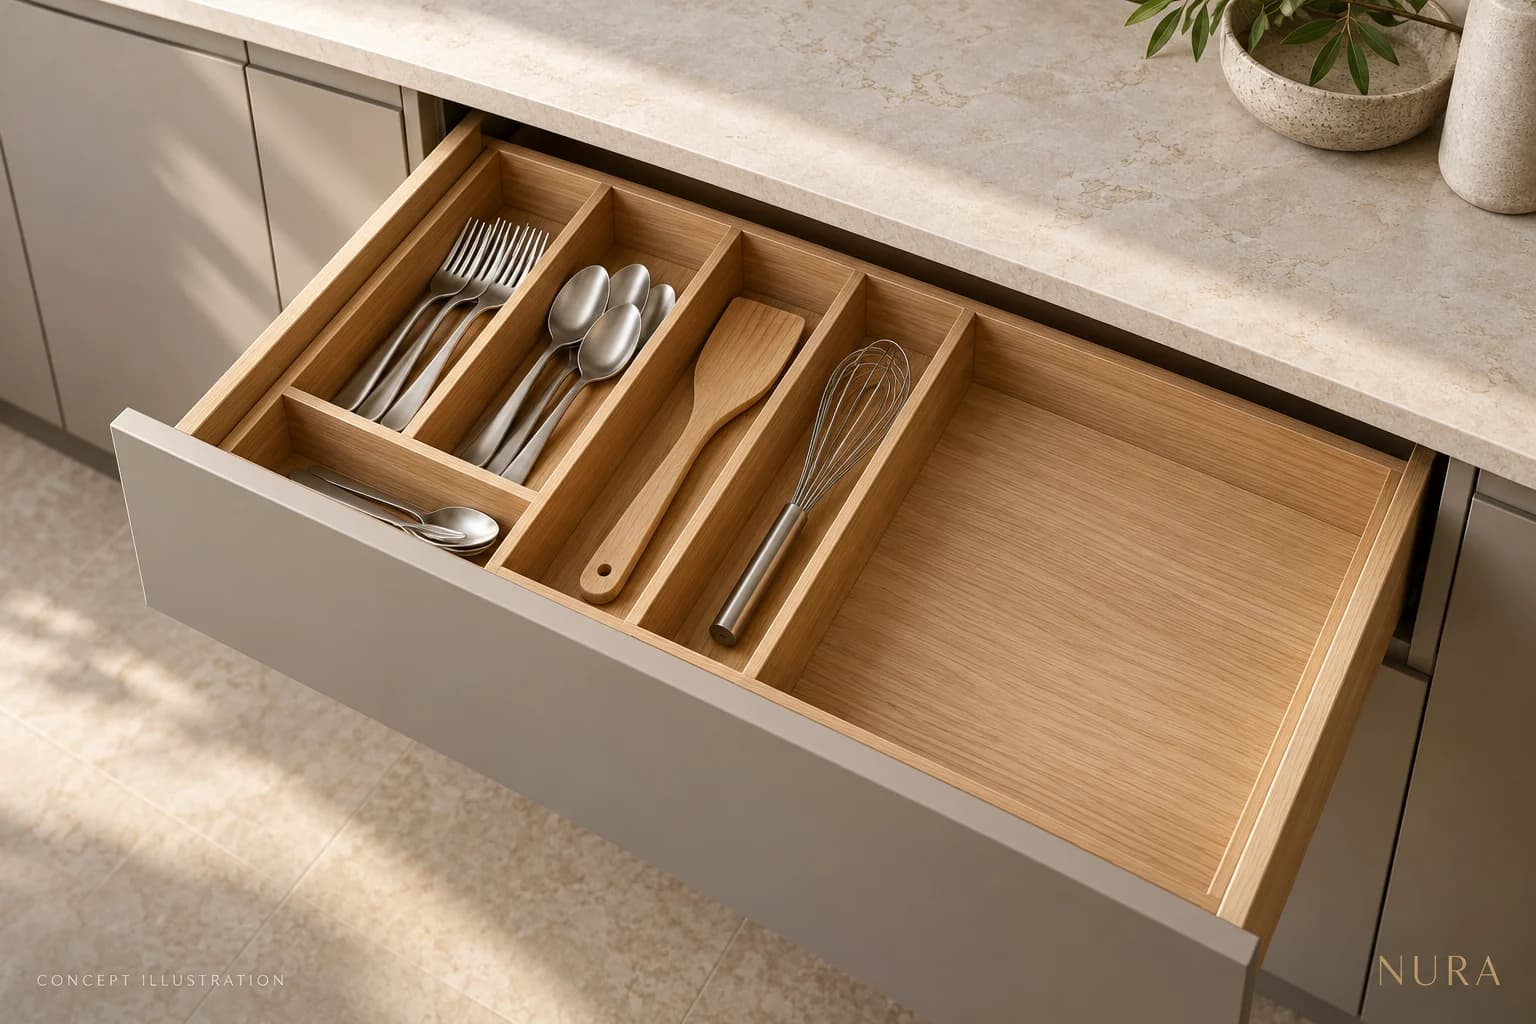

Kitchen drawer organisation starts with the things you use and the clear space inside the drawer, not the organiser in a photograph. Before buying trays or specifying fitted dividers, make a short record of the contents, measurements and product requirements. These five checks work for a single cutlery drawer or a wider kitchen brief.
1. Give the drawer a job
Empty one drawer and group the items you actually use together: everyday cutlery, cooking tools or baking equipment. Set aside duplicates and items that belong elsewhere. Put the most-used group within comfortable reach of its task. A beautiful arrangement is less useful if returning a spoon means moving several other things.
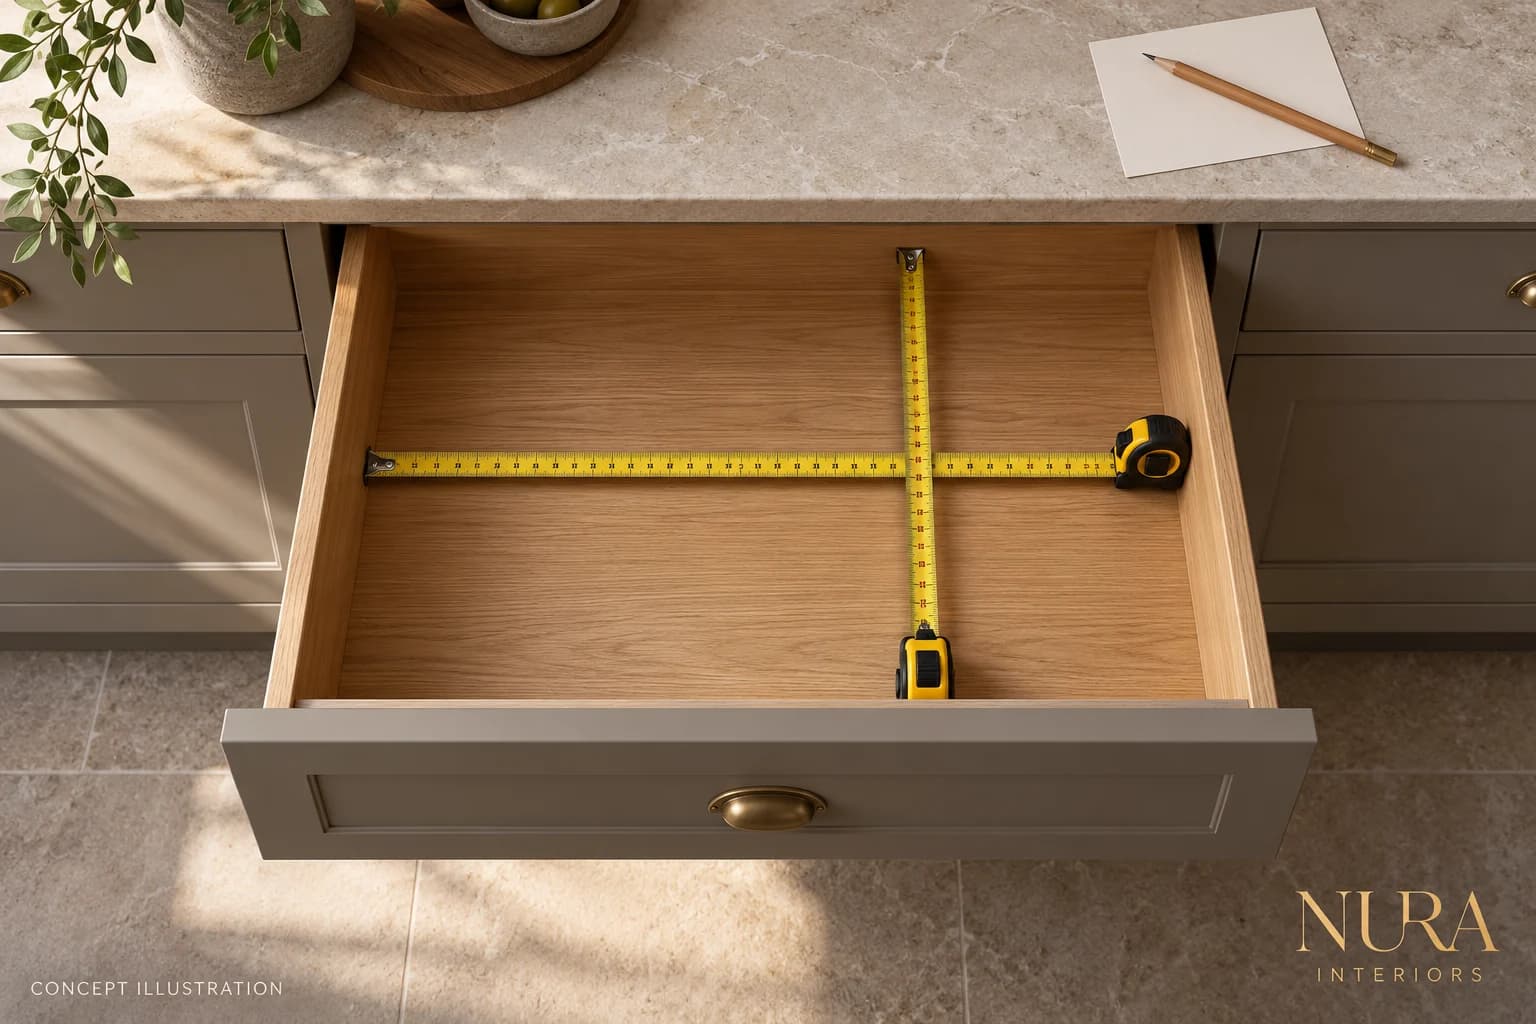
2. Measure the usable interior
Record the clear internal width and front-to-back depth, plus the height available for the loaded organiser when the drawer closes. Include inward-sloping sides, fittings and any obstruction. The cabinet width on a plan is not the same as the space inside its drawer. For new cabinetry, ask the supplier for the intended drawer-box dimensions and insert compatibility before approving the order.
3. Check the items against the compartments
Measure your longest utensils and compare them with the usable compartments, not just the outside dimensions of the tray. Include divider thickness and any angled or stacked storage. In a deep drawer, check the height of the contents as well as the organiser. Keep sharp knives in a purpose-designed protective insert, following its instructions.
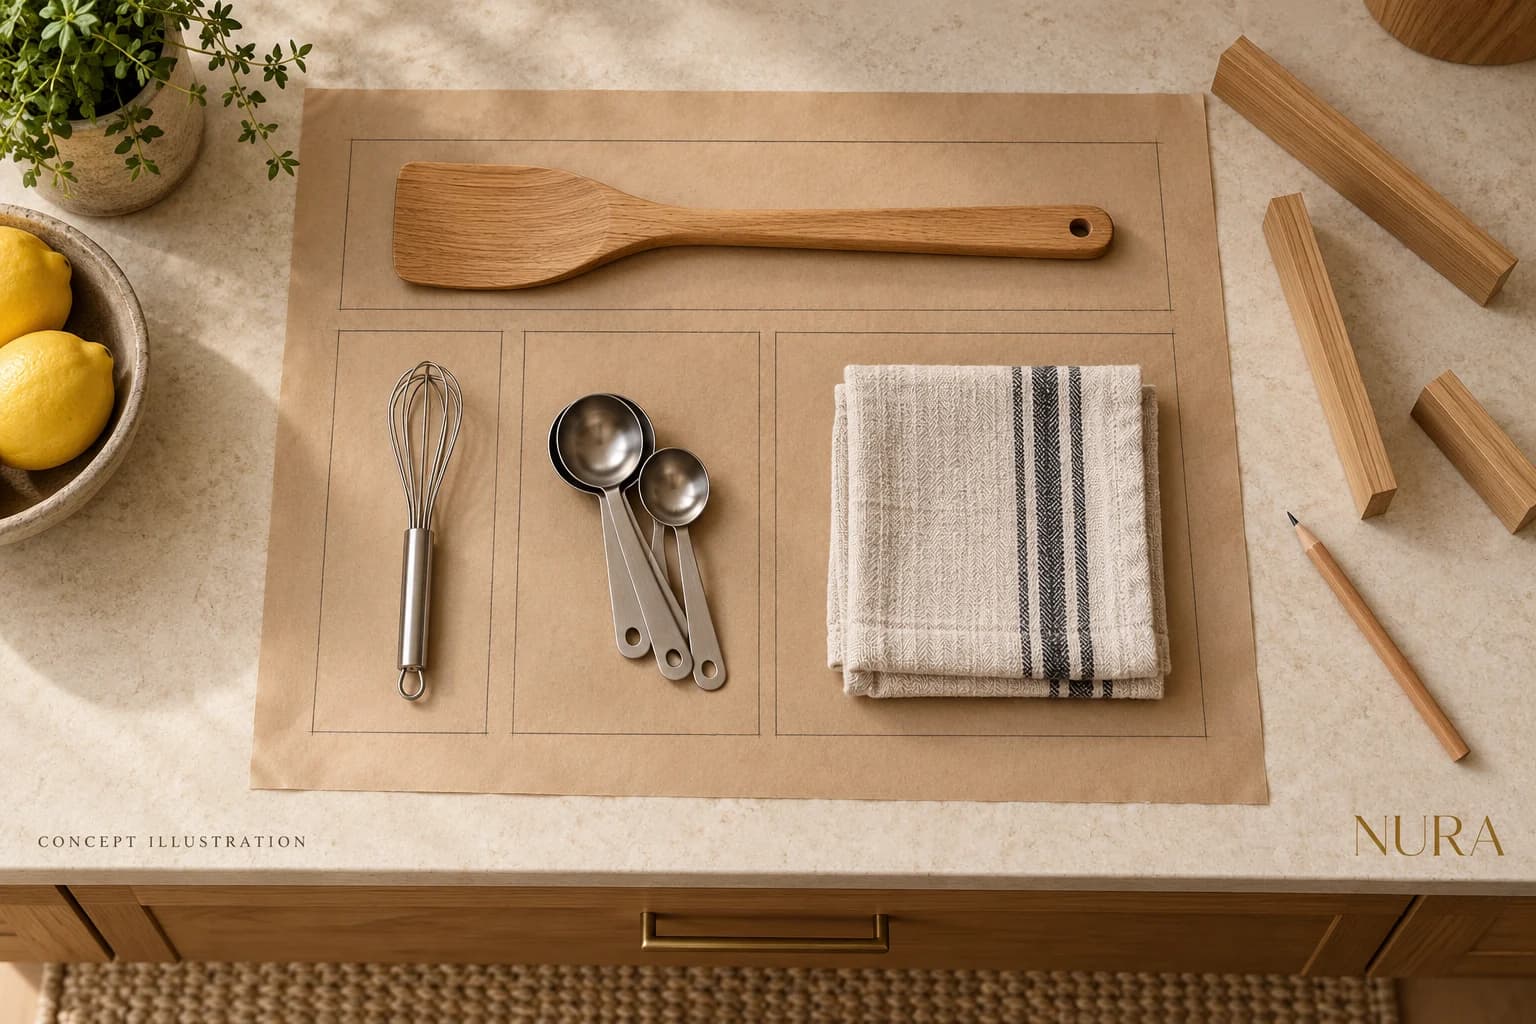
For example, a serving spoon may fit the empty drawer but sit diagonally across two narrow tray compartments. Put that actual spoon beside a paper outline of the proposed compartments on the worktop. A longer open section may suit it better than adding more small divisions. This is a planning example, not a measured Nura installation.
4. Confirm fit before fixing anything
Use a removable product sample or a supplier-approved demonstration to check access and movement. Keep a paper layout on the worktop if its use inside the drawer has not been confirmed. Do not drill, trim the drawer box or attach dividers simply to try an idea. Remove anything that obstructs movement and never force the drawer closed. Follow the exact organiser and drawer instructions for clearances, installation and loading.
5. Plan cleaning and a review
Check the care instructions for the actual insert material and finish. A paper mock-up cannot test how a wood or plastic product will withstand cleaning. Once a compatible removable organiser is in use, revisit the arrangement after a week of normal routines. Notice what gets left on the worktop or repeatedly moved aside. Adjust the grouping before ordering matching inserts for every drawer.
Keep a pre-purchase record
| Check | Record | Confirm before buying |
|---|---|---|
| Purpose | Daily-use groups and longest items | The compartments suit the contents |
| Space | Internal width, depth and loaded clearance | The exact product fits the drawer system |
| Use and care | Access, installation and cleaning requirements | Supplier instructions and any unresolved limits |
Use product guidance for the final decision
The IKEA UK drawer organisation guide shows combinations for named drawer systems. Treat those as product-specific examples, not dimensions for every kitchen. Check the current documentation for whichever insert you choose. All three images here are illustrations, not project photographs or product test results.
For the wider cabinetry brief, read the bespoke kitchen planning guide and explore Nura bespoke kitchen services. Our kitchen handle checks cover another hands-on decision before ordering. Bring your drawer record and questions to a Nura consultation to discuss your kitchen brief.