
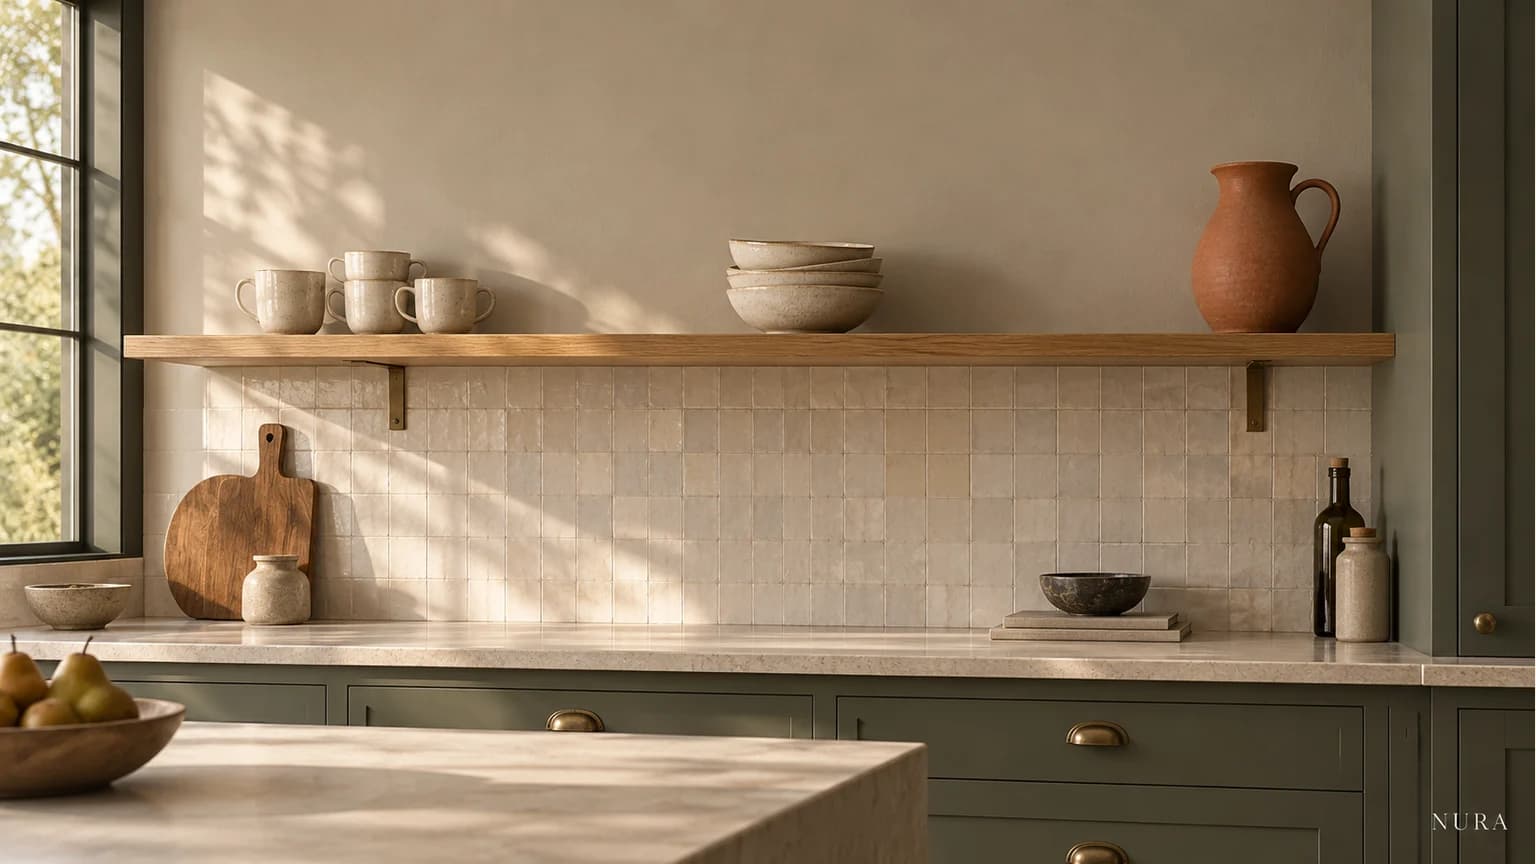

Style kitchen shelves around the cups, bowls and plates you actually use, then add decoration only where it leaves them easy to reach and return. Try the arrangement on one existing shelf before buying more objects. This four-step approach is a styling exercise, not a test of shelf strength.
1. Start with the daily-use group
Choose a securely installed shelf you can comfortably reach. Check its own mounting, loading and care instructions before rearranging anything. Set aside pieces you rarely use and begin with a small group of everyday crockery. Keep each stack manageable for you; a display that requires moving several objects to take one cup is worth simplifying.
2. Repeat a colour, vary a shape
Use what is already in the room: perhaps warm white cups beside a wood finish, with one coloured jug. Repeating a glaze can connect unlike shapes without buying a matching set. Groups of three are an option, not a rule. Two useful groups with a clear gap may suit a short shelf better than three crowded arrangements.
3. Check the lift, return and wipe
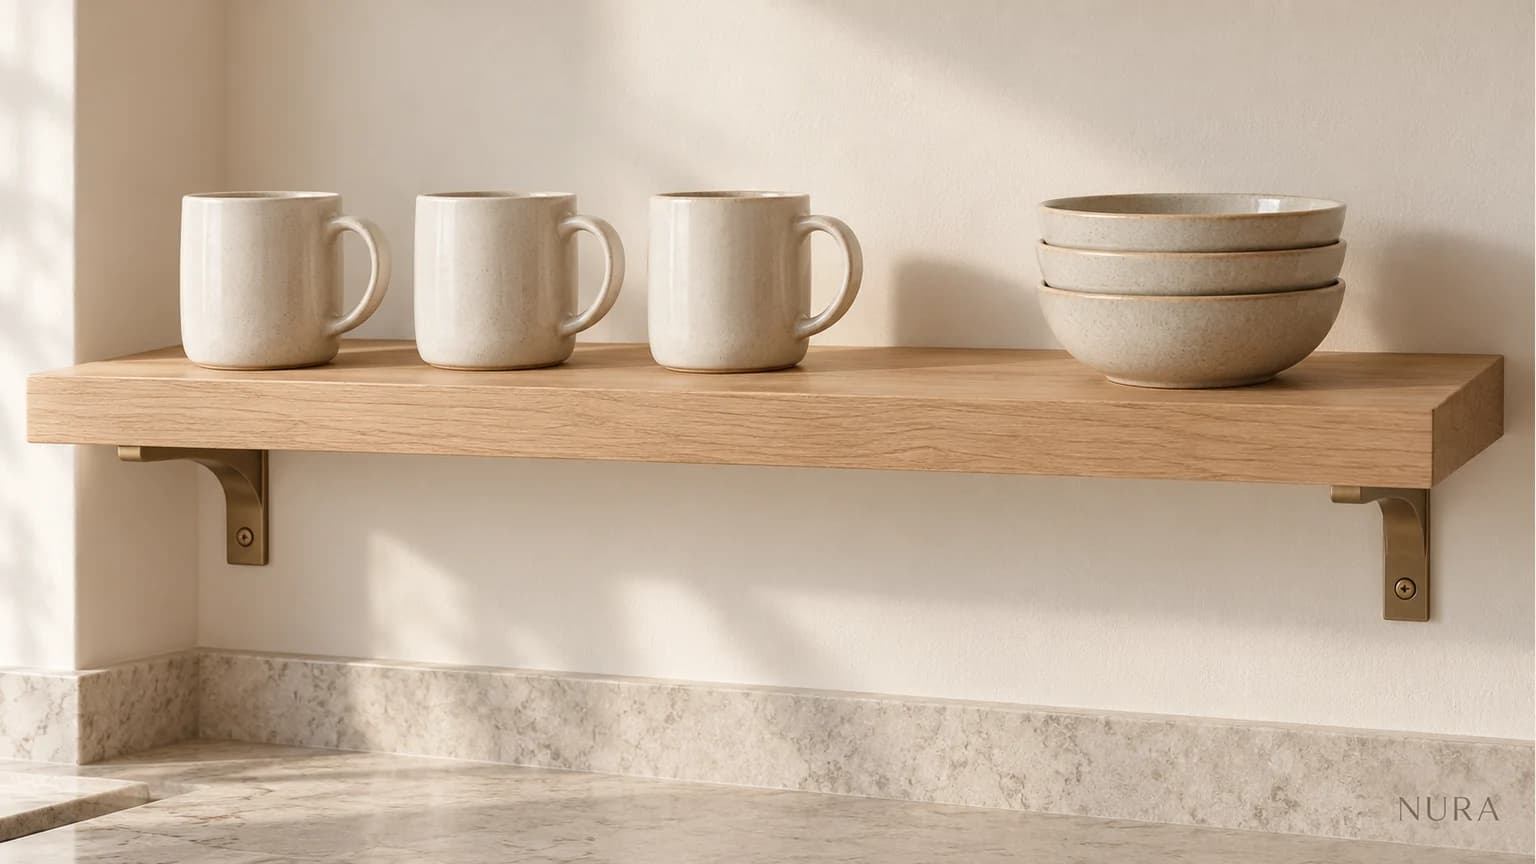
From your normal standing position, take out a cup and put it back. Can you hold its handle without nudging the neighbouring bowl? Can you lift the top plate without contacting the shelf above? Leave the space your actual objects and movements need; there is no universal styling gap. Keep heavy or awkward pieces elsewhere if reaching them is uncomfortable. Make sure you can also remove the group to clean the shelf according to its care instructions.
4. Live with one arrangement before adding more
Use the shelf through a normal week and note which objects you keep shifting. A week is a suggested observation period, not a measured performance claim. If a decorative piece repeatedly gets moved onto the worktop, try removing it. Photograph the arrangement for your own comparison, then change one thing at a time. Buy an extra object only when you know what useful space remains.
A simple example and your own shelf record
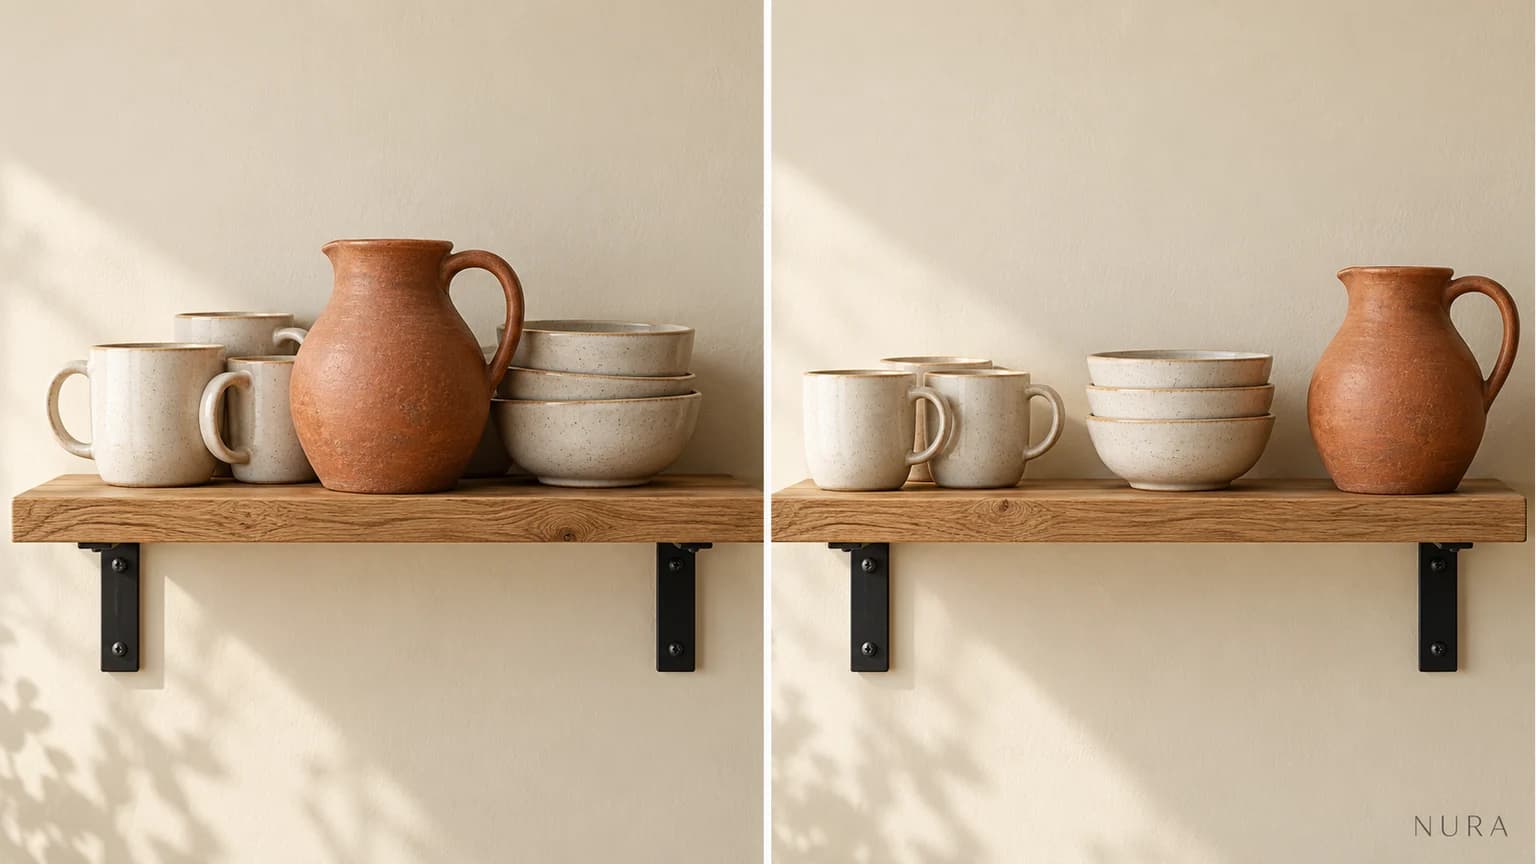
For a hypothetical tea shelf, begin with three mugs and a short stack of side plates. A tall jug placed in front of the mugs could block their handles. Move it to a clear end of the shelf, or leave it off entirely if the space is still tight. The aim is an arrangement that works during breakfast as well as in a photograph.
| Check | What to note | Possible adjustment |
|---|---|---|
| Take and return | Objects moved to reach a cup | Separate or reduce groups |
| Clean | Pieces that are awkward to remove | Simplify the display |
| Daily use | Decor repeatedly left on the worktop | Remove it before buying more |
Connect the shelf to your wider kitchen
For product-specific storage examples, see IKEA UK kitchen shelf ideas. Follow the instructions for your actual shelving rather than transferring load limits from another system. These images are illustrations, not Nura project photographs.
For storage behind the doors, try our drawer organisation checks. If the room needs a wider rethink, explore Nura bespoke kitchen services and bring your shelf photograph and daily-use notes to a design consultation.