
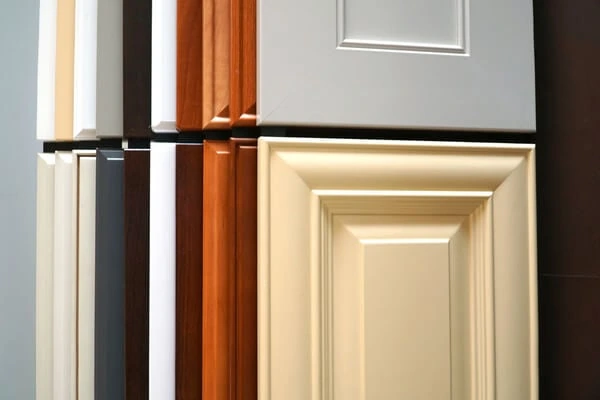

The finish on a kitchen door shapes the room before you open a cupboard. It can introduce the quiet texture of timber, reflect daylight or give a long wall of cabinetry a soft, consistent colour. It also needs to suit the hands, spills and cleaning that come with everyday use.
Painted, lacquered and veneered are useful starting descriptions, but they are not three completely separate constructions. Understanding what each term refers to makes it easier to compare samples and choose a finish you will enjoy living with.
Ask what sits beneath the description
A painted door usually describes an opaque coloured finish. Lacquer describes a coating system, which may be clear or pigmented and available in different sheens. Veneer describes a thin wood face bonded to a supporting panel; that face may itself receive a stain and a lacquered protective finish.
You therefore need more than a single label. Ask for the door substrate, visible face, edge construction and final coating to be explained. A veneered door with a clear lacquer and an opaque lacquered door might share aspects of the coating process while looking entirely different.
Choose the appearance you want to live with
An opaque colour can make cabinetry feel continuous with the architecture. It works particularly well when a wall of doors should read as a calm background rather than a series of individual pieces. Profiles and shadows still give it depth.
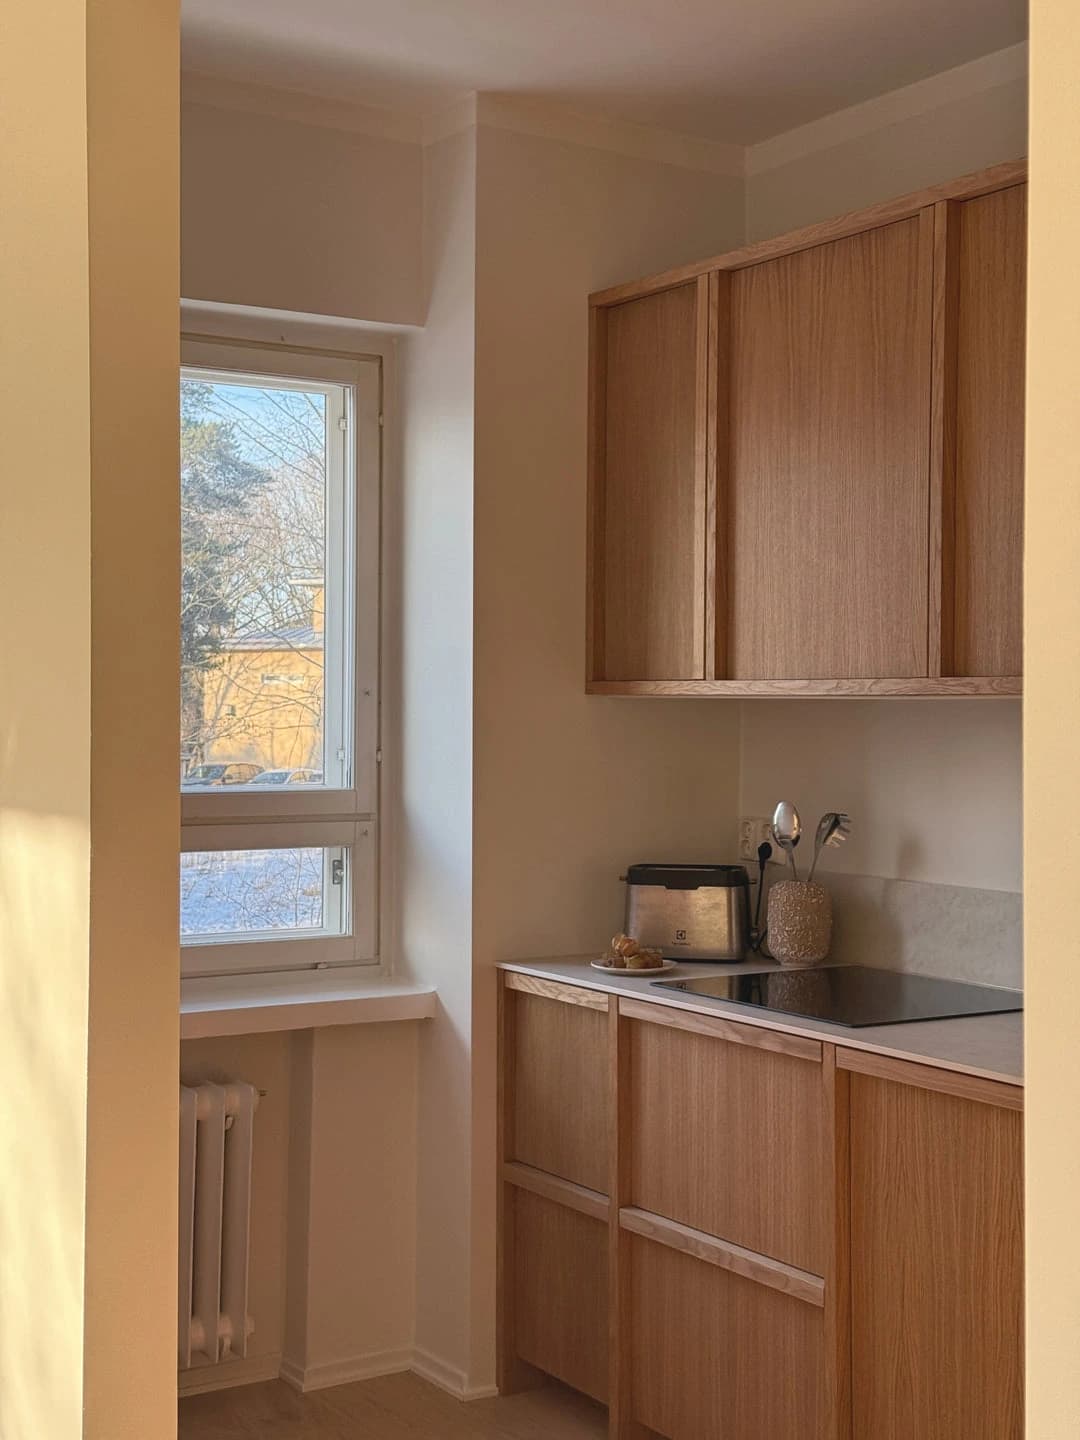
Natural veneer introduces variation and a visible grain. That can bring warmth to a restrained palette or make an island a focal point. Decide whether you enjoy the differences that come with real timber, then consider the grain arrangement at the scale of the full elevation. Our wood and veneer guide explains the underlying construction choices.
Separate the application method from the sheen
Hand-applied and spray-applied describe how a coating is put on. Matt, satin and gloss describe aspects of its appearance. A sprayed finish is not necessarily glossy, and an opaque painted door is not necessarily hand-painted.
If you like a visible brush character, say so. If you want a smooth, uniform surface, review a sample that demonstrates it on the intended profile. Application quality, preparation and the coating system all contribute to the result. One method alone does not establish the quality of the whole kitchen.
Consider how light meets the surface
Gloss can create strong reflections; lower-sheen finishes generally give a softer reading. Neither will behave identically in every room. Light across a long elevation can reveal changes in texture that are less apparent on a small horizontal sample.
Handle the sample as well as looking at it. Fingerprint visibility depends on the finish, colour, lighting and use, so do not assume that every matt door is fingerprint-resistant. Ask whether any performance claim applies to the exact product being quoted and how it should be cleaned.
Discuss care and repair before choosing
Ask what happens if a door is chipped near a handle or marked beside the dishwasher. Some finishes allow a local repair; others may need specialist refinishing or a replacement component to achieve an acceptable result. A colour code alone does not guarantee an invisible touch-up.
Veneer requires particular care when discussing sanding because the visible wood layer is limited. Do not treat it as a solid timber door. Follow the manufacturer's guidance for the supplied coating, including suitable cleaning products and the response to spills. A considered aftercare conversation is part of choosing the material.
Use mixed finishes with a clear purpose
You do not have to choose one surface for every cabinet. A hypothetical kitchen might use a restrained opaque colour on tall storage and a warmer veneer on the island. The difference can help the island feel more like furniture while the storage wall stays visually quiet.
Limit the decisions to those that strengthen the room. Compare the finishes with the floor, worktop and handles, then look at their junctions. End panels, return edges and the back of the island need the same attention as the main doors. A coordinated palette depends on those transitions.
Make the sample part of the specification
Record the approved colour, sheen, profile and coating description. For veneer, add the timber selection, grain direction and intended matching. Ask which surfaces the quotation includes and whether further sampling or specialist effects change the scope.
Nura considers finishes within the wider kitchen design, rather than as a final colour choice after the layout is complete. The relationship between the materials should be visible while there is still time to refine it.
Bring the materials together
The best finish is the one that supports both the atmosphere you want and the way you use the kitchen. A physical sample, honest care guidance and a clear description are more useful than a broad claim that one category is always superior.
Bring your material references to Nura. We can compare colour, grain and sheen together, then define which finish needs to be developed for your project.
Planning your next step
Use this guide as a starting point for your own brief. Compare the room, materials and practical requirements with the way you want the space to work.
Read the bespoke kitchen planning guide or explore Nura bespoke kitchen services before discussing your project.
Ready to discuss the brief? Contact the Nura studio to share your plans, questions and priorities.