

The most memorable Christmas decorations are not always the most expensive. A paper star made at the kitchen table, a ribbon reused from a gift or a small display of inherited baubles can give a room character while reducing unnecessary purchases. The key is to make projects that suit your time, materials and home.
Quick answer: Start with the materials you already own, choose one manageable project, prepare a clear work surface, and test where the finished decoration will live before making several. Reuse sound pieces and keep fragile, loose or sharp materials away from children and pets.
These five projects expand the DIY section of our Christmas Decorations 2027: 35 Ideas. They are design instructions for home decorating, not craft-product certifications or a substitute for assessing the safety of materials you use.
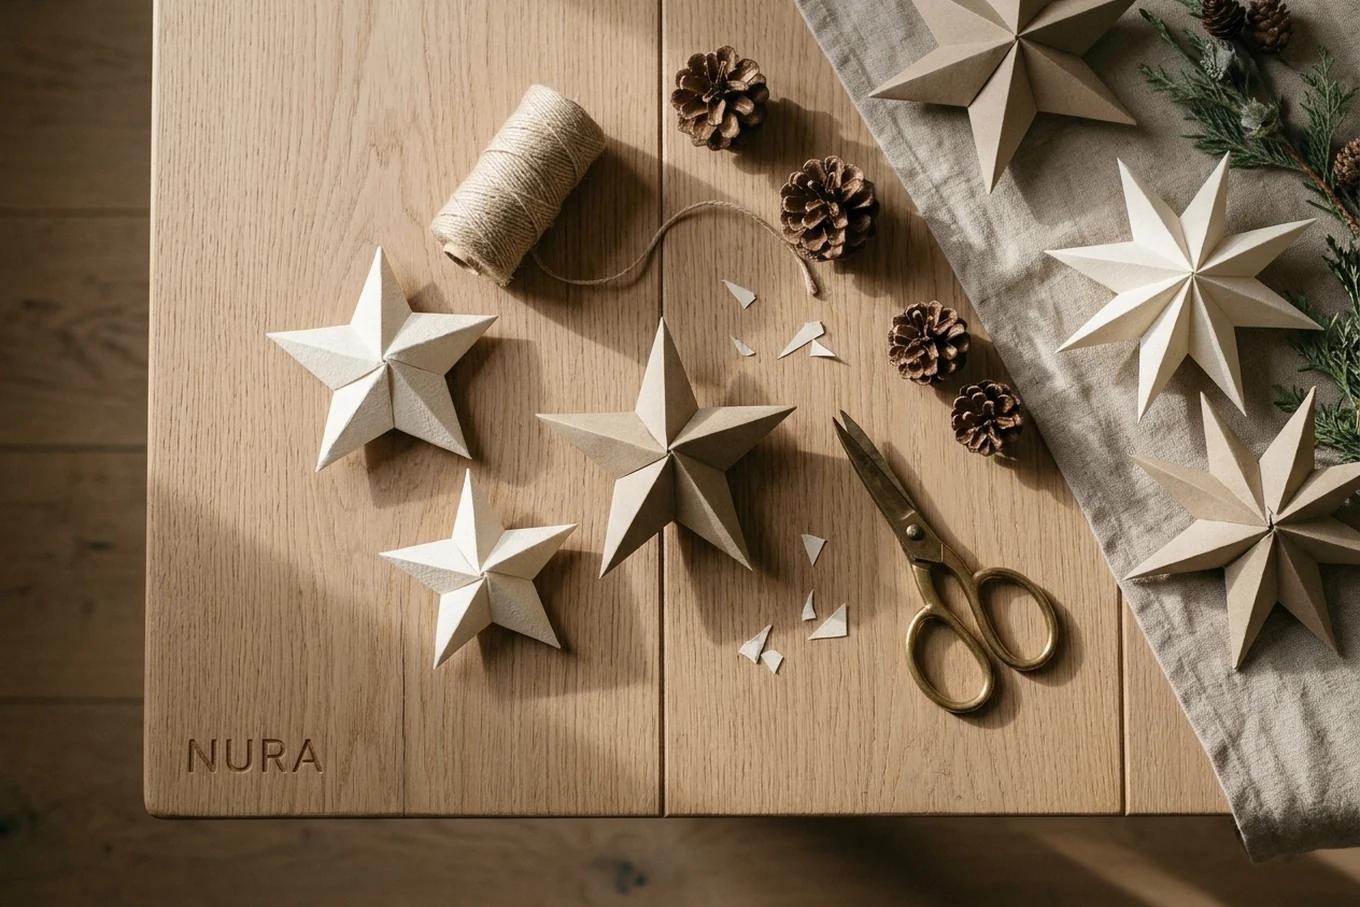
Project 1: simple folded paper stars
Starting paper dimensions & materials: Use 15cm × 15cm or 20cm × 20cm squares cut from 120–160gsm unbeaten cream or warmstone card (or heavy cartridge paper). Avoid lightweight 80gsm copy paper (too limp to hold crisp 3D facets) or heavy card over 200gsm (which cracks along fold spines). You will also need a steel ruler, pencil, bone folder or clean wooden spatula, craft scissors or craft knife, PVA craft glue or 6mm high-tack double-sided tape, and 1.5mm natural linen twine.
- Crease the eight radial guidelines: Take one square. Fold diagonally in half corner-to-corner; crease and unfold. Fold the opposite diagonal; crease and unfold. Turn the square 45 degrees, fold horizontally in half edge-to-edge; crease and unfold. Fold vertically in half; crease and unfold. You now have eight symmetrical crease lines radiating from the exact centre.
- Measure and cut the mid-points: On the four perpendicular (horizontal and vertical) folds, measure exactly 35% of the distance from the outer edge towards the centre (approximately 2.6cm on a 15cm square, or 3.5cm on a 20cm square). Make four straight cuts with scissors from the outer edge to your pencil marks along these perpendicular folds.
- Fold the four triangular points: At each of the four cut corners, fold the outer edges inward to meet the adjacent diagonal crease line, forming four sharp triangular points. Crease firmly with your bone folder. You now have a four-pointed star module with crisp mountain folds along the point spines and valley folds between them.
- Join two halves into an 8-point 3D star: On each point, apply a thin strip of double-sided tape or a bead of PVA glue along one folded flap, tucking one flap beneath the other to create four raised 3D pyramid facets. Repeat steps 1–3 on a second square of identical size. Finally, sandwich a 20cm looped length of linen twine between the two 4-point halves, offset them at 45 degrees so eight symmetrical points radiate outward, and secure the flat centres firmly with PVA glue or double-sided tape.
Use a single neutral shade against a coloured wall, or a small family of warm whites. Keep paper away from candles, hot lamps and cooking surfaces. If hanging from a window, retain easy access to the opening mechanism and blind.
Project 2: a dried-orange garland
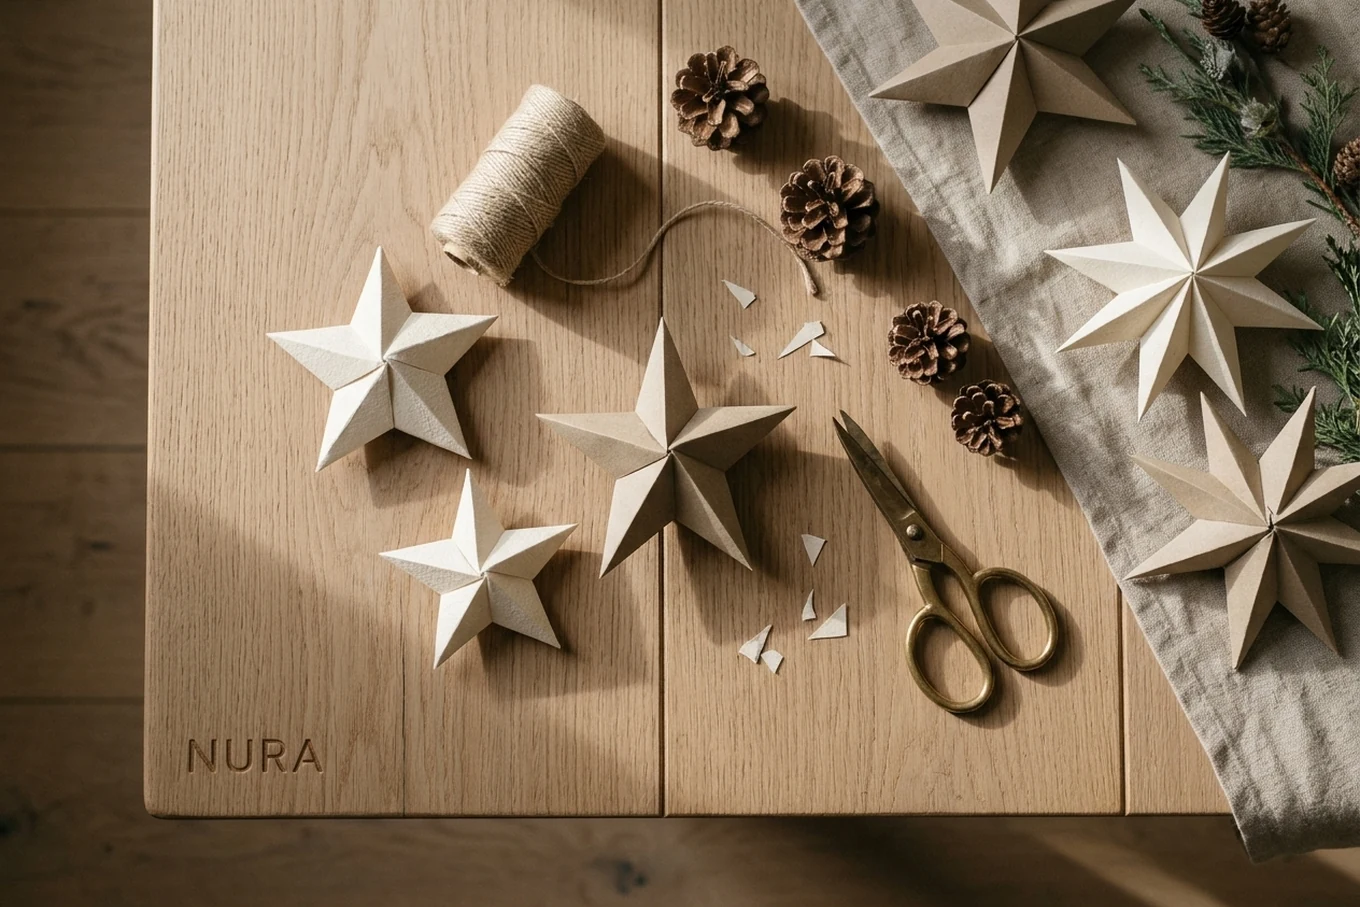
Ingredients & oven-drying method: Rather than buying brittle, chemical-treated commercial slices, homemade oven-drying produces luminous, stained-glass medallions with rich amber halos that gently perfume the room.
- Selection and slicing: Slice 4–5 firm navel oranges and 3–4 blood oranges (Moro or Tarocco varieties provide deep crimson and ruby centres) into a uniform 3mm to 4mm thickness using a sharp serrated knife or mandoline. Discard uneven end caps. Slices thicker than 5mm take over five hours to dehydrate; slices under 2mm curl and burn at the edges.
- Blotting: Lay the fresh slices flat between four layers of heavy kitchen paper. Press firmly with the palms of your hands to absorb excess surface moisture. Thorough blotting cuts baking time by nearly an hour and prevents caramelised browning.
- Low-temperature convection bake: Arrange the blotted slices in a single layer across wire oven cooling racks placed over rimmed baking sheets (allowing heat to circulate freely beneath the fruit). Bake in a fan-assisted oven at 90°C–95°C (gas mark ¼) for 2.5 to 3 hours, turning every slice with tongs every 45 minutes until the pulp is translucent like stained glass and the rinds feel firm and dry.
- Overnight cooling and threading: Leave the slices on the wire racks overnight in a dry room to finish curing into crisp discs. Pierce two small holes through the flesh of each slice just beneath the rind with a blunt tapestry needle. Thread onto 2mm natural unbleached jute twine, spacing slices 8cm–10cm apart and alternating blood orange with navel orange. Alternate with bay leaves, dried star anise and 8cm bundles of Ceylon cinnamon quills tied with linen thread.
Natural materials can be attractive beside oak, paper and linen. They are not automatically suitable for pets or young children and should not be placed where they can be mistaken for food. Avoid hanging them beside open flames or high heat.
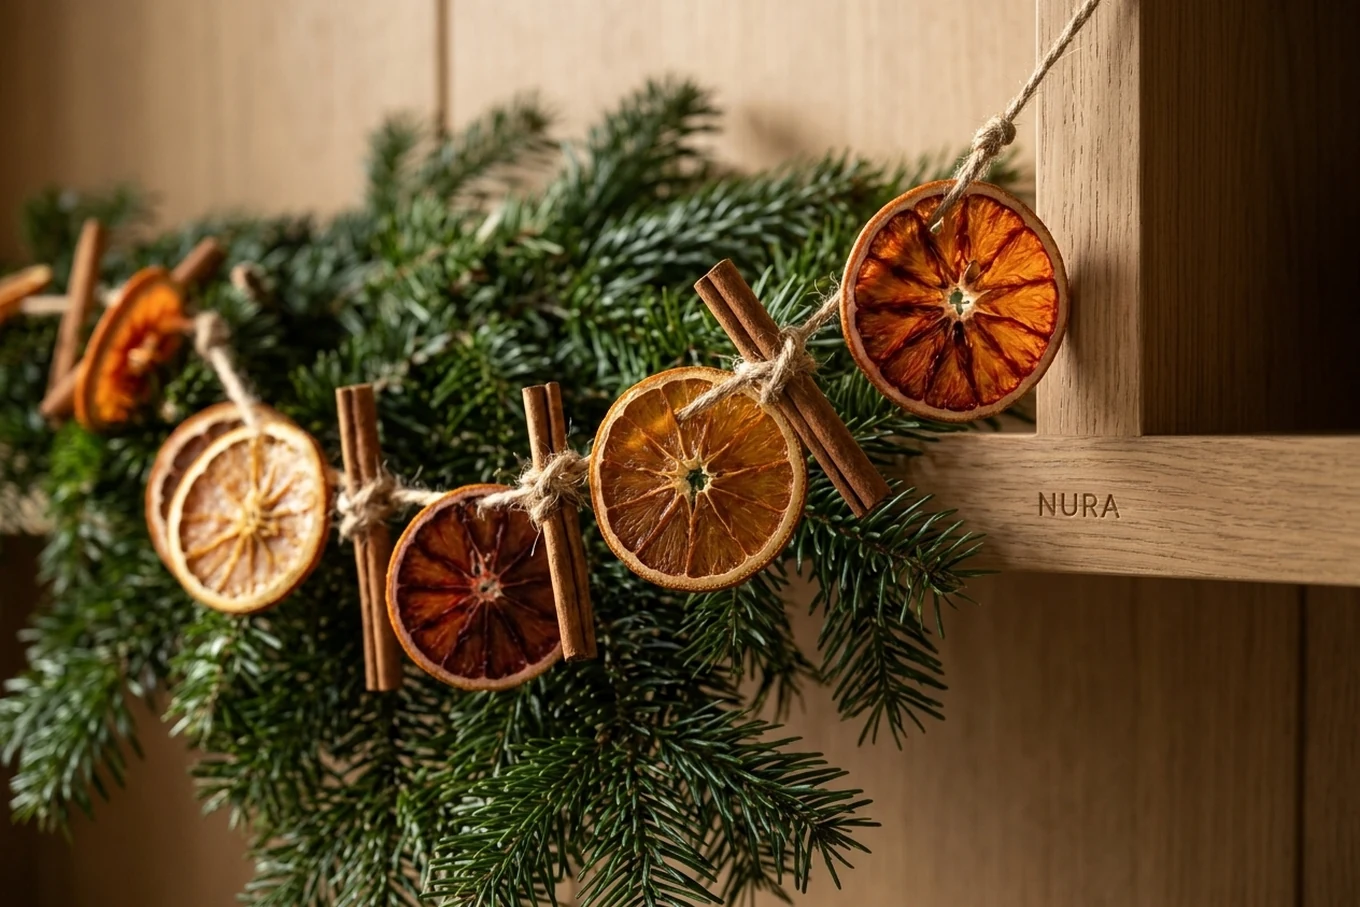
Project 3: reuse baubles in a glass bowl or tray
You will need: sound decorations, a stable tray or bowl, and a protective base suitable for your furniture. Wash and dry any container that previously held food or liquid before putting ornaments inside it.
Choose three related colours or finishes, then vary their size. Place the largest items first so they do not balance precariously on fragile smaller ones. A cluster of existing glass baubles can enliven a sideboard without asking you to purchase a second tree.
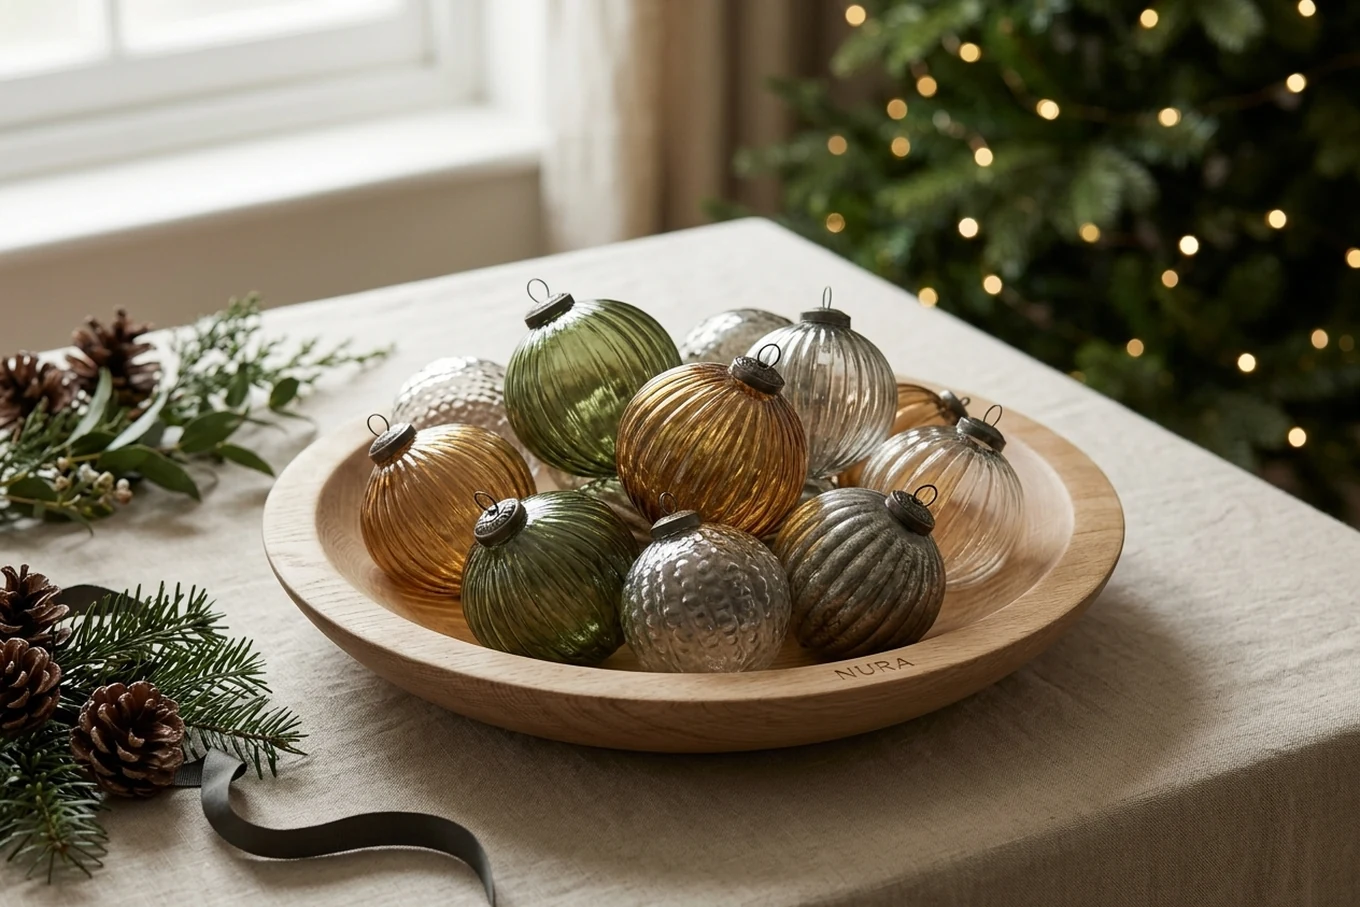
Keep delicate glass out of reach of pets and children and away from the edge of a narrow shelf. Use a compatible mat beneath any glass, metal or ceramic object that might scratch the surface.
Project 4: oversized ribbon bows
Exact ribbon dimensions & materials: For tailored bows that hold an architectural silhouette on tree boughs or chair backs without drooping, choose 38mm to 50mm wide double-faced velvet ribbon (double-faced velvet has a plush pile on both sides so twisting never reveals a dull woven backing). Cut 130cm to 150cm length per bow to achieve a generous 22cm wing span across the loops with dramatic 45cm trailing tails. You will also need 24-gauge green or brass floristry wire and sharp fabric shears.
- Form the balanced loops: Measure 45cm inward from one ribbon end (forming the first trailing tail). Create a 11cm loop heading left, cross the centre point, and create an identical 11cm loop heading right, leaving the remaining 45cm as the second trailing tail.
- Accordion pinch: Gather the centre firmly into three crisp, vertical accordion pleats between your thumb and forefinger.
- Wire the pinch point: Wrap a 15cm length of 24-gauge floristry wire tightly around the pleated pinch point, twisting firmly three times at the back with pliers. Leave the wire ends long so they can be tied directly onto tree boughs, wreath frames or joinery knobs without adhesive tape.
- Conceal the wire and cut tails: Cut a 6cm snippet of the same velvet ribbon, fold in thirds lengthwise, wrap around the wire centre to form a neat tailored knot, and secure at the back with a dab of fabric glue or two small hand stitches. Fold each tail end in half vertically and cut diagonally upward at 45 degrees to create clean, classic swallowtail ends.
Practical note: Fabric ties must not interfere with doors, hinges, ventilation, hot equipment or a child's ability to move freely. A very long loose tail can be a pulling hazard.
Project 5: a pinecone and foliage centrepiece
You will need: clean dry pinecones, an appropriate shallow tray, a few small foliage pieces or reusable alternatives, and a protective base. Build the arrangement in the tray rather than directly on your table.
Make the overall shape low so people can talk over it and pass serving dishes. Leave space for plates, glasses and hot food. If fresh foliage is used, check it regularly and keep moisture off timber and stone. Do not place an exposed flame among dry foliage, paper or pinecones; use suitable electric lighting if a glow is wanted.
Choose a project by the time and space you have
- Ten quiet minutes: move existing baubles into a different display.
- One short craft session: a few paper stars or one trial ribbon bow.
- An afternoon with preparation: a dried-orange garland or grouped centrepiece.
- Very little storage: choose flat paper decorations and reusable ribbon.
- A busy kitchen: make the project elsewhere or clear a protected work surface first.
These are planning examples, not guaranteed time estimates. Work carefully, especially where scissors, needles or other tools are involved. The finished decoration should be robust enough for its actual location.
Frequently asked questions
Are homemade decorations always cheaper?
Not necessarily. Tools, adhesives, replacement materials and wasted attempts can add up. Begin with what you already own and price the whole project, not just one packet of supplies.
Can I use fresh foliage directly on a stone or wooden table?
Use a suitable tray or protective base and keep moisture off the finish. Do not assume every natural material is safe to rest against every surface.
How do I make DIY decorations look elegant?
Repeat one material or colour, leave visible space around the pieces and avoid making all five projects for one room. A single well-placed star can be more effective than a crowded display.
For a coordinated tree, continue with Christmas tree decorating ideas 2027. For the wider room scheme, see Christmas colour trends 2027 and our 35-idea Christmas decorating guide. For durable bespoke fitted storage rather than seasonal décor, explore NURA's joinery service.