
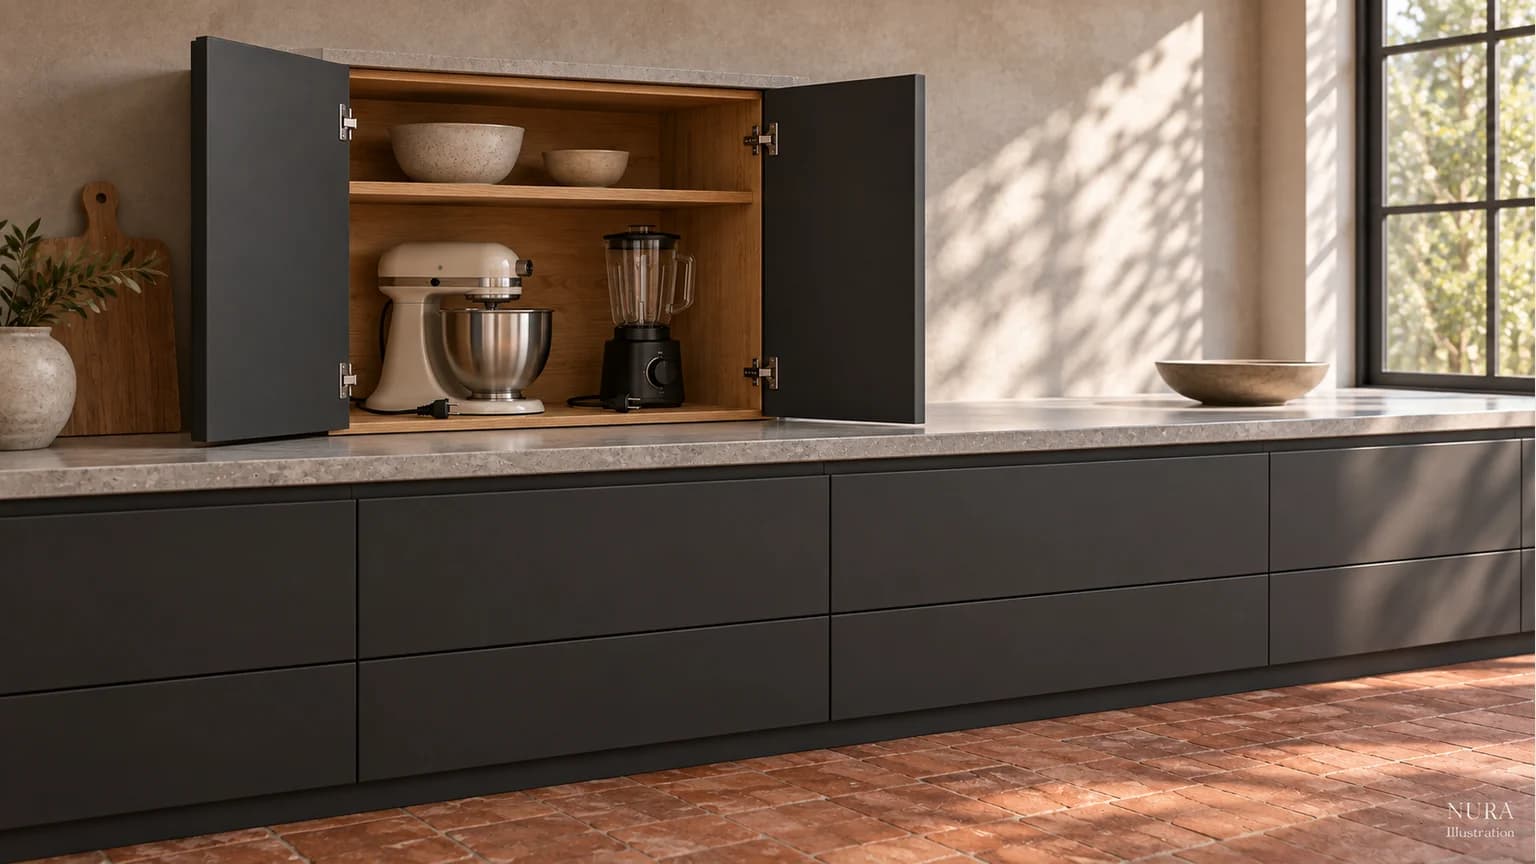

A kitchen appliance garage conceals countertop appliances behind cabinet doors, often in a cupboard that sits on the worktop. Plan it around more than the appliances' stored dimensions: record how you lift out a jug, remove a bowl, fill a reservoir and clean the parts. Establish where each appliance may be stored and used before choosing the cabinetry.
Separate storage from operation
An appliance fitting inside a cupboard does not establish that it can be used there. Read the exact model's instructions for storage, operating position, surrounding space and access. An open cabinet door or a pull-out shelf is not, by itself, permission to run the appliance in that location.
For example, Dualit's toaster guidance advises against keeping a toaster in an appliance garage or pantry-style cupboard, especially while in use. Check storage restrictions as well as operating instructions; do not reduce that advice to simply leaving the doors open. If a model is unsuitable for the proposed cupboard, give it a different permitted home and working position.
This is a cabinetry planning brief, not an approval of an appliance installation. Ask the designer to coordinate the chosen appliance instructions with the furniture and any proposed electrical work before the design is agreed.
Record the movement around the appliance
List the models you own or intend to buy, including their attachments. Measure the actual items and note which parts lift upward, slide forward or detach. Ask for the usable cabinet opening and interior dimensions rather than relying on the overall cupboard width.
| Part of the task | What to record |
|---|---|
| Put away | Appliance footprint, cable and attachment positions, permitted storage conditions |
| Take out or fill | Jug, lid, bowl or reservoir movement; comfortable handling route |
| Clean and return | Where detached parts rest and how the interior can be reached |
A photograph of a neatly arranged cupboard cannot show those movements. Check them with your own appliance, switched off and disconnected as its instructions require. A cardboard outline can help discuss the layout, but it does not replace appliance instructions or the cabinet supplier's specification.
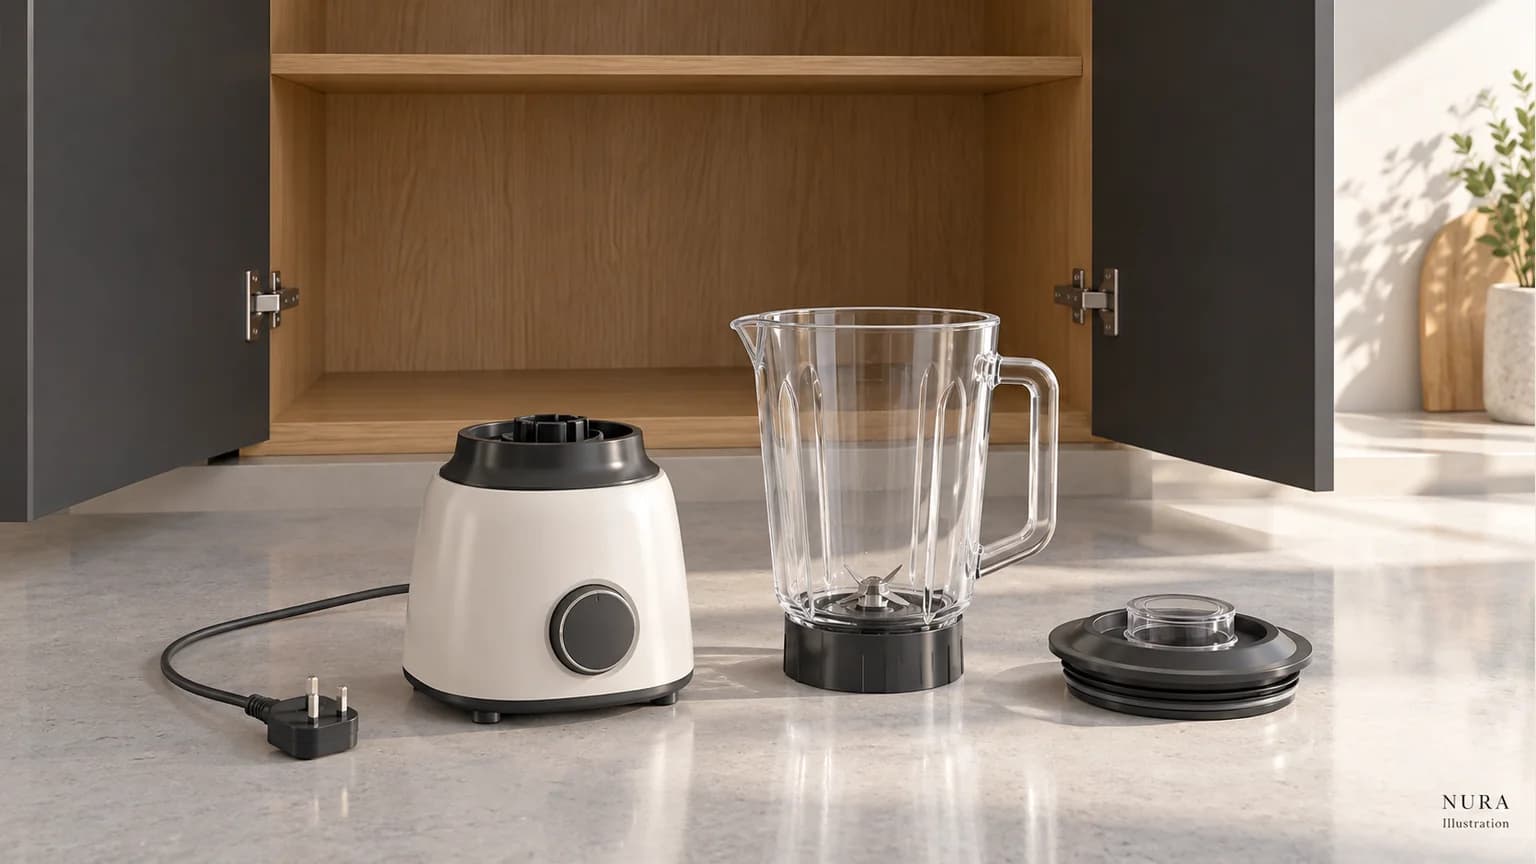
Keep a real piece of worktop available
Decide where the appliance and its parts will go when removed. That surface might otherwise have been your main preparation area. A garage can conceal objects while still committing part of the worktop to storage, so show the remaining preparation space on the same plan.
Imagine a household using a compact blender every morning and a mixer only occasionally. They might prioritise an accessible cupboard position and nearby setting-down space for the blender, while considering separate permitted storage for the mixer. Moving a heavy appliance each time may change that preference. This is a hypothetical trade-off to discuss, not a recommended allocation for every household.
Draw the doors open as well as closed
Show the proposed doors, adjacent drawers and the place where someone stands. Hinged doors occupy a different position from doors that fold or slide into pockets. Blum's REVEGO system, for example, uses dedicated cabinet pockets for its fittings. That space belongs in the plan; it is not extra usable appliance storage. Ask for the selected mechanism's actual requirements rather than borrowing dimensions from another design.
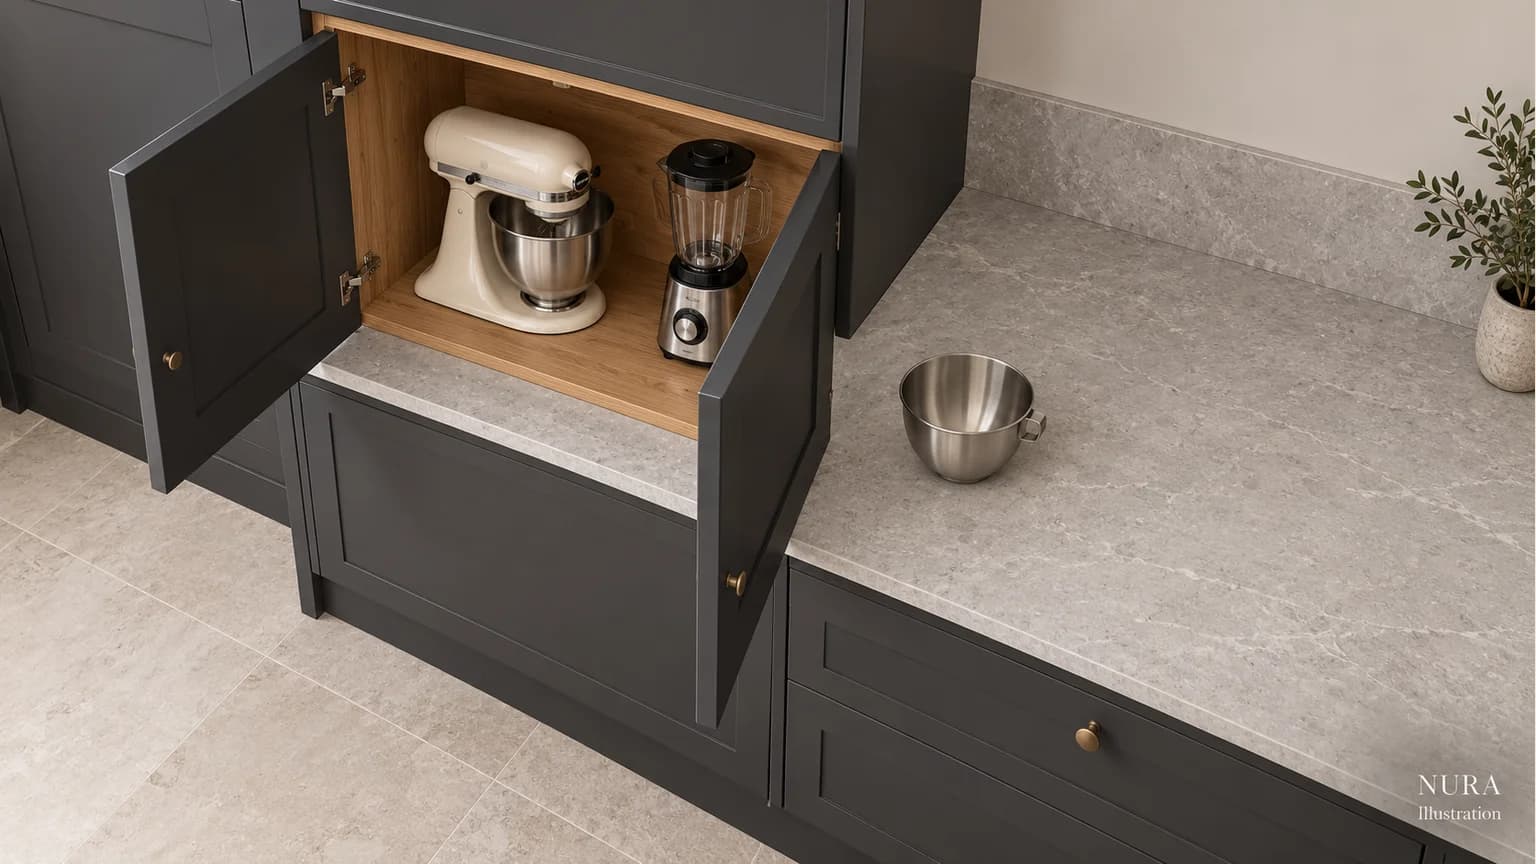
For food storage alongside the appliances, prepare a separate larder cupboard brief. Browse the documented Elm Park Road kitchen for wider cabinetry context; these illustrations do not depict that project.
Bring the models and manuals, an appliance inventory, room photographs and a plan to a Nura kitchen conversation. These inputs help connect concealed storage with the whole kitchen layout. Ask which relevant joinery examples are available to review, and explain what must remain easy to reach when the cupboard is open.