
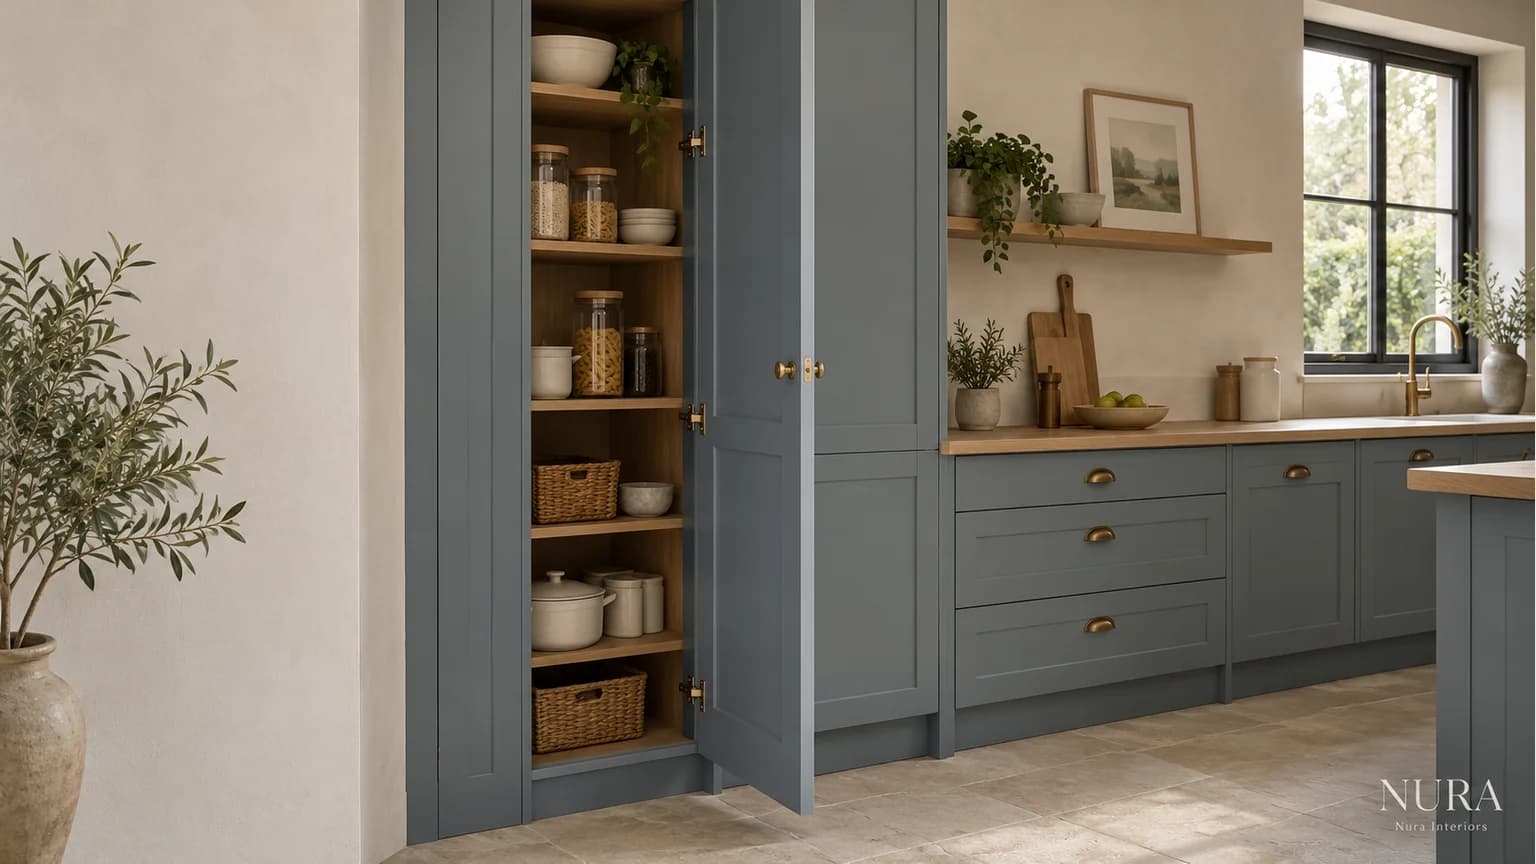

Kitchen filler panels close planned gaps beside cabinetry, but the space they occupy can also let doors, handles and internal storage work properly. Decide what each gap must do before choosing the narrowest-looking strip. A neat front elevation is only useful if you can still reach what is inside.
Identify which panel the drawing means
A filler closes a gap, for example between a cabinet run and a wall. An end or cover panel finishes an exposed cabinet side. An appliance filler may close part of an appliance housing. These are different jobs, even when the supplier makes the pieces from matching material.
IKEA's cover-panel range describes matching or contrasting exposed cabinet sides. That is a finish decision, whereas a wall filler also needs its position and width resolved. Your drawing may need both an end panel and a filler, so ask for each to be identified separately rather than treating every narrow line as the same component.
Separate the supplied size from the installed width
A catalogue dimension tells you the size of a supplied piece. It does not establish the correct finished gap for your room. Howdens lists filler panels in different sizes and finishes; the particular cabinet arrangement still needs checking.
Ask the supplier or fitter to confirm the installed width against the selected door, hinge, handle and adjacent wall. Record projecting skirting, architraves or window boards, as well as changes in the wall along the panel's height. Where the panel must be scribed to follow the wall, agree how that affects the piece to order and its finished face. Confirm cut-edge treatment for the actual material instead of assuming every panel can be finished in the same way.
Check access behind the front
The important question is not just whether the outer door opens. Can the internal drawers extend, and can the items you intend to store be taken out? DIY Kitchens' wall-gap advice shows how handles and tall-unit access affect the answer. Its dimensions describe particular arrangements, not a universal clearance for every kitchen.
Imagine a household choosing a tall pantry for cereal containers and heavy serving dishes. A slim filler looks appealing on the elevation, but the proposed internal drawers also need the pantry door out of their path. Before approving the narrower line, ask the supplier to demonstrate the opening relationship on the specification or drawing. If more room is required, compare a different hinge or door arrangement with changing the cabinet run. This is a design choice to resolve, not a gap to disguise later.
The same thinking belongs in corner-storage planning. Check the actual configuration rather than borrowing the allowance from a different corner cabinet. For appliances, keep the exact model's installation and ventilation requirements alongside the housing drawing; a matching panel is not permission to close a required opening.
Give each filler a short drawing note
Use a location reference so the conversation ends with a decision you can find again. The following is a preparation guide, not a set of installation dimensions.
| Location | Job to resolve | Ask to have confirmed |
|---|---|---|
| Pantry beside a wall | Wall fit and useful storage access | Installed filler width, door movement and internal-drawer clearance |
| End of a base-unit run | Finish the visible junction | Filler versus end panel, visible face and cut-edge treatment |
| Internal corner | Keep neighbouring fronts usable | Exact corner arrangement, handle positions and required opening space |
| Appliance housing | Finish around the selected model | Model-specific opening, ventilation and service-access requirements |
For each note, add who will verify it and when it becomes final. Keep the agreed revision with the cabinet order. A verbal instruction such as “make the gap smaller” leaves the functional and finish decisions unresolved.
Bring the junction into the kitchen conversation
Mark the awkward junctions on your plan and bring photographs of the surrounding walls, your preferred handle details and appliance model references. These inputs connect the small strips to the wider bespoke kitchen brief: storage priorities, front proportions and the way the room is used.
Discuss your kitchen with Nura and ask what support is available for resolving those details. The useful outcome to request is a clearly identified panel and an agreed opening arrangement, rather than a universal filler width.