
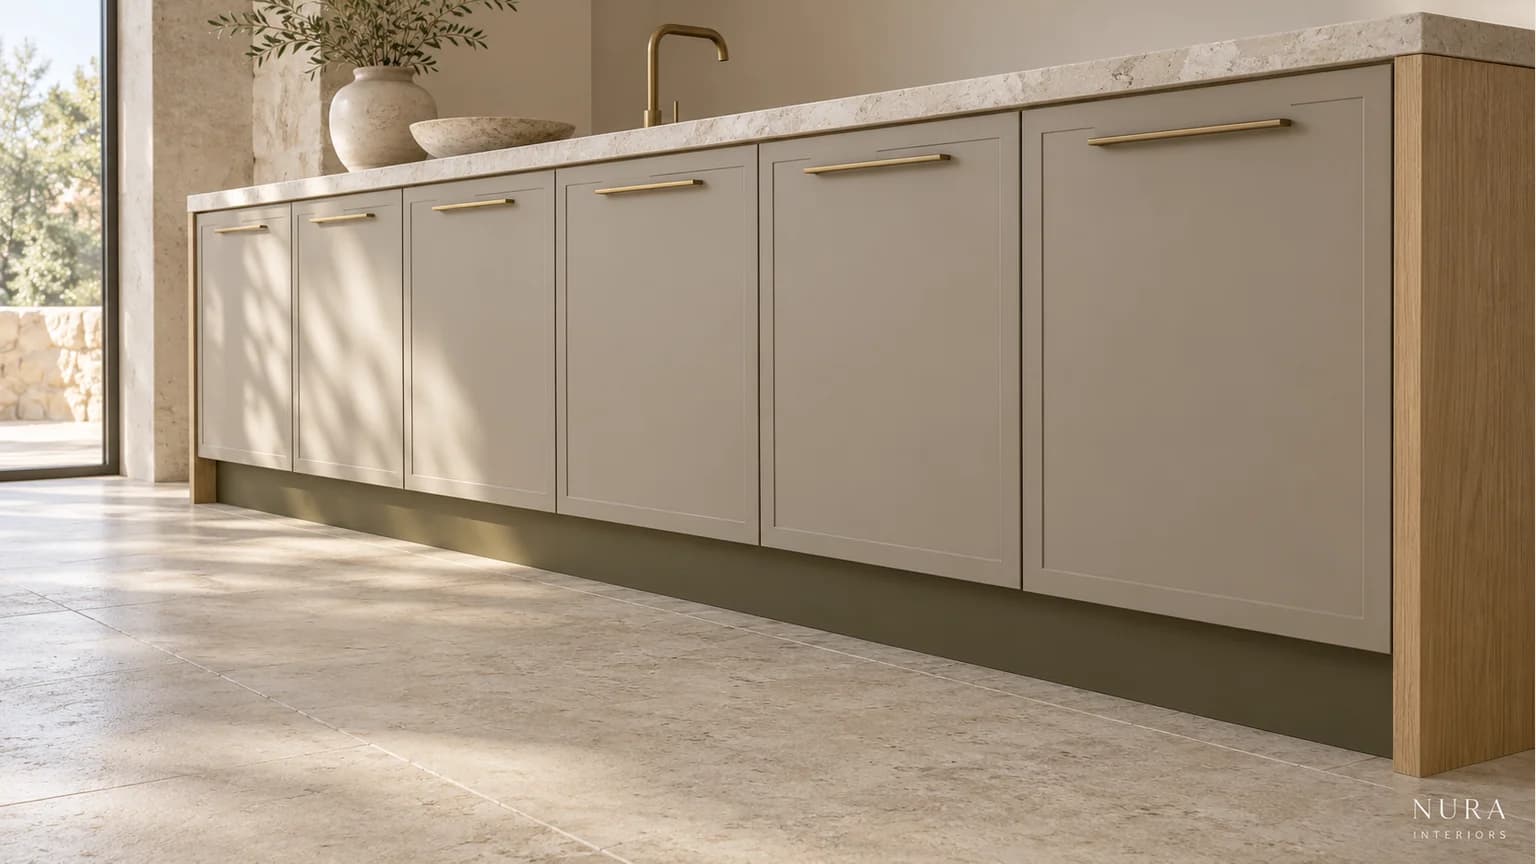

Choose kitchen plinth height as part of the whole cabinet and appliance arrangement. Start from the finished floor level, agree the worktop height, then check the cabinet system and appliance requirements together. A stock kickboard dimension alone cannot tell you whether the finished kitchen will fit.
The visible plinth is the board across the bottom of the cabinets. In a kitchen supported on adjustable legs, it conceals those supports. Its height and its horizontal setback from the doors are separate decisions: a taller board does not automatically give your feet more room behind the door fronts.
Separate the board from the space it covers
Ask what a quoted plinth measurement describes. Is it the supplied board height, the distance from finished floor to cabinet underside, or the intended visible band once fitted?
Howdens' plinth catalogue includes boards listed at 165 mm high. By contrast, IKEA's METOD leg is nominally 80 mm high, with a stated adjustment range of 75 to 95 mm. These are examples from different systems, not interchangeable specifications or a recommended range for every kitchen.
The board closes the visible gap; the cabinet support arrangement establishes the cabinet level. Confirm the actual system rather than changing a board dimension and assuming that the rest follows.
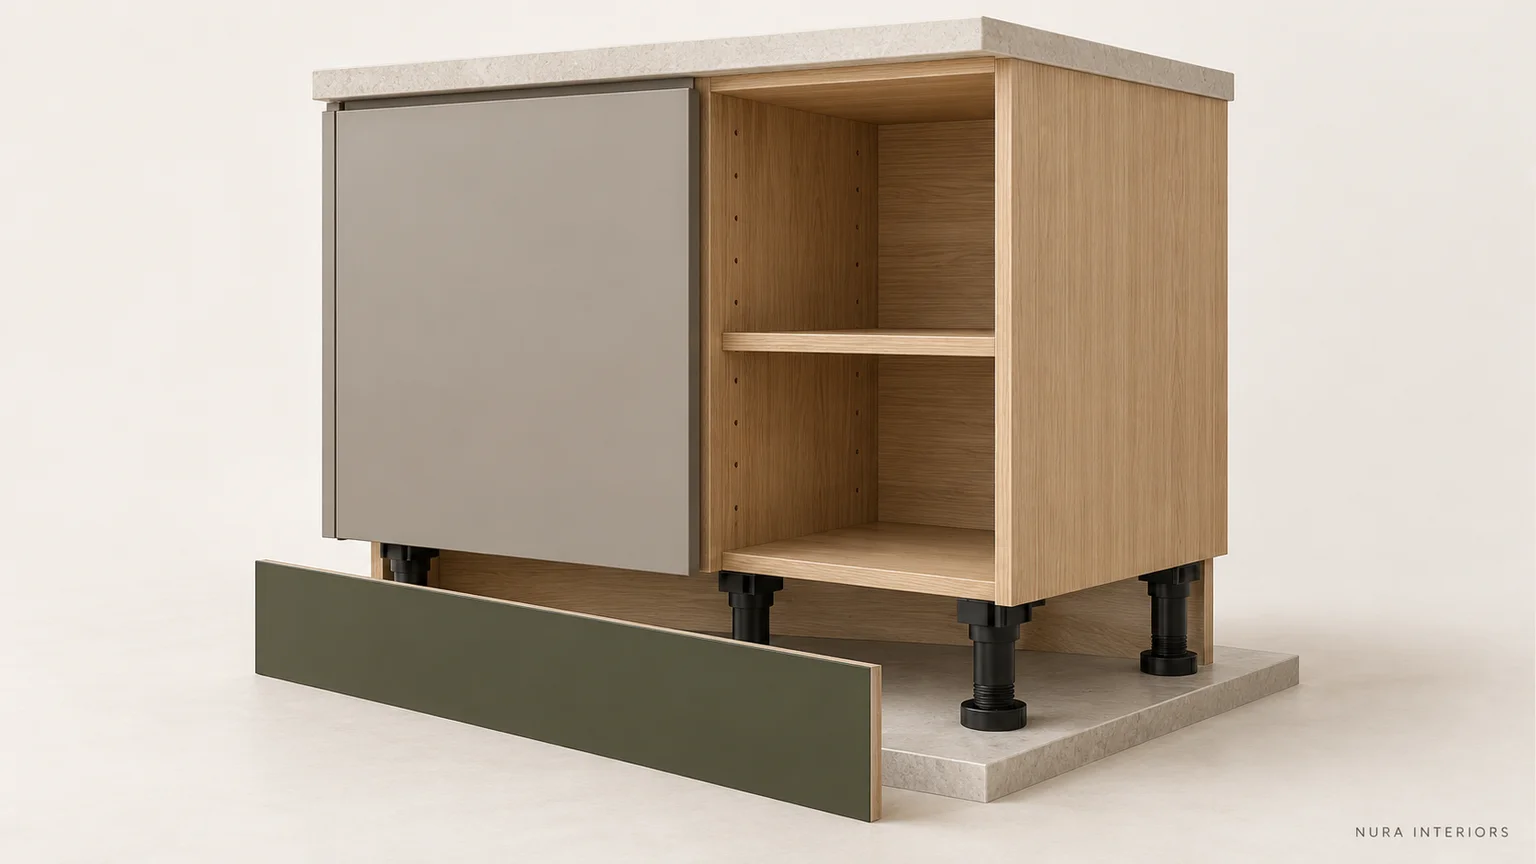
Work backwards from the agreed worktop level
For a simple cabinet stack, the floor-to-worktop height includes the support zone, cabinet body and worktop. Any additional rail, profile or support layer must be accounted for in the actual section drawing.
As a hypothetical example only, a 720 mm cabinet body on a 150 mm support zone with a 20 mm worktop totals 890 mm. If the cabinet and worktop stay at those fixed levels, raising the finished floor by 10 mm reduces the height measured above the new floor to 880 mm. This arithmetic is not an installation specification or a recommendation for a particular person.
Agree the floor build-up and its reference level before confirming the cabinet setting-out dimensions. Ask the fitter how floor variations will be accommodated while keeping the cabinet run level. DIY Kitchens' fitting advice describes adjusting the feet to level its units before attaching the plinth.
Check the appliance arrangement before approving a low plinth
A low visible band may be your preference, but confirm that the chosen cabinet and appliance combination permits it. Check the exact appliance's installation height, door movement, ventilation requirements and future removal route. Do not infer a ventilation gap from a room image.
For a specific example, DIY Kitchens' True Handleless Fitting Guide 2024 specifies a 160 mm plinth height to accommodate 820 mm-high integrated appliances beneath its horizontal worktop profile. That requirement belongs to that arrangement. It is not a rule for every handleless kitchen.
Put the height decision in the kitchen brief
| Record together | What needs confirming |
|---|---|
| Finished floor and worktop levels | Which surfaces are the measurements taken from? |
| Cabinet, support and plinth details | What is supplied, what is adjustable and what is fitted to the surveyed floor? |
| Exact appliance models | Do the openings, door movement and required ventilation work with this cabinet section? |
| Plinth setback and access | Can you stand comfortably at the worktop, and how is the board removed for access? |
Bring the proposed floor build-up, cabinet section, worktop thickness and appliance model numbers to a bespoke kitchen discussion with Nura. Ask for the agreed levels and any appliance-dependent exceptions to be recorded on the same drawing. That makes the plinth a coordinated design decision rather than a last-minute strip chosen to fill a gap.