
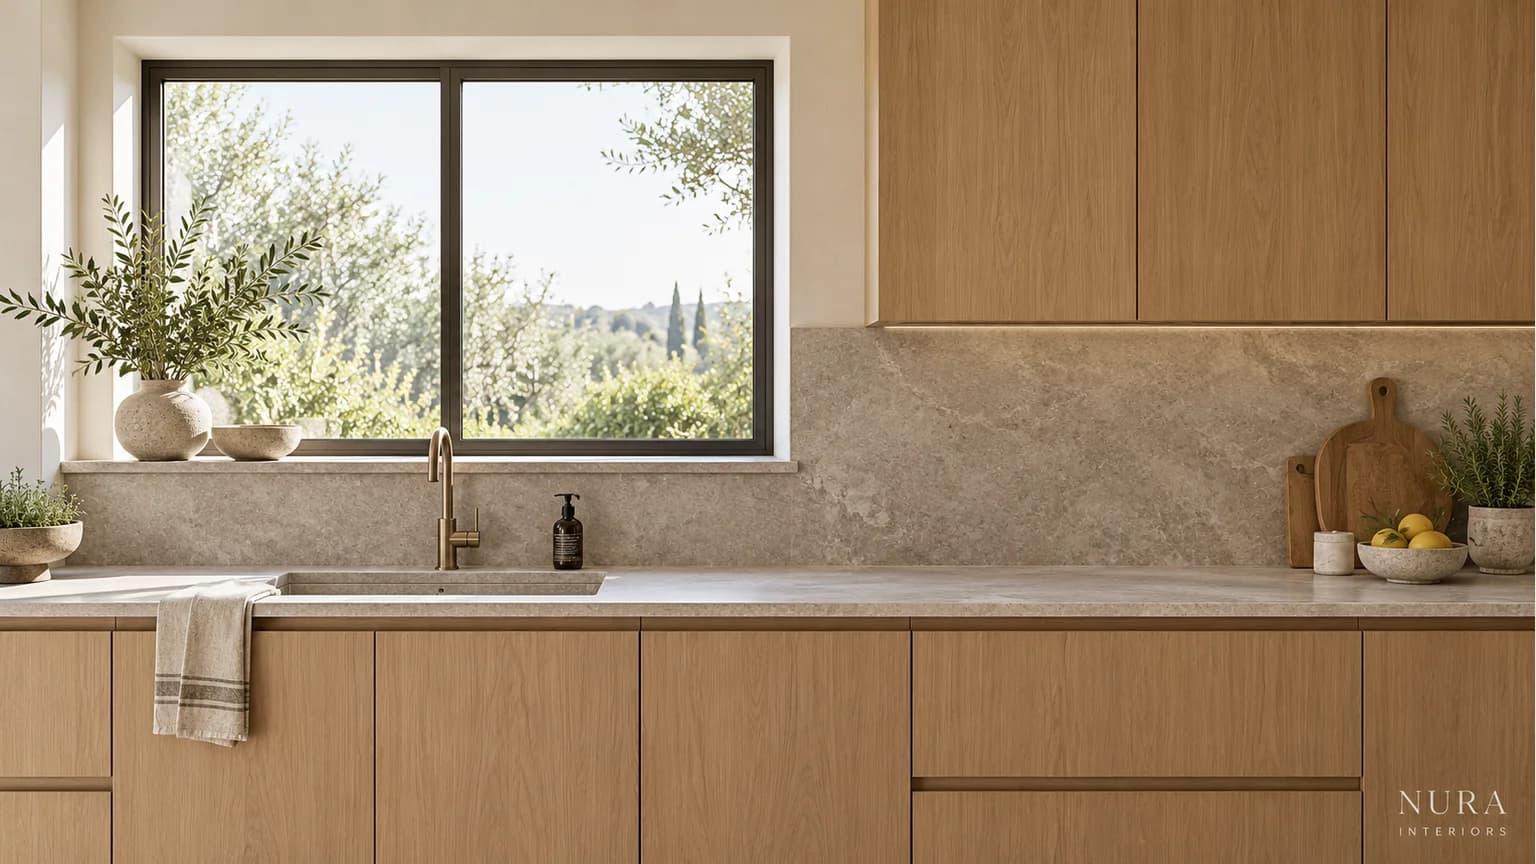

Choose kitchen splashback height by deciding where the protective surface should finish on each wall, then have the actual dimensions confirmed for the chosen material and appliances. The underside of a wall cabinet, a window sill and a ceiling are different stopping points. A number on a product listing cannot choose between them for your room.
Start from the finished worktop
On a wall drawing, mark the finished worktop surface and the intended top edge of the splashback. Describe the height between those two lines, rather than giving an unexplained measurement from the floor. Include any upstand already planned: is the new surface sitting above it, replacing it or continuing the same material?
Keep the visible wall coverage separate from the supplier's final panel dimensions. Edge joints, returns, overlaps and fitting allowances need the selected product's instructions and the installer's agreement. For example, Belling describes its own splashbacks as having a visible height of 750mm. That is a product description, not a height to transfer to every kitchen.
Compare the stopping points
With wall cupboards, filling the gap to their underside gives the surface a clear boundary. On an open wall, decide whether you want a low band, a finish aligned with a window or shelf, or coverage continuing to the ceiling. Look at the whole elevation, including the exposed side edges and adjoining run.
| Option | What to compare in the room | What to settle in the brief |
|---|---|---|
| Low upstand or band | More painted wall remains visible | Whether that coverage suits the sink, preparation and cleaning routines |
| To the cabinet underside | The surface fills the space framed by worktop and cupboards | How it meets any lower window sill or open section |
| To a shelf or window line | An existing horizontal feature becomes the stopping point | The top edge, reveal and side-return treatment |
| To the ceiling | The wall surface continues behind shelves or around openings | Extent, joints, access, fitting and the complete quoted scope |
No option is automatically the right amount of protection. Explain where you wash, prepare food and use countertop appliances, then confirm the material and coverage with the supplier and installer. Include the wall beside the sink, not just the space directly behind the tap.
When the window and cupboards do not line up
Imagine a sink wall where the sill sits lower than the underside of the adjoining wall cupboards. A splashback kept level with the sill leaves a painted strip below the cupboards. A stepped top edge can fill that cabinet gap while staying beneath the window. Continuing the finish around the opening is another design option to draw, rather than assume.
For a homeowner who wants a quiet horizontal band, the first arrangement may be worth exploring. Someone who wants the surface to fill the cabinet gap may prefer the step. Compare both on the same wall drawing, with the same finish. Then ask how the change in level and exposed edge will be made, and whether the proposed coverage suits that sink area. The comparison below shows appearances, not installation dimensions or a completed Nura project.
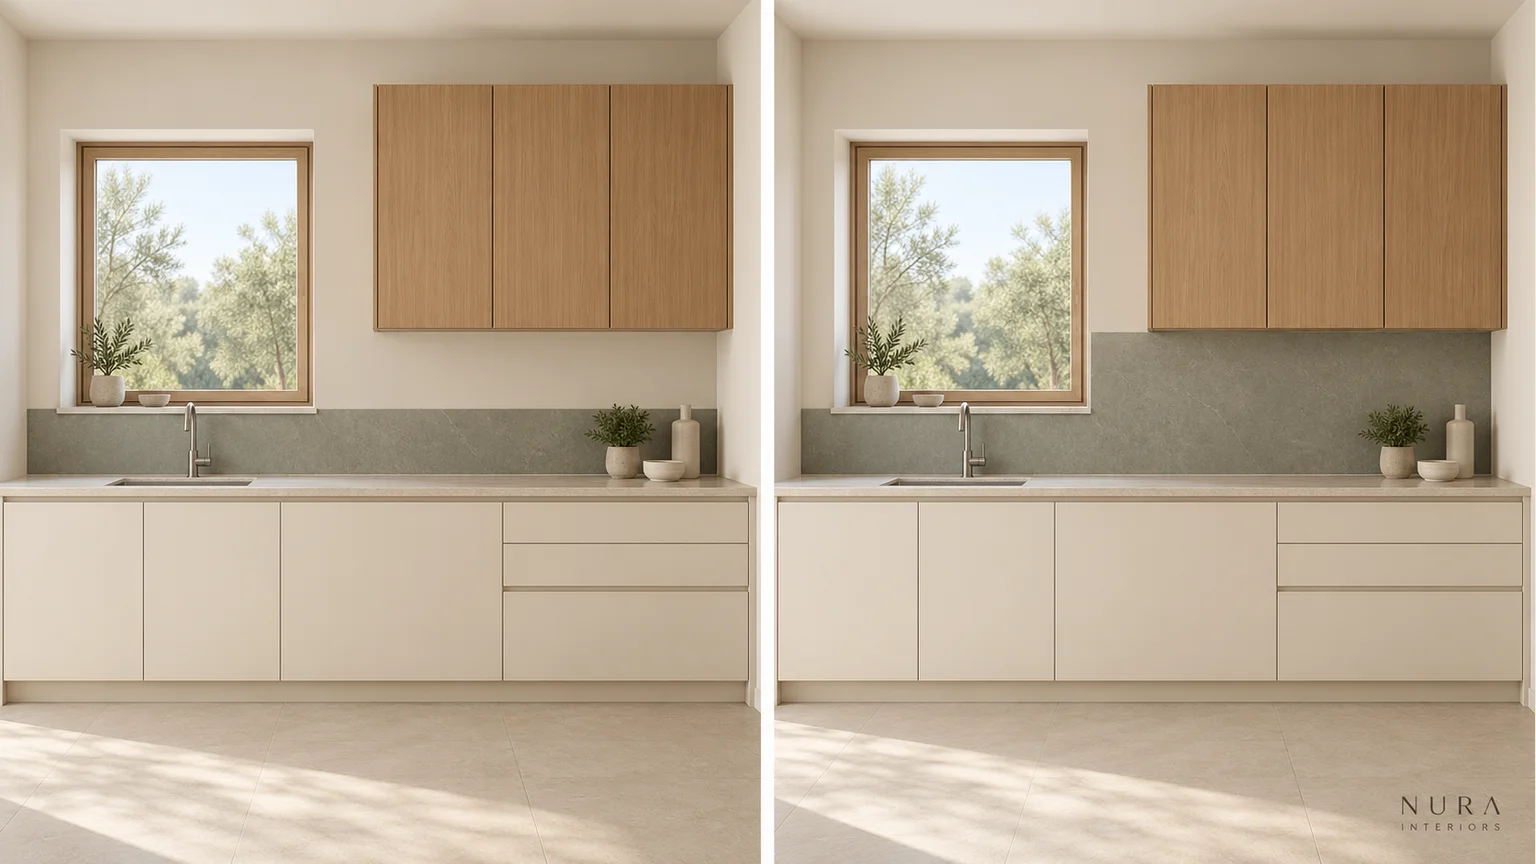
If you choose tiles, settle this outline before comparing vertical and horizontal tile layouts. That guide deals with the pattern within the boundary; height determines the boundary itself.
Treat the hob area separately
Do not lower a hood or choose a wall material to preserve a decorative line. Give the designer and installer the exact hob and extractor model references, and have them check both installation manuals and the proposed wall build-up. Bosch's installation guidance explicitly notes that measurements and methods can vary by model. A general splashback-height suggestion does not establish an appliance clearance.
Put the agreed edge on the drawing
Ask for an elevation that shows the coverage on each run, including top and side edges, window reveals, any upstand and planned socket positions. Cut My's measuring guide demonstrates taking measurements in several places. Its allowances concern its own products; ask your chosen supplier what must be recorded and who approves the final sizes and cut-outs.
Keep a short written instruction with the drawing. For example: "Sink run: finish at the sill, then step to the cupboard underside at the window reveal. Confirm the edge detail and final measured sizes before ordering." This is a hypothetical brief, not a construction instruction. Name who surveys, who checks the detail and which drawing revision the quotation and order refer to. Resolve differences before approving manufacture.
Bring a whole-wall photograph, your current plan, finish references and appliance model details to a Nura kitchen conversation. These inputs help connect the wall finish with cabinetry, windows and daily use. Explore Elm Park Road for documented cabinetry context, then discuss your own kitchen brief. Ask which relevant material examples are available before visiting the Fulham showroom.