
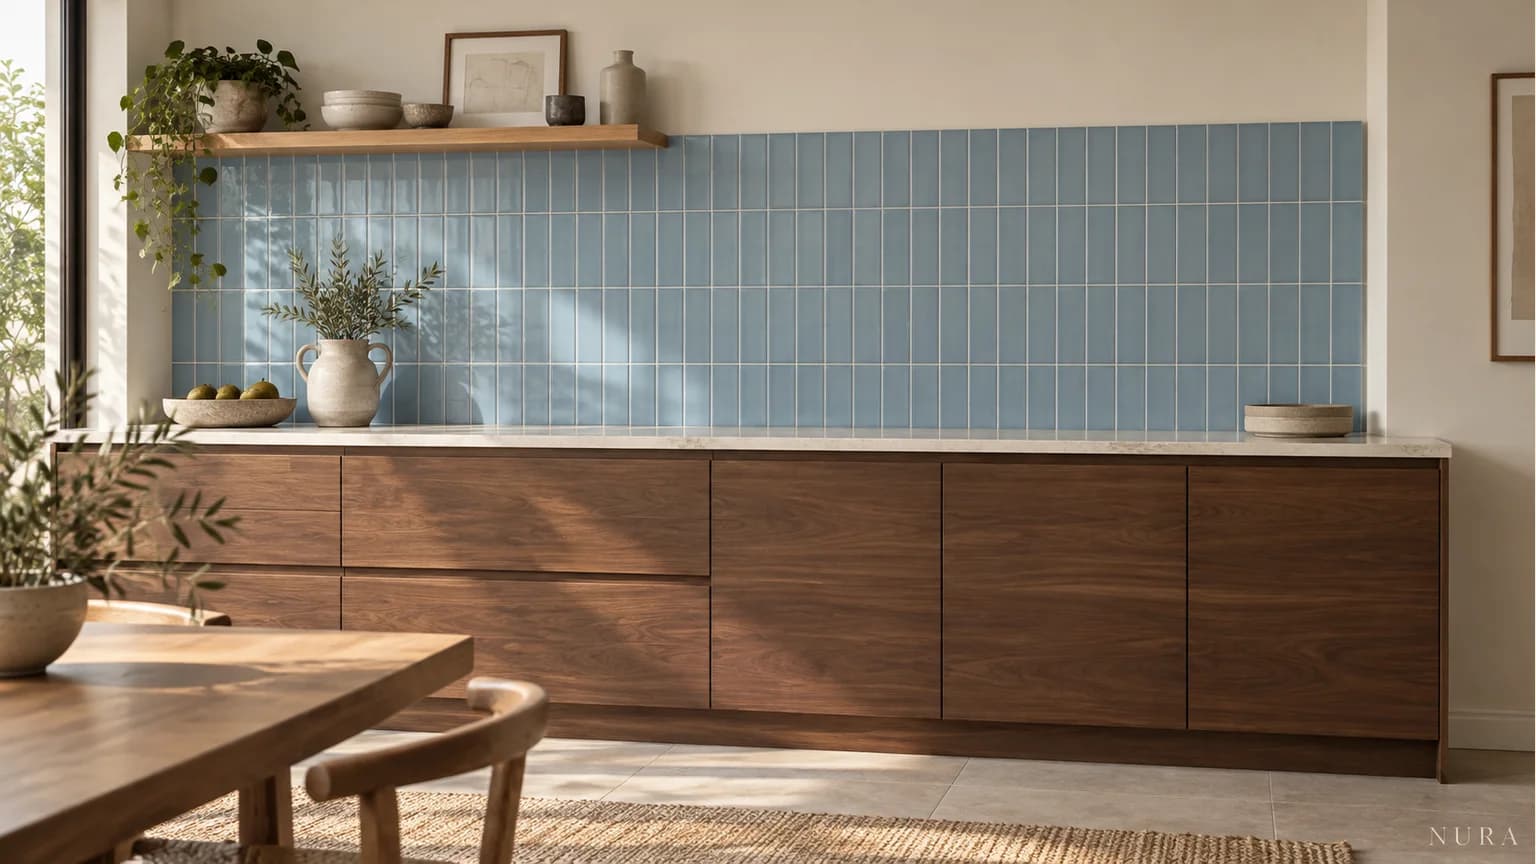

Compare vertical and horizontal kitchen tiles across the whole splashback, including where the tiled area starts and stops. A close-up of a few rectangles leaves out the cabinet underside, window and exposed wall edge that will frame the finished pattern. Keep those boundaries in the picture while you turn the tile.
Change the direction, keep the grid
First separate orientation from arrangement. Rectangles can stand upright or lie sideways; either direction can form an aligned grid or a staggered pattern. If you compare a vertical stack with horizontal brickwork, you are changing two things at once.
B&Q's pattern guide describes linear tiling as straight rows with aligned joints, and treats offset arrangements separately. Start with a straight stack in both directions, keeping the chosen tile and grout colour consistent. Once you prefer a direction, explore another bond if you want a different rhythm.
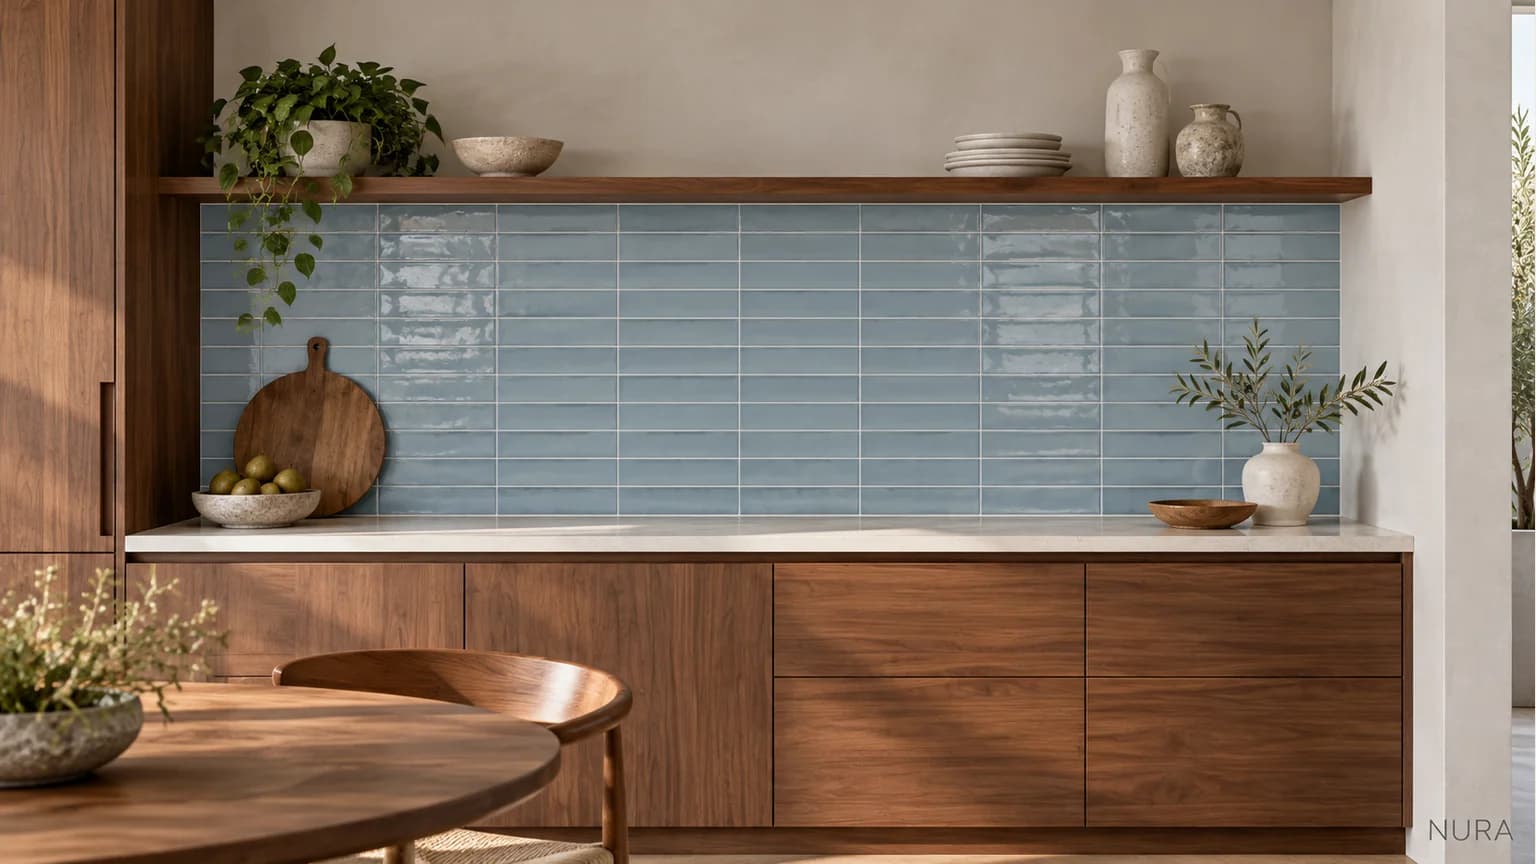
Put the edges back in the picture
Use a photograph or elevation of your actual splashback wall. Mark the counter, cabinet underside, shelf, window and visible ends. Compare both directions within that same outline. Ask your designer or tiler to show how the actual tile size and proposed joints would meet those boundaries; an attractive central repeat does not settle the cuts or edge finish.
| Look at | Compare | Record |
|---|---|---|
| Upper edge | Tile rhythm beside cabinet or shelf | Which relationship you prefer |
| Window | Pattern alongside the opening | Where you want the tiled area to stop |
| Visible end | Full wall view and edge detail | What needs resolving with the tiler |
For a hypothetical blue-tile kitchen with walnut cabinets and a long shelf, you might enjoy upright rectangles but prefer the sideways grid when the whole shelf is included. Another household may prefer that contrast in direction. Note your reason rather than treating either layout as automatically more modern or space-enhancing.
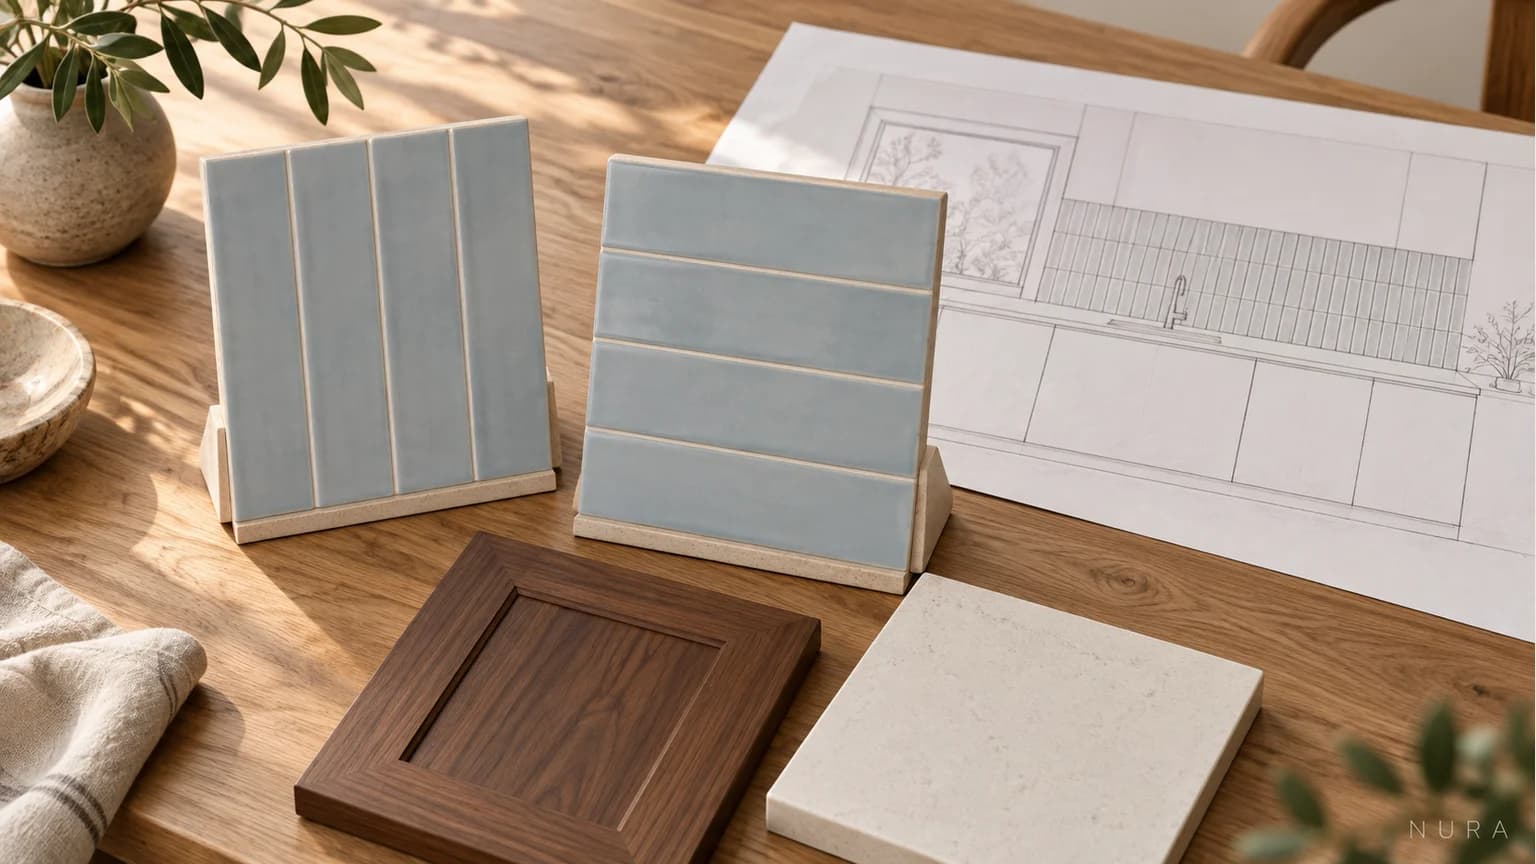
Bring a wall decision to the kitchen brief
Keep the grout colour decision separate while comparing direction. The illustrations show ideas, not measured setting-out plans or verified product colours. Confirm tile suitability, joints and finishing details with the supplier and tiler for the actual installation.
Bring your wall photograph, tile reference and size, preferred layout and cabinet/worktop samples to a Nura kitchen conversation. They help explain how the splashback should relate to your bespoke cabinetry. Explore Elm Park Road for documented room and cabinetry context, and ask which relevant material examples are available before a showroom visit.