
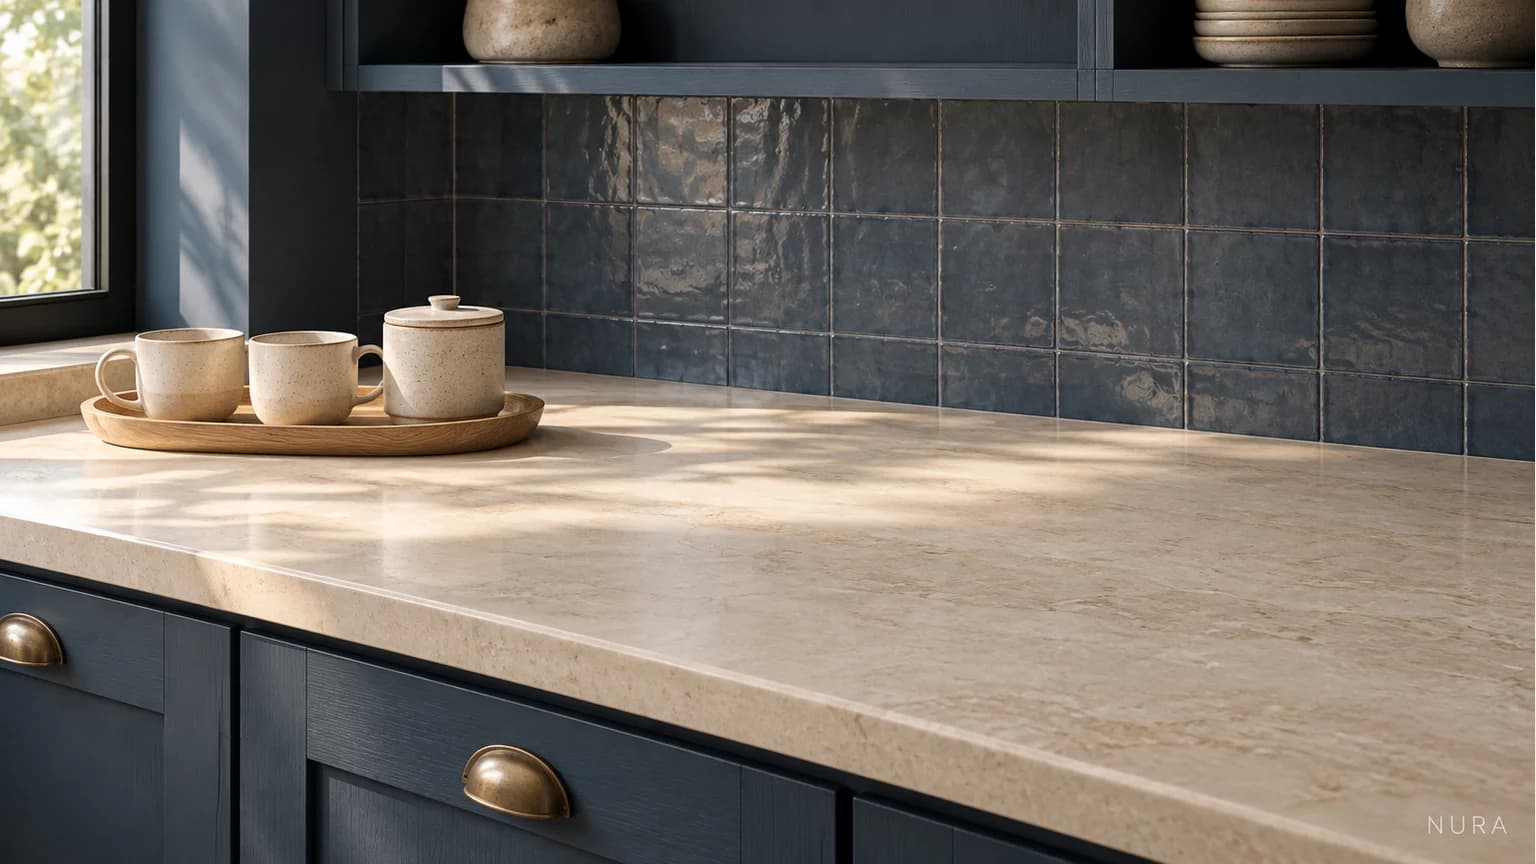

For useful kitchen worktop styling, start with a small group of things you already reach for, then check whether a tray helps them share the space. It should leave your usual preparation area usable and be easy to remove for cleaning. Try these four checks before buying another decorative object.
1. Choose one everyday group
Pick a single routine, such as taking out cups for tea. Set out the cups and a closed canister you already own, rather than adding unrelated ornaments to fill a tray. Keep the group small enough that the piece you use most is easy to reach. If the arrangement needs a second tray straight away, reconsider which objects really belong on the worktop.
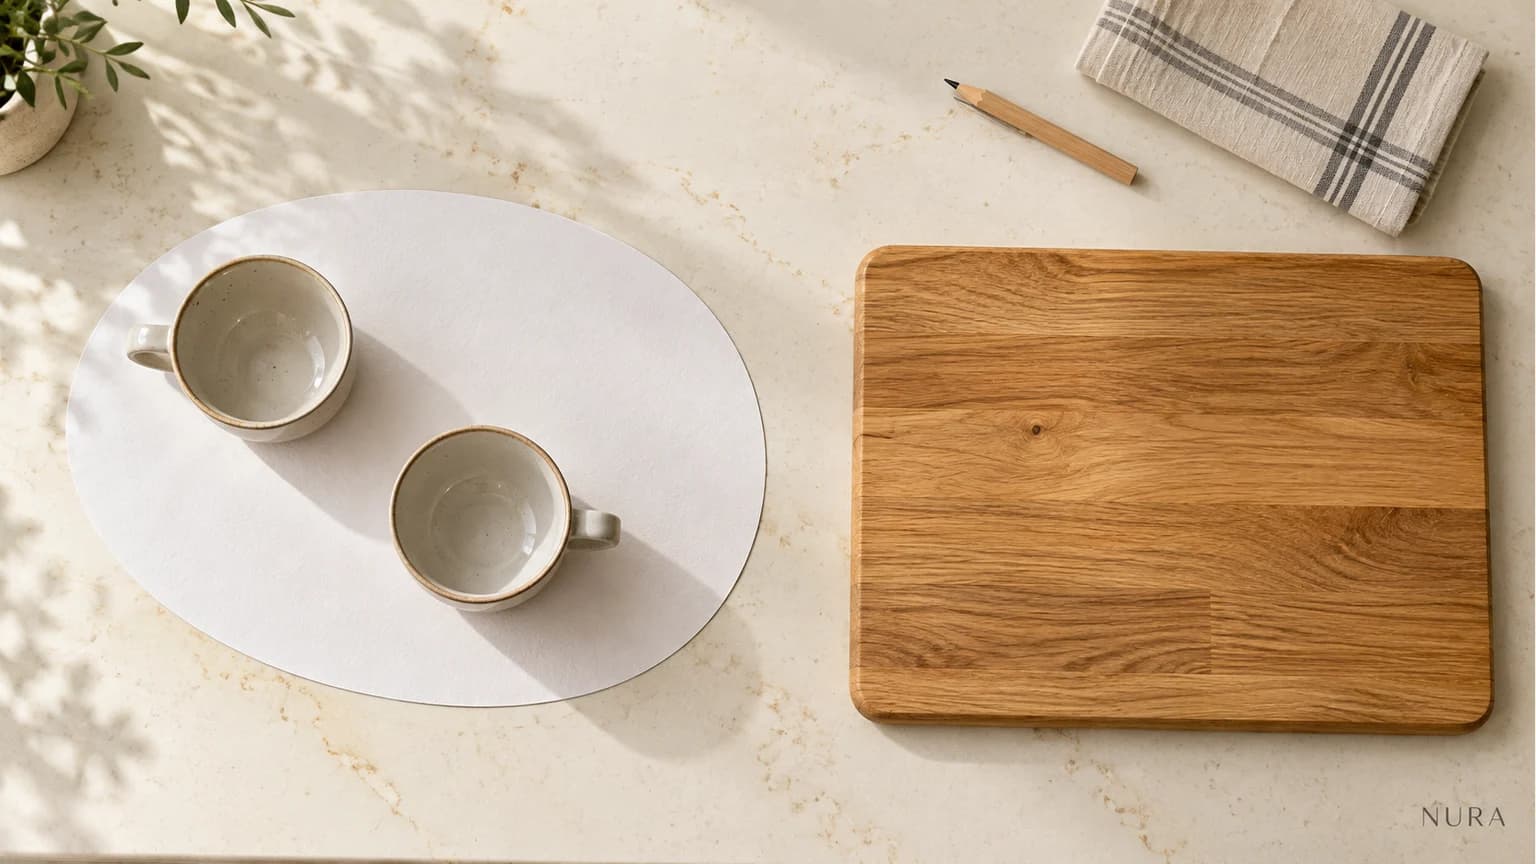
2. Test the footprint beside your usual board
Use a paper outline to compare a possible tray shape with your actual worktop. Put your usual chopping board in its normal place beside it. Can you still set the board flat and use the area without moving the display? Check the complete outline, including projecting handles. A narrow tray may suit one run better than a round one; the room and your routine decide, not a universal styling ratio.
3. Connect the palette with one existing finish
Repeat a colour already present in the room, or introduce a texture that sits comfortably beside it. For example, ivory cups on a light timber tray can pick up pale tiles and a wood detail elsewhere. Matching every object is optional. Check the actual tray base and the care guidance for both products; decorative styling alone does not establish compatibility with your worktop.
4. Check that you can clear the surface
Before settling on the arrangement, remove the contents and lift the empty tray. Can you comfortably reach the worktop beneath and put everything back without rearranging the whole counter? Follow the actual cleaning instructions for the surface and tray. If moving the group is awkward, reduce the contents or choose a more manageable shape. A tray should make the routine simpler, rather than turn a small group into one difficult object.
A simple example to compare at home
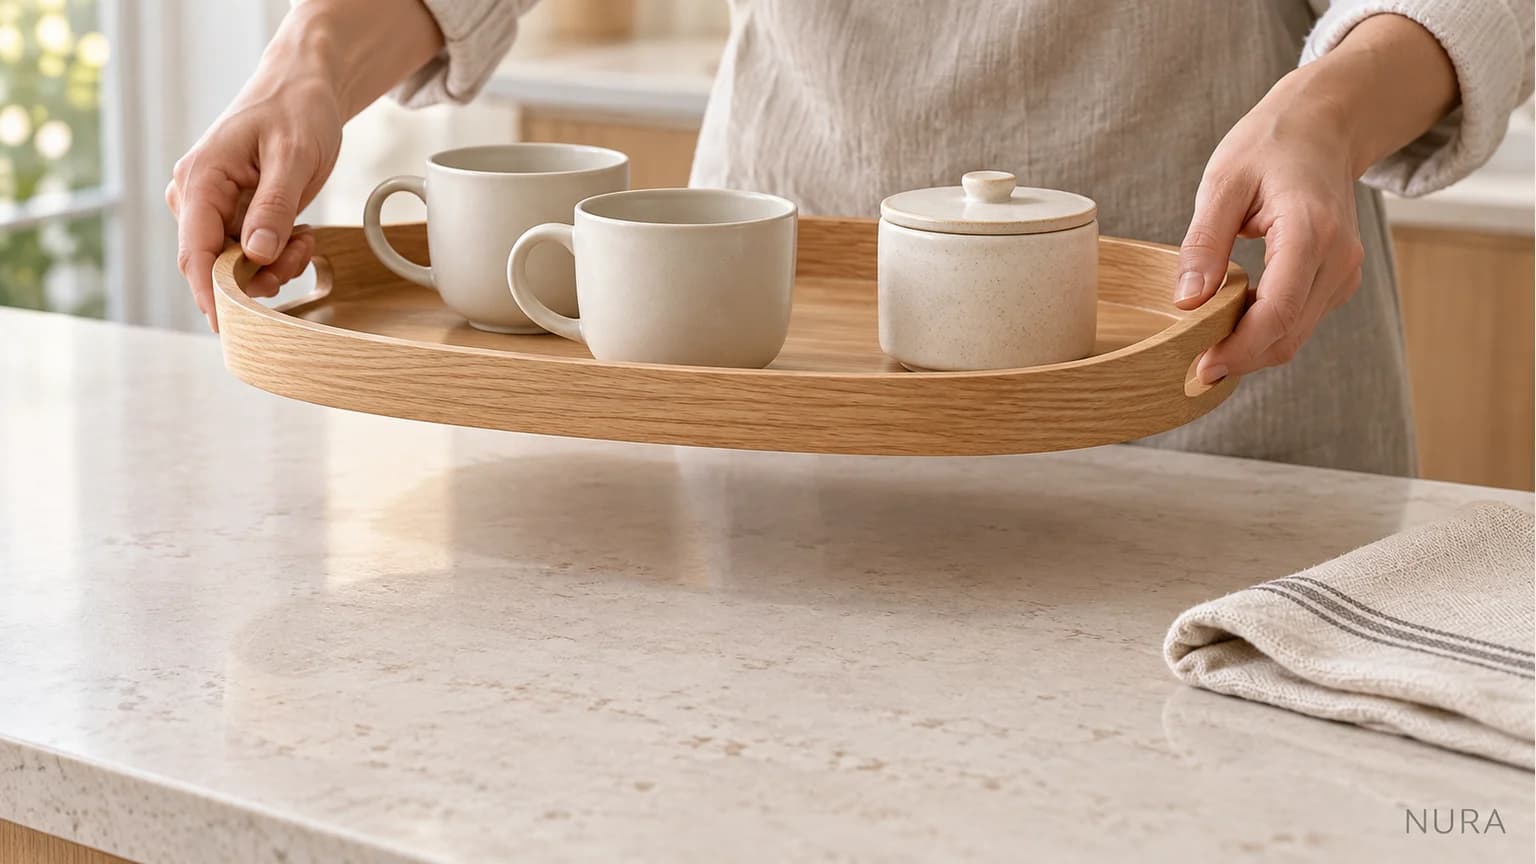
For a hypothetical tea corner, compare an oval tray with a round one using paper outlines. Both might hold two cups and a canister, but one handle could project into the place where you set your board. Try the other shape before buying a smaller set of cups to make an unsuitable tray work. The example illustrates the decision, not a measured Nura installation.
| Check | What to record |
|---|---|
| Daily use | Which items are genuinely reached for |
| Footprint | Whether the usual board and work area remain usable |
| Clear and return | What has to move before the surface can be cleaned |
Keep the wider kitchen in view
The IKEA UK tray range shows how much shapes and sizes vary. Check the details for the specific product rather than treating these illustrations as a specification. For related styling, see our open-shelf guide. If you are reconsidering the surface itself, read the worktop selection guide. These are illustrations, not Nura project photographs.
For a wider kitchen brief, explore Nura bespoke kitchen services and bring photographs of your everyday worktop routine to a design consultation.