
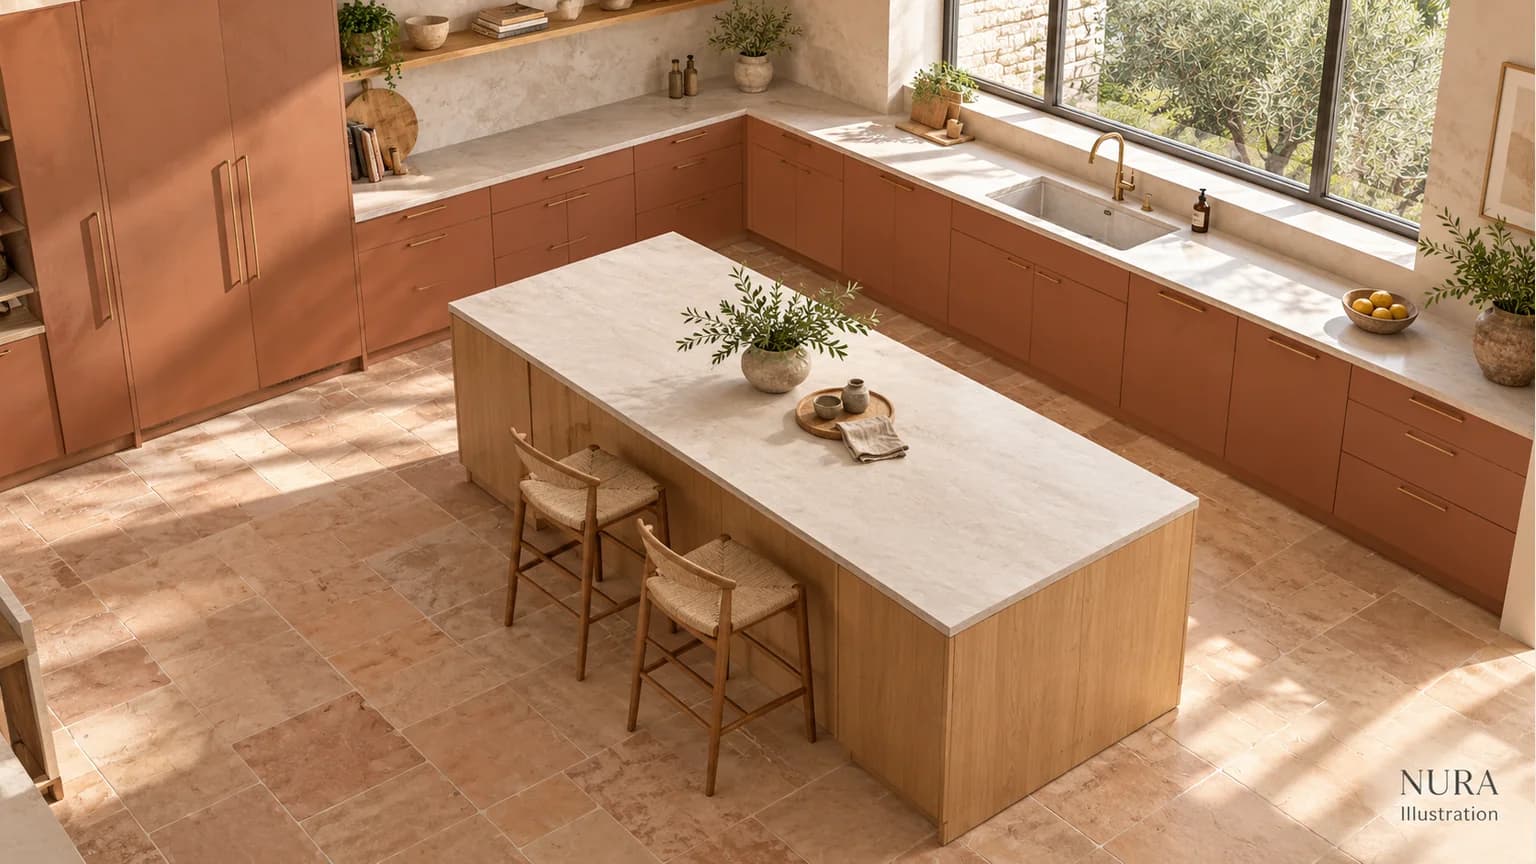

A useful kitchen island plan records more than the cabinet size. Measure the finished length and depth, the space around it, the seating in use and the appliances fully open. Those five records help you compare an island with a smaller preparation block, a peninsula or a kitchen without one, before choosing its appearance.
Start with a measured room plan showing walls, openings, radiators and existing furniture. Use one unit throughout, such as millimetres, and distinguish confirmed site measurements from provisional furniture sizes. The illustrations here explain planning ideas; they are not measured layouts or construction drawings.
1. Finished length: include the ends you will actually see
Record the outside length of the proposed worktop, then identify what sits beneath it: cabinets, end panels, supports and any seating recess. A cabinet schedule alone does not describe the whole island. Compare the finished outline with the route past each end, including the way from the kitchen entrance to the dining table or garden.
Ask what the extra length earns. Is it another drawer, a clear preparation surface or a seat used every day? If it only extends a surface already large enough for your routine, compare a shorter version before reducing the surrounding space.
2. Finished depth: draw the worktop and cabinets separately
Measure across the finished island from one outside worktop edge to the other. Show the cabinet footprint beneath as a second outline. Back panels, storage on the reverse and a seating overhang can change the depth even when the front cabinet sizes stay the same.
Check how you will reach and clean the surface from the available sides. If the island includes seating, confirm the worktop support and overhang with the supplier for that exact material and detail. An attractive illustration cannot establish structural suitability or a universal unsupported overhang.
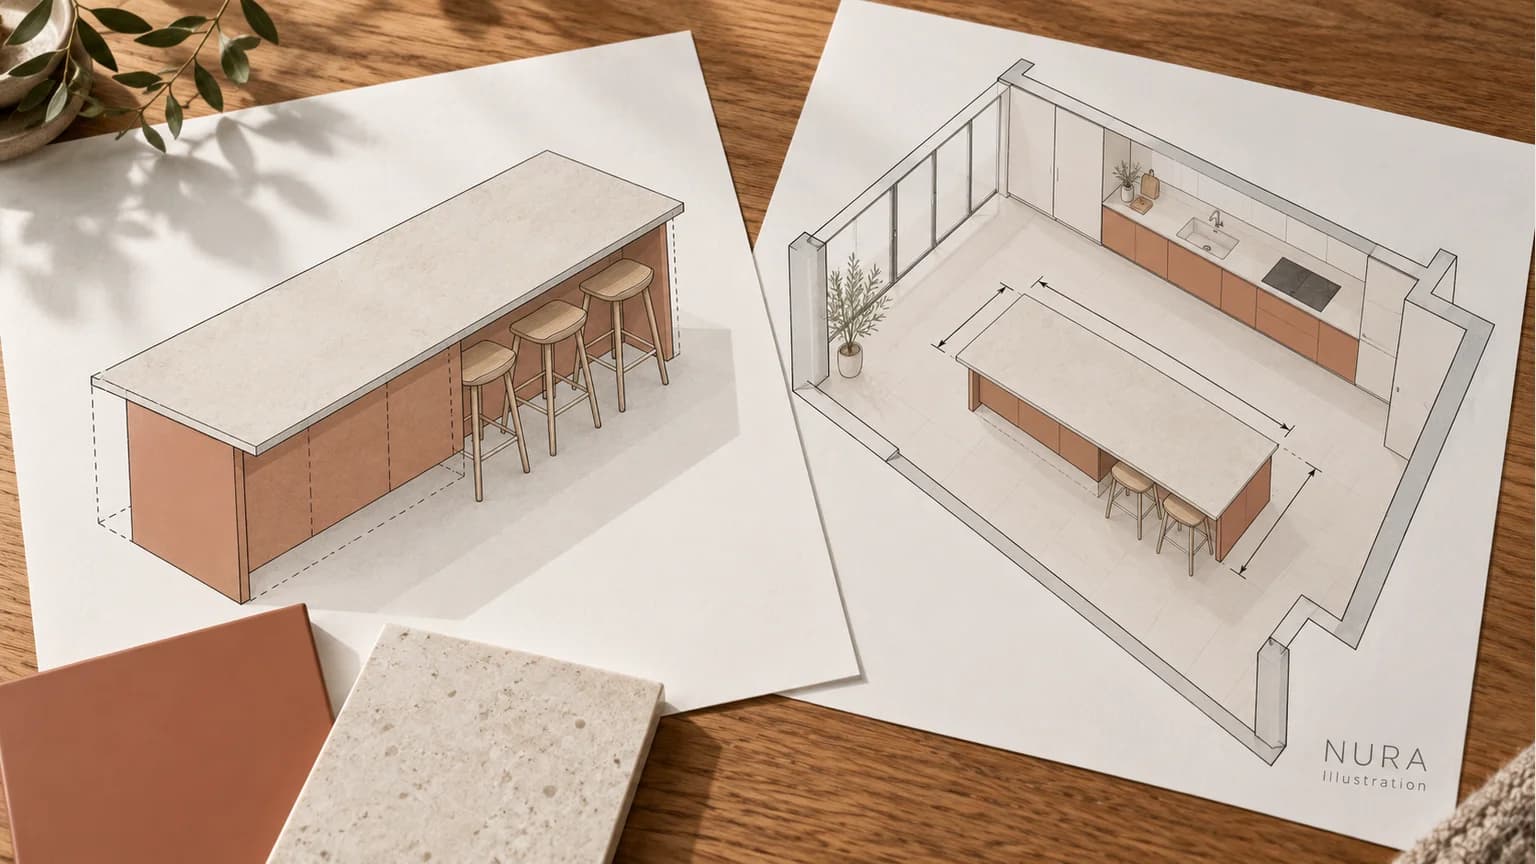
3. Walkways: measure the narrowest point on each side
Label the clear gap on every side rather than writing one clearance beside the island. Include projecting handles, appliances, radiators and other fixed obstructions where they narrow the route. Distinguish a cooking aisle from a route used mainly to pass through the room.
Wren's island guide uses around one metre as a planning rule of thumb. Treat that as an initial discussion reference, not proof that a particular arrangement works. Your users, mobility needs, opening doors and simultaneous activities still need their own assessment. Reno's clearance guide also considers the people and open appliances beyond the cabinet outlines.
4. Seating: record the occupied space, not just the stool count
Mark the usable seating run after allowing for end supports or cupboards. Then compare the actual stool width, knee space, finished counter height and seat height together. Four stools shown in a product image do not establish that four people can use your arrangement comfortably.
Show a stool pulled back as well as tucked in. Where someone needs to pass behind a seated person, draw that route separately. Our island seating guide compares a row, a corner arrangement and a separate table; keep this choice open while the island size is still provisional.
5. Appliance clearance: add the opening and the person using it
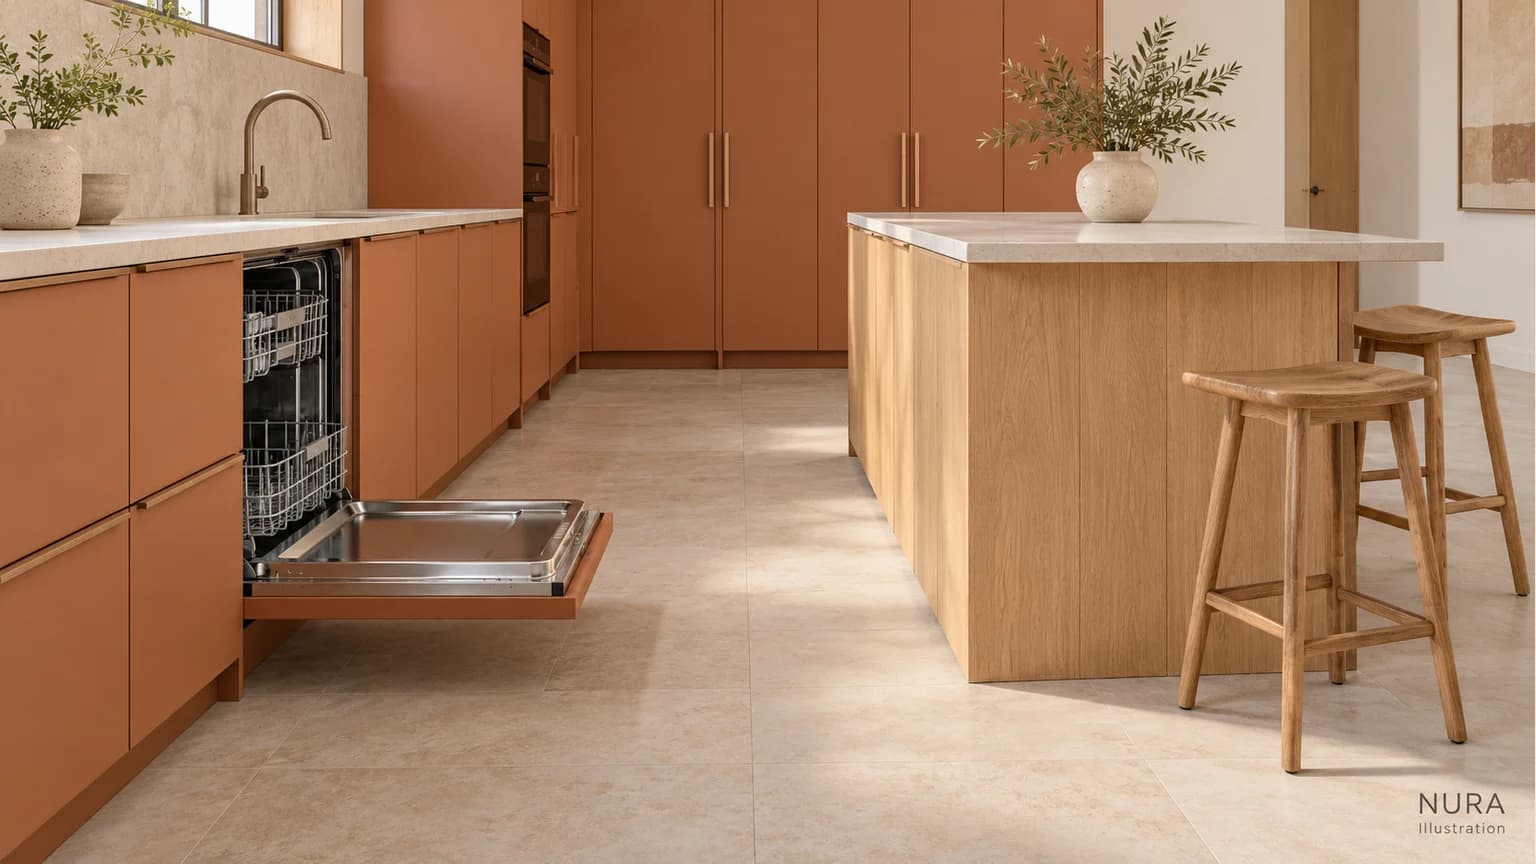
Draw dishwasher and oven doors fully open, fridge doors at the opening needed for use, and drawers or pull-outs extended. Include where someone stands to load, unload or lift things out. Check the exact model's installation instructions and the surrounding cabinetry, rather than assuming every nominally similar appliance opens alike.
For example, Bosch's archived SMI50C05GB specification distinguishes installation depth from depth with the door open at 90 degrees. They are different measurements: the overall open-appliance depth is not an extra aisle allowance to add blindly. Use the drawing and instructions for the model you actually choose. This example is not a recommendation of that discontinued product.
Keep five records on the same plan
| Record | What to note | Decision it informs |
|---|---|---|
| Finished length | Outside worktop ends and cabinets beneath | What a longer island contributes |
| Finished depth | Worktop outline, cabinet outline and supports | Storage, reach and seating trade-offs |
| Walkways | Each side's narrowest clear gap | Cooking and passing routes |
| Seating | Usable run, knee space and occupied stool position | Seats versus circulation |
| Appliance use | Model-specific openings and user's position | Conflicts during ordinary tasks |
Consider a hypothetical household where two people cook and a child uses the nearby table. A deeper island might add reverse-side cupboards, but also narrow the route to that table. A shallower prep island without stools could retain the existing dining seats and the preferred oak finish, while giving up those extra cupboards. Compare both arrangements against the same five records. The useful choice follows the household's priorities, not the largest island on the drawing.
Bring a room decision to the design conversation
If the island remains awkward, compare a peninsula or a clear wall-run layout using our small-kitchen guide. Keep cabinet colour, worktop and retained dining furniture in the brief, so the alternative still belongs to the room you want.
Bring your measured plan, room photographs, appliance model sheets and seating priorities to a Nura consultation. They can help explain which storage, preparation and circulation choices you want to discuss for your bespoke kitchen. Explore a documented Nura kitchen for context, and ask what relevant layout support or examples are available before a Fulham showroom visit.