
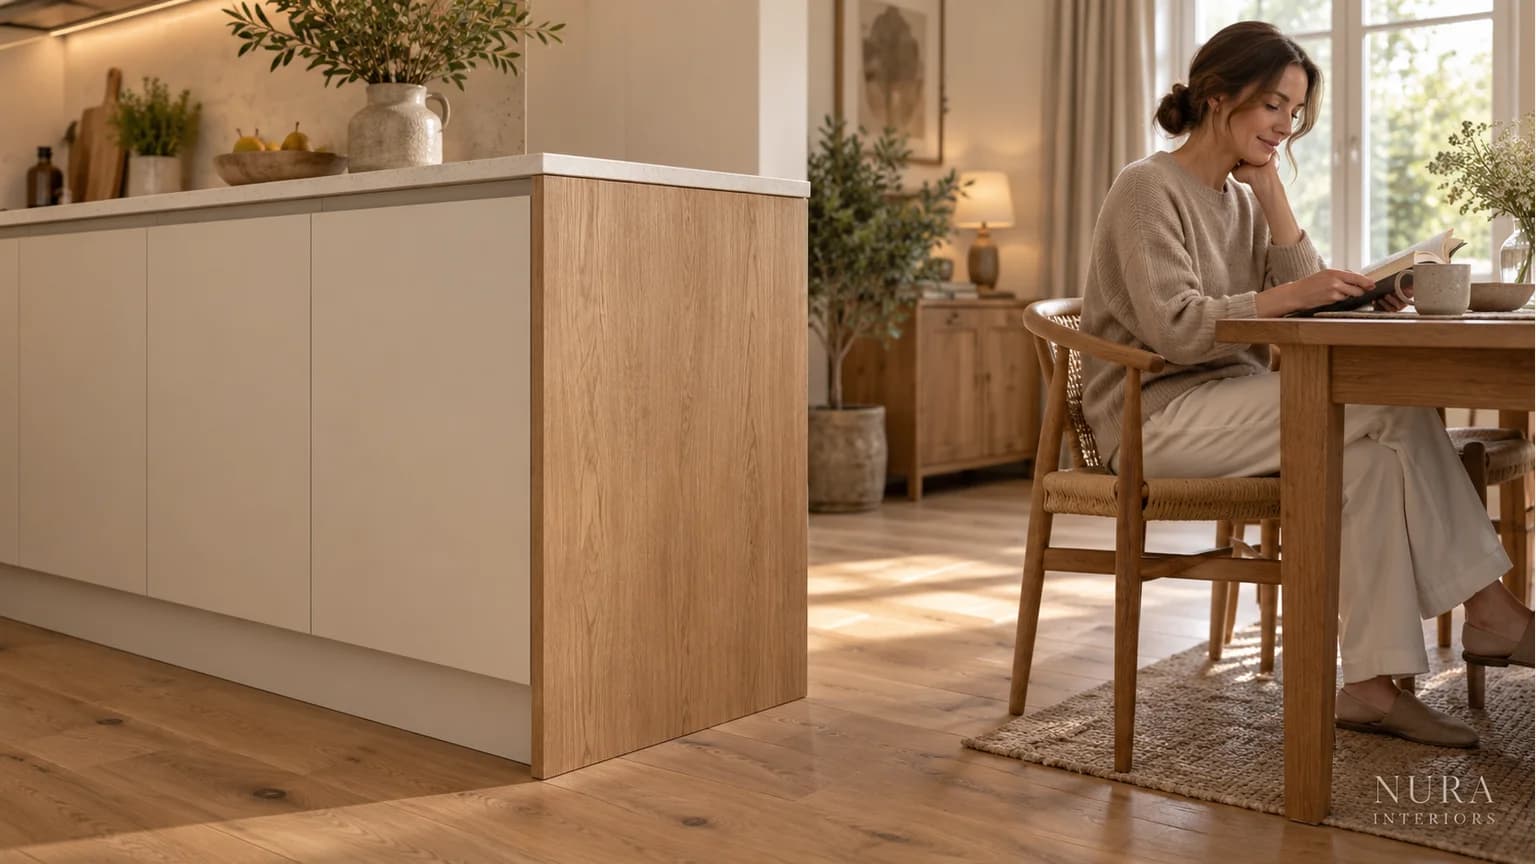

Kitchen cabinet end panels finish exposed sides of a cabinet run, island or tall unit. Their colour and detail can be prominent from the dining table or doorway, even when they seem secondary on the kitchen elevation. Choose the side you will actually see, then explain how its front edge, bottom and top meet the rest of the proposal.
The useful decision is not simply whether every panel should be flush. A finished end can relate to the door face, the cabinet body or another deliberately developed detail. Identify the intended arrangement for your selected kitchen, rather than assuming one projection or thickness suits every system.
Separate an end panel from a filler
An end or cover panel provides a finish to an exposed side. A filler closes a planned gap, such as the space beside a wall. A plinth finishes the lower zone of a cabinet arrangement. These pieces may share a colour, but they have different jobs and should be identified separately in the proposal.
Our kitchen filler guide explains why a gap can also matter to doors, handles and internal fittings. Choosing an attractive end panel does not settle that movement question. Some details may need both components, with their relationship shown clearly.
Ask whether a separate decorative panel is proposed and why. DIY Kitchens' guidance on exposed cupboards discusses situations within its range where the carcass finish already relates to the doors. That is an example of a product-specific choice, rather than proof that every exposed side needs an added panel.
Review the end from across the room
Begin with the views that matter. The side beside an entrance may be seen close up; an island end may sit in the main view from the sofa. A tall-unit side can occupy a substantial part of the room's composition. Include those views alongside the front elevation.
Compare the proposed finish with the doors, worktop, floor and nearby furniture. A matching finish can connect the side to the cabinet fronts. A contrasting timber or colour can make the end a deliberate part of the wider room. Neither approach is automatically more bespoke or better finished.
Use actual proposed finish references where available. Check the edge as well as the broad face, including grain direction or a framed detail if those form part of the design. A small flat colour sample cannot explain the entire assembled end, so ask for the relevant views and description too.
Agree the front line instead of assuming it
A note saying “flush end panel” needs a reference. Does the leading edge relate to the cabinet body or the closed door front? Does a handle, framed front or selected profile change the appearance? Ask the designer to identify the line on the relevant drawing.
DIY Kitchens' panel guidance says alignment with door fronts is common in its advice, but not obligatory. An arrangement finishing at the carcass is also possible. Use that distinction to develop your proposal, rather than treating one choice as a universal quality test.
Include the panel in the complete finished outline of the run or island. A cabinet-only dimension does not necessarily describe the finished furniture once the proposed end treatment is included. If the panel changes, ask which related information needs review before ordering.
Follow the bottom and top junctions
At the bottom, ask how the end panel relates to the proposed plinth and finished floor. Does the design show a panel continuing down, a recessed lower zone or another chosen arrangement? Review the visible side from the room as well as the front. Avoid leaving the fitter to infer a decorative decision from a general picture.
Different systems and intended appearances can use different treatments. Confirm the actual product information, site conditions and finishing requirements with the relevant supplier and installer. The plinth-height guide considers the separate relationship between the finished floor, cabinet supports and worktop level.
At the top, show the end panel beside the worktop or closure detail. If stone is involved, keep the appearance decision separate from support and fabrication requirements. A decorative side is not evidence of a supporting structure. Our joinery and stone interface guide develops that technical coordination question without prescribing a generic construction.
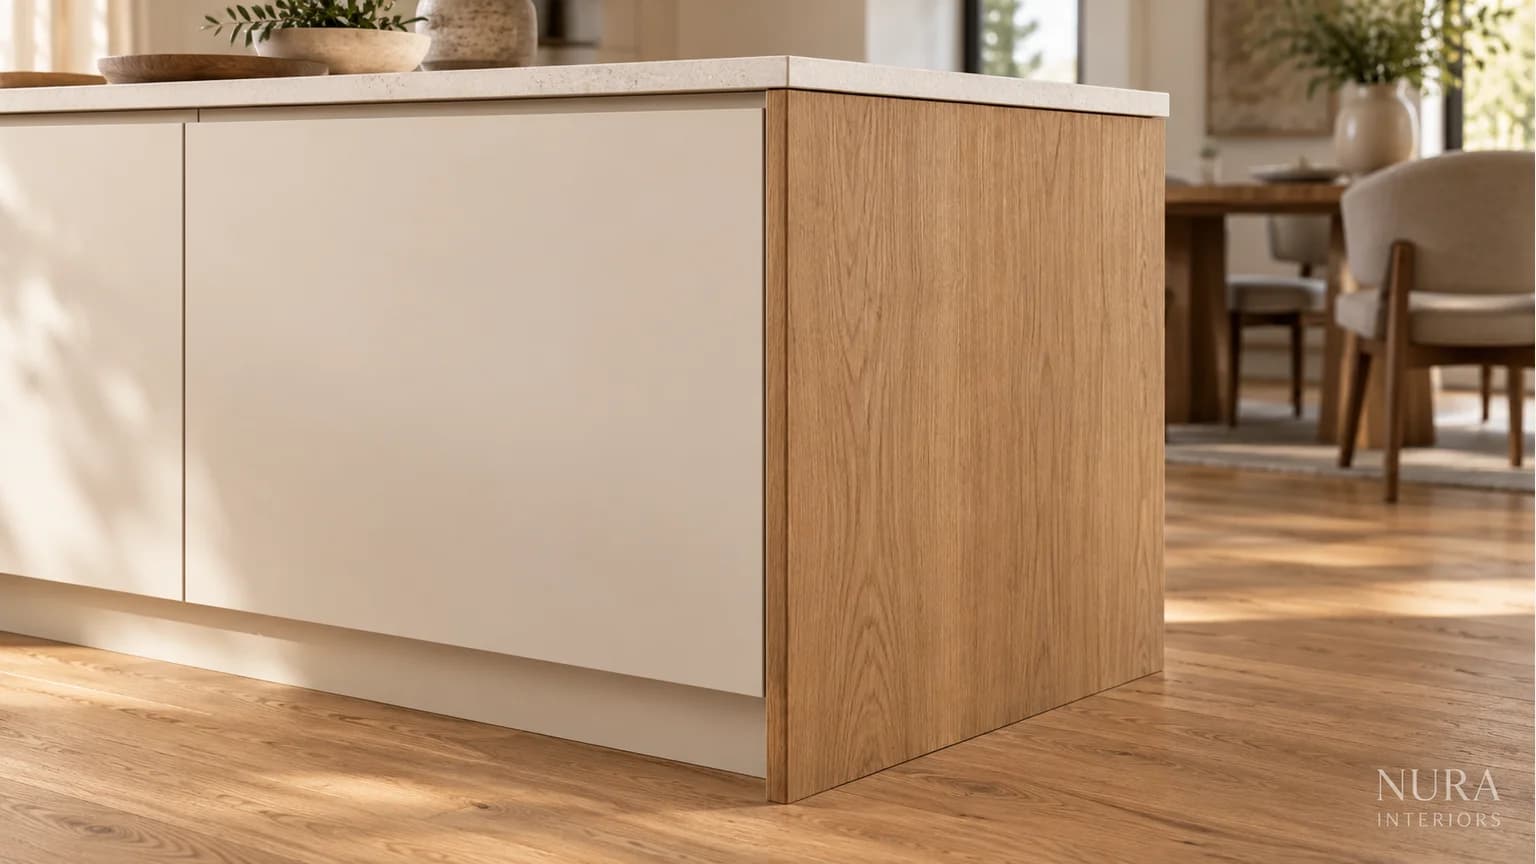
Compare one run end in two views
Imagine a kitchen run ending beside a dining space. The household wants painted doors, a pale worktop and a timber detail that relates to its retained table. The exposed end is visible when seated at dinner. This is a hypothetical brief, not a measured Nura project.
The first proposal uses a finish matching the doors. The second introduces a timber end panel. Compare the entire side in both options, including its front edge and lower treatment. A timber sample may suit the table while the proposed edge or grain direction still needs a decision.
Then examine the worktop relationship. Does the drawing communicate the intended visible alignment, and which parts still need a supplier's technical response? Keeping those questions distinct lets the household choose the appearance without implying approval of every construction detail.
| Part of the end | Compare in the proposal | Confirm before ordering |
|---|---|---|
| Visible face | Matching or contrasting finish from the actual room views | Material, finish, grain or decorative reference |
| Front edge | Relationship to the closed front and cabinet body | Named reference line and the complete finished outline |
| Top and bottom | Worktop, plinth and finished-floor junctions | Product-specific detail, fitting scope and open technical questions |
Frequently asked questions
Does every exposed cabinet need an end panel?
Not automatically as a separate decorative piece. Ask how the selected cabinet side will be finished and whether that meets the intended appearance. The answer depends on the actual range and design, not a blanket rule.
Must an end panel finish flush with the doors?
No universal alignment should be assumed. Identify the chosen reference on the drawing and review the result with the actual fronts and profiles. A photograph alone does not establish the detail for another system.
Is a decorative end panel waterproof or structural?
Neither property follows from the name. Ask for the actual material, finish, edge treatment and applicable product information. Any support or performance requirement needs its own assessment; do not infer it from the panel's appearance.
Explore Nura bespoke kitchens and bring a room plan, photographs and finish references to a design conversation. Mark the exposed sides you will see most often and the junctions still unresolved. Ask the studio to explain the proposed finish and scope as part of the complete kitchen.